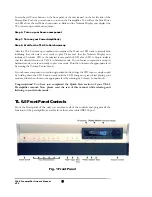
•
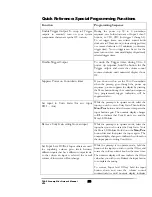
Set the preamp between phase inverting and phase correct mode by pressing
the phase button. This is a toggle control, which changes the state from one
to the other each time it is pressed.
•
Increase/decrease the volume by pressing the up and down buttons
respectively on the remote control hand-held unit.
•
Set/reset the system in mute and operating modes by pressing the mute
button on the remote control hand-held unit. This is a toggle control, which
changes the state from one to the other each time it is pressed.
If the system is in mute, pressing the volume up button to increase the
volume will reset the system and put it into operating mode. The volume
down button will not impact the mute state.
•
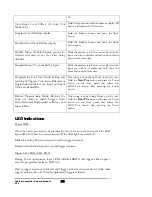
Set the volume down from a higher volume to 20 by pressing the Fade button
When the user first presses any of the buttons on the remote control unit, there
may be a short delay before the preamplifier completes the processing of the
signal sent by the remote, especially if the line of sight to the preamp is not clear,
or if there is any sort of light interference with the infra red signal. The
preamplifier will not respond to pressing two buttons at one time, and will only
accept the first signal received.
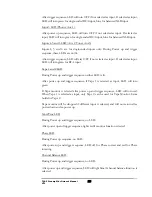
In addition, the remote wand can be used to program another universal remote
that can be used in place of or in addition to the supplied remote wand. There are
additional discrete remote codes available that are programmed into the
preamplifier to replace the three toggle commands that are used on the supplied
remote wand: Power on, Power off, Mute on, Mute off, phase correct and phase
invert. These codes are either accessed from inside the supplied remote wand by
your dealer’s installer, or the codes can be sent separately to your dealer in files
specially formatted for programming either a Crestron, AMX or Pronto external
remote system.
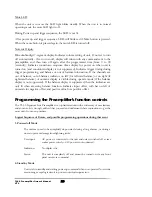
There is also a separate RS-232 port on the back of the preamplifier’s chassis that
can accept any of the commands required to control the preamplifier remotely,
and outputs messages as the front panel controls on the TL6.5 are changed. This
RS-232 port is or for a central remote command system.
Fitting the Batteries to the Remote Control
1.
Two Phillips head screws hold the back cover on the remote control.
Remove all screws with the correct tool to avoid damaging them (using #1
Phillips head screwdriver), and put them aside for later re-installation.
2.
Turn the remote control over so that the cover drops into your other hand,
and put the cover aside with the screws. If the back cover for the remote
control is too tight to fall out after removing all the cover mounting screws,
hold the remote control loosely in your hand face up with your other hand
under the remote ready to catch the cover. Give the bottom of the front edge
TL6.5 Preamplifier Owner’s Manual
VTL
13
Содержание TL6.5
Страница 1: ...VTL TL6 5 Signature Line Stage Preamplifier Owner sManual...
Страница 3: ......


