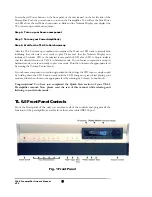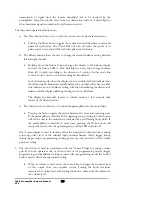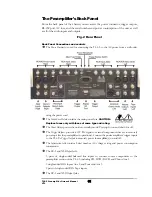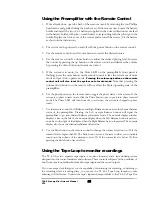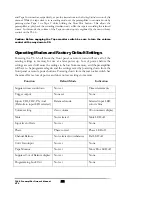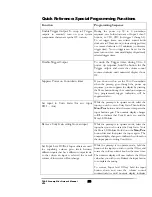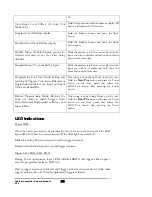
You can operate the various controls and buttons from the front panel to access the full
functionality of this unit, and the operational functionality can also be accessed via the
remote control. The indication LEDs show the various operating modes of the unit.
1. The
Power
button is used to turn the preamplifier on and off. If the unit is powered off
press the button to turn the preamplifier ON and press the switch down again to turn
the unit OFF. The
Power
LED will blink blue during warmup, remain on steady blue
after power up, and turn off during power off or standby.
2. The
Input Select
buttons are used to select the source component for the preamplifier.
You can choose any one of the six inputs by pressing the appropriate selector button
labeled with the selection of your choice. The 6 input selector switches are divided up
into two groups: The first three from left to right can be configured as either balanced
or single ended inputs, and during power up the first two buttons double as trigger
programming buttons (when not in locked mode).
The first two LEDs are red for trigger functions, and the first three can be set blue for
balanced setting and green for single ended setting.
The other two buttons on the right of the first group are single ended inputs only, and
are not used for any other function. The LED color is green.
Warning
It is critical for proper sonic performance of this
component that it be properly configured for the mode of
operation while playing. If a balanced signal is applied to the
inputs the unit must be configured for balanced operation, and vice-versa.
3. The
Tape 1
and
Tape 2
inputs are also usable as normal (single ended only) inputs, with
the additional capability of handling the record out function. LED color is green for
input, and red for monitor.
4. The
Mon/Proc
button is used to monitor an output when recording to one of the
Tape
inputs, and is also used to set a Unity gain input (when not in locked mode.) The LED
color is red during monitor.
The
Mon/Proc
can be used to select whether the signal at the preamplifier output is
coming from tape monitor or not. If you wish to use the preamplifier to monitor an
ongoing recording session from the tape deck, you can use the
Mon/Proc
button to set
the preamplifier to Tape Monitor mode.
The
Mon/Proc
button is also used to set any input for unity gain
(when not in locked
mode). This function
is used for routing an external surround processor to the front left
and right channels. In this mode, your external surround processor will control the levels of
all of the channels of your system, including the front left and right channels. In this mode
the preamplifier is in the unity gain mode, and the volume control is set to a fixed position
(equivalent to volume position 69 in single ended mode). The signal is passed to the front
left and right amplifiers through the gain stage of the preamplifier, but at the same volume
as the surround processor is putting out, and the preamplifier’s volume control is disabled.
5. The
display window
contains the group of three main operational buttons and display
LEDs, the numeric display, and the infra red remote receiver, which enables the
TL6.5 Preamplifier Owner’s Manual
VTL
9
Содержание TL6.5
Страница 1: ...VTL TL6 5 Signature Line Stage Preamplifier Owner sManual...
Страница 3: ......

