3
The Drivers for Windows
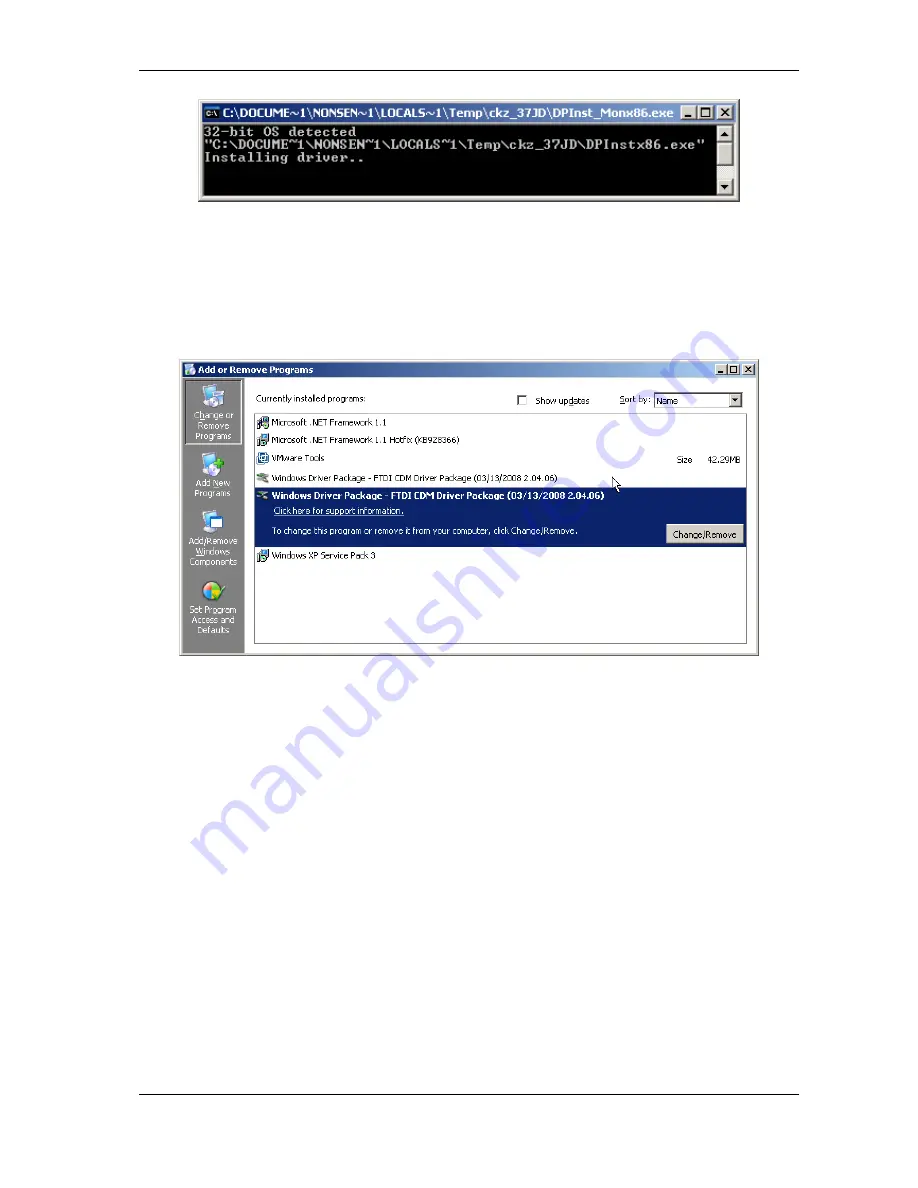
Figure 6: Starting Pre-Installation
When the operation is finished, this box closes. No interaction is required. The result of this process
is a Windows system which has the USB-COM added as know hardware. This installation process
also added an entry in “Control Panel” (actually two entries), in the “Add or Remove Programs”
applet. The drivers may be uninstalled by this entry.
Figure 7: Uninstall Option
Now connect your USB-COM to a USB port on your PC. Windows will detect the new hardware,
and attempts to install the drivers. Probably it offers the option to search the Internet for more
recent drivers, just say “No, not this time” to this question. In the next steps select the Automatic
option, and click on Next and Finish as requested. Windows knows about the drivers, and installs
all components and serial ports without further interaction.
3.1.1 Check Installation of the Drivers
Open the Device Manager, and see if all serial ports are available in the “Ports” Device class.
Open the properties of each serial port. Open “Control Panel”, and the “Add or Remove Programs”
applet. The FTDI CDM Driver Package appears twice in the list of components.
3.1.2 Uninstall Drivers from Pre-Installation Executable
First disconnect all USB-COM from your system. Then open “Control Panel”, and in that start
the “Add or Remove Programs” applet. The FTDI CDM Driver Package appears twice in the list
June 2009
USB-COM PRO User Manual
11


