SmartCrystal™ Diamond
n ° : MUV140036
Version : A12
USER MANUAL
Date : 11/01/2018
www.volfoni.com
This document is the property of the Co VOLFONI and may not be reproduced or disclosed without permission.
37
4.
2-D/3-D position stops positioning
The stops enable you to define accurately and permanently the positions of the SCD Box for the 2-D and 3-D projection modes
Adjustment of the 3-D position
In 3-D mode, the SCD Box must be positioned so that the projector beam outflow is horizontally centered on the central window of
the projector front and also on the outflow window (screen side).
Fixing the 3-D position:
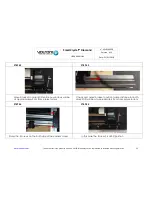
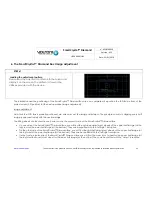
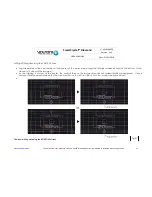
If possible, look at the SmartCrystal™ Diamond Box screen side
and make sure that the central image is properly centered
At this moment, do not worry about the position of the upper
and lower half images
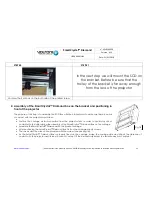
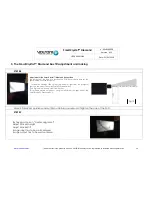
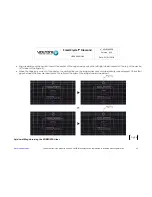
Look at the SmartCrystal™ Diamond Box inflow window and
make sure that the central image is properly centered like Fig 21
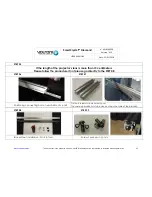
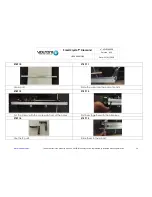
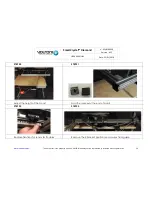
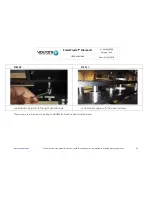
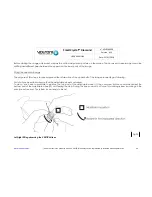
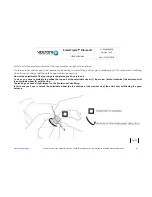
As the SmartCrystal™ Diamond Box is properly positioned, lock
the bracket stop in 3-D position (see step 55).
It is then possible to make the carriage slide and to come back
easily and accurately to this position
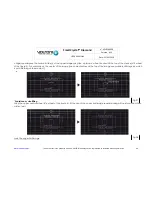
Adjustment of the 2-D position
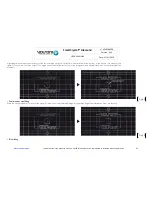
In 2-D mode, the position of the SCD Box
should not interfere with the projector beam.
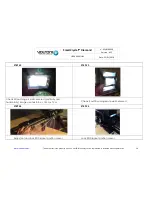
Make the bracket carriage slide until the
SCD Box is out of the beam light.
Do not hesitate to take a margin of room in
order to avoid any subsequent problem.
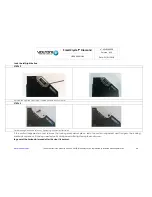
As the SmartCrystal™ Diamond Box is
properly positioned; lock the bracket stop in
2-D position.
Fig 21
Fig 22

