Vivitar Vivicam 55 Скачать руководство пользователя страница 14

ENGLISH

EN-13

Note

Flash and self-timer are disabled when your camera is in Video mode.
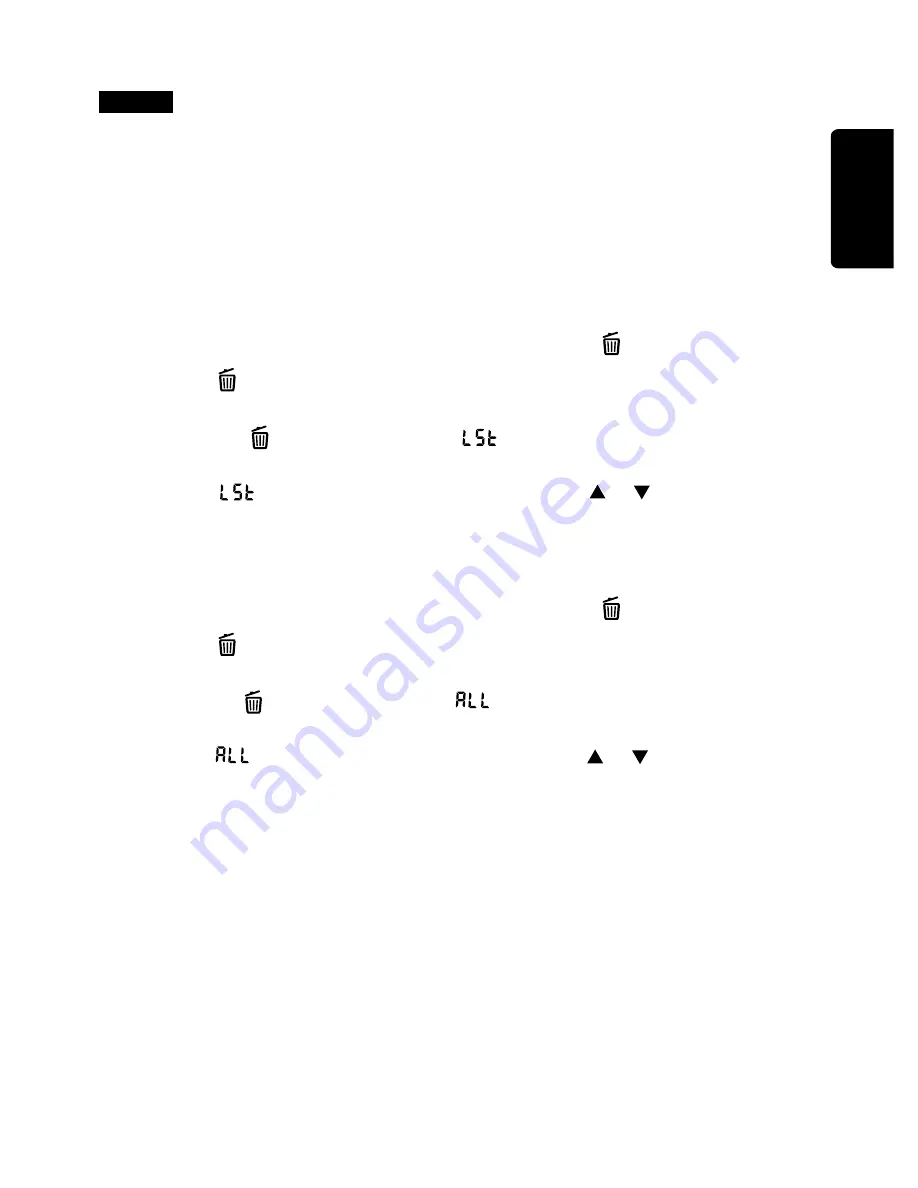
Delete Mode

This mode gives the options to erase single images(the last image) or erase all
images from memory.

To erase single image:

1.Short-press Mode button to enter the Erase mode ( 

 ).

   If the  

  does not appear on status LCD, press mode button to toggle

  the setting while the main mode icon is blinking.

2.While the  

  is blinking, select the           icon to erase the last

   recorded image.  Press OK button to confirm.

   If the   

  does not appear on status LCD, press   or   button to toggle the

   delete setting.
3.Press OK button to erase the last recorded image or video clip.

To erase ALL images:

1.Short-press Mode button to enter the Erase mode ( 

 ).

   If the  

  does not appear on status LCD, press mode button to toggle the

   setting while the main mode icon is blinking.

2.While the 

 is blinking, select the  

  icon to erase the all recorded images.

   Press OK button to confirm.

   If the  

  does not appear on status LCD, press   or   button to toggle the

   delete setting.
3.Press OK button to erase all images, or press mode button to toggle to
   another main mode.

Содержание Vivicam 55

Страница 1: ...Vivicam 55 User Manual English 030327...

Страница 2: ...onable protection against harmful interference in commercial installation This equipment generates uses and can radiate radio frequency energy and if not installed and used in accordance with the inst...

Страница 3: ...ility Do not continue to use the camera as this may cause a fire or an electrical shock Do not use the camera if any foreign objects have entered the camera Turn the camera off and then disconnect the...

Страница 4: ...amera may cause a fire or an electrical shock Do not insert or drop metallic or inflammable foreign objects into the camera through access points such as the Compact Flash card slot This may cause a f...

Страница 5: ...al shock When handling the camera always unplug it from the power source batteries or AC power adapter for safety if you are using the AC power adapter unplug the adapter from the AC power outlet afte...

Страница 6: ...ictures 9 Auto Power Off 10 Camera Operating Modes 10 Capture Mode 10 Setting the Flash Mode 12 Setting the Self Timer 12 Video Mode 12 Delete Mode 13 Delete One 13 Delete ALL 13 Installing Camera Sof...

Страница 7: ...tomatically power off after 60 seconds to reduce energy consumption Burst mode Capture continuous motion as a sequence of pictures Video mode Record video for creating AVI file Macro Mode Take picture...

Страница 8: ...pture mode Delete mode Video mode Capture Mode no icon Single shot Burst shot Attaching the Strap To attach the strap to the camera 1 Insert the small loop at the end of the strap into one side of the...

Страница 9: ...lacement is about 1 minute LoadingBatteries To load the batteries into the camera 1 Slide the battery door open in the direction indicated by the arrow 2 Insert AAA batteries 2 units with polarity as...

Страница 10: ...he camera before taking pictures If you are going to change the batteries be sure to download the pictures to the computer first to preserve the taken pictures Note If you have taken many pictures and...

Страница 11: ...econds To restore the camera to power up state press the power button once again Camera Operating Modes Toggle the mode button to select Capture Video Delete until the desired subject mode icon is dis...

Страница 12: ...oggle the recording photography selection Burst photography mode is indicated by the icon on the status LCD 3 Press OK button to confirm To select the image setting 1 Short press Mode button to enter...

Страница 13: ...User can select any photography mode flash subject mode by toggling the mode flash button until the desired flash and photography mode are shown by their respective icons on the status LCD panel 3 Pre...

Страница 14: ...corded image Press OK button to confirm If the does not appear on status LCD press or button to toggle the delete setting 3 Press OK button to erase the last recorded image or video clip To erase ALL...

Страница 15: ...ou to manage and edit any picture captured with your camera Installing the Software Driver Image Applications 1 Insert your camera s Installation CD into your CD ROM drive 2 The installation program s...

Страница 16: ...our camera 2 Plug the other end of the USB cable to your computer s USB port Downloading Pictures Once you have properly connected the camera to your computer you are now ready to transfer pictures Wh...

Страница 17: ...ort 3 Put the camera on a desktop or on the top of your computer monitor 4 Press the power button to turn on the camera 5 Launch Microsoft Netmeeting 6 Click Play button to view live video 7 Click Cal...

Страница 18: ...Shutter auto Exposure Auto White Balance Auto Sensitivity ISO 100 Power Management 60 sec Auto Power Off Memory Internal 8MB SDRAM Storage VGA Fine 26 Images QVGA Fine 104 Images VGA Standard 91 Imag...

Отзывы: