


VIP Vision Residential IP Intercom Installation Guide - v1.3 Issued April 2017
50
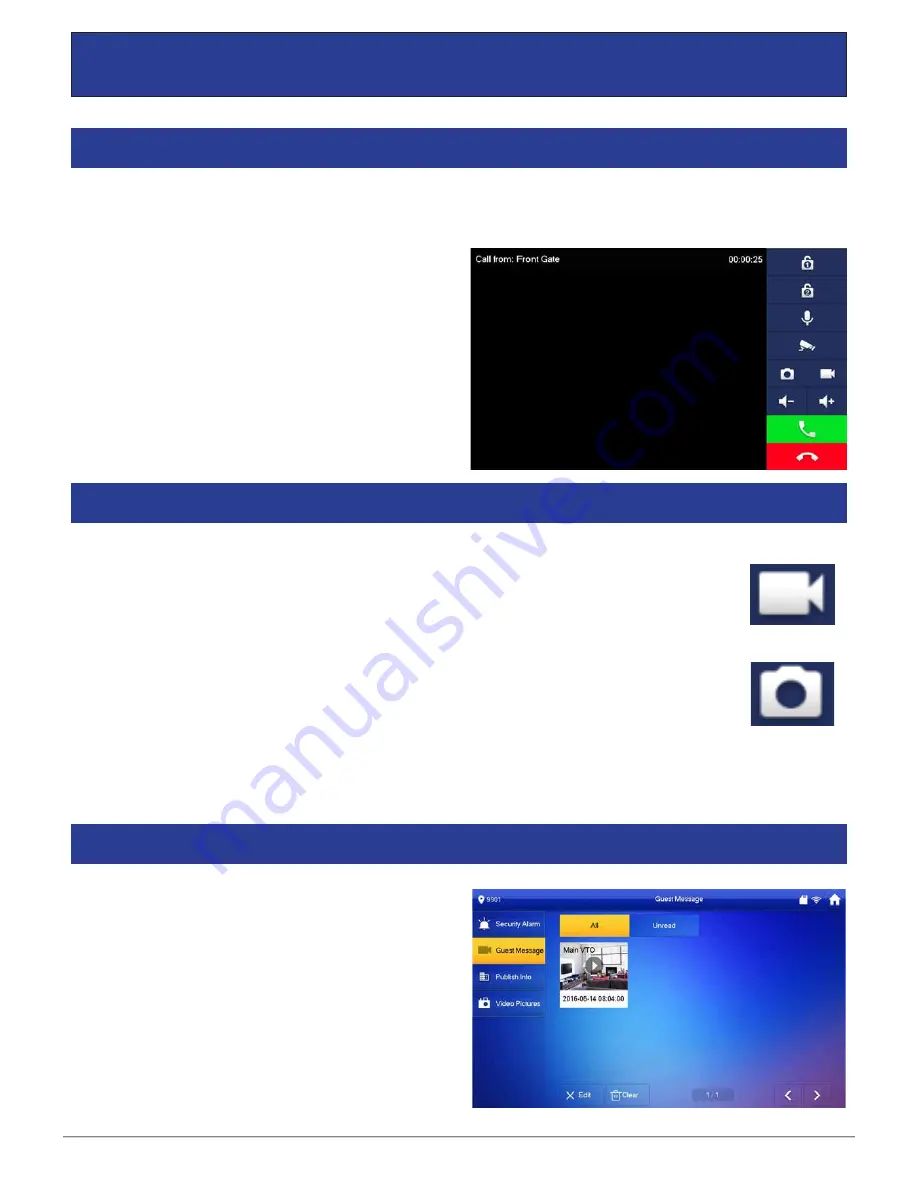
After the installation and configuration is complete, you can simply press the call button on the Door Station to
call all Indoor Monitors simultaneously.
When receiving an incoming call, you can choose to
answer the call, reject the call or unlock the door.
4.1
Making and Answering Calls
During a call, you can take a
video
from the Door Stations camera by pressing the record button.
This will record audio and video which will then be stored in the Indoor Monitors MicroSD Card
(if fitted).
You can automatically capture snapshots to the Micro SD Card when someone rings the Door Station and no
one answers the call. On the Indoor Monitor, press the “Settings” button, then enter the password
123456
to
access the Basic Settings. Select “General” then “Other”, you can then turn the “AutoCapture” function to “ON”.
During a call, you can take a
snapshot
from the Door Stations camera by pressing snapshot
button. This image will then be stored to the Indoor Monitors MicroSD Card (if fitted).
4.2
Taking Videos / Snapshots from the Indoor Monitor
4 How to Use Your Intercom System
To view recorded videos on the Indoor Monitor, select
“Info” then “Guest Message”.
To view snapshots on the Indoor Monitor, select “Info”
then “Video Pictures”.
4.3
Viewing Your Videos/Snapshots from the Indoor Monitor