POV.HD User Manual
Tips and Guidelines
31
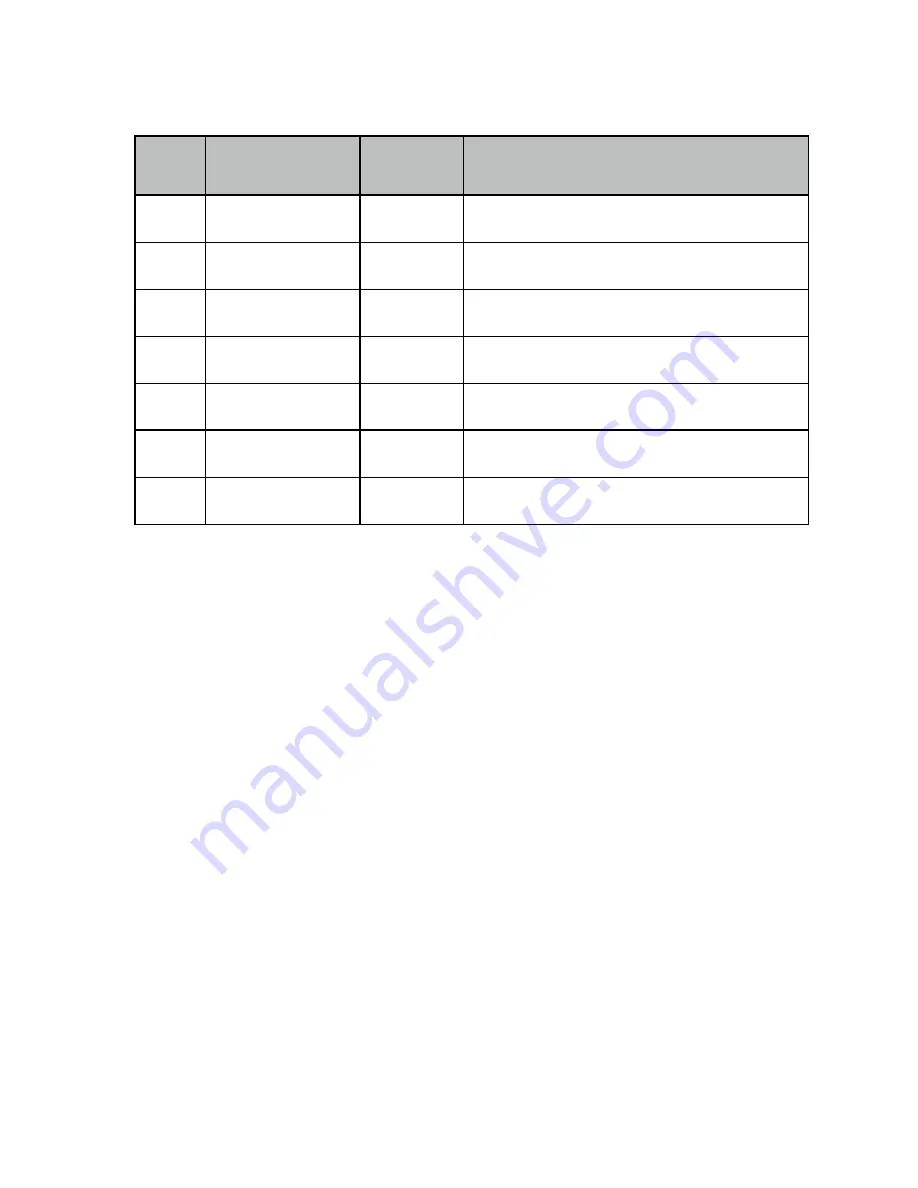
Comparison of POV.HD Video Formats
Format
Resolution
(Pixel Size of Frame)
Frame Rate
(per second)
Best For
1080p30 1920 wide X 1080 high
30
Highest quality HD video when displayed on a high
resolution, high quality monitor
1
1080p25 1920 wide X 1080 high
25
Frame rate compatibility with European broadcast
standards
1080p24 1920 wide X 1080 high
24
Frame rate compatibility with standard
cinematography
720p60
1280 wide X 720 high
60
High quality HD video with the option for smooth slow
motion playback
2
720p30
1280 wide X 720 high
30
High quality HD video with somewhat reduced file size.
720p50
1280 wide X 720 high
50
Frame rate compatibility with European broadcast
standards [Firmware version 1.12 or later]
720p25
1280 wide X 720 high
25
Frame rate compatibility with European broadcast
standards [Firmware version 1.12 or later]
Table Notes
1
1080p is higher resolution and, under identical conditions will generally produce a slightly sharper picture,
but conditions are seldom identical and almost never ideal. Depending on the type of television receiver or
computer screen on which the video is played back, room lighting, viewing distance from the screen, and
other factors, the difference in picture quality between 1080p and 720p may or may not be significant or even
detectable. It’s best to try it and see.
2
On the POV.HD, 720p60 is recorded at 60 fps and 720p50 is recorded at 50 fps for compatibility with
European broadcast standards which allows clips recorded this way to be played back in smooth slow motion,
and for action filming these will often be the format of choice. Because, on the POV.HD, 720p60 records twice
as many frames as 1080p30 and 720p50 records twice as many frames as 1080p25, the resulting file sizes in
these two situations are roughly the same.
Understanding the POV.HD Video Record Methods
The POV.HD supports three video
Record Methods
:
Clip
,
Loop
, and
Loop & Forward
.
• Clip
works like a regular video recorder. After you start recording, the POV.HD records continuously
until you stop recording, and what you’ve recorded is stored in a file, called a “clip” on the SDHC card.
• Loop
allows you to select what action to record and save, without the need to be constantly starting
and stopping the recorder. To use the
Loop
method you must set
Record Method
to
Loop
and the
Loop Record Time
to an interval that is appropriate for your situation. (More on that in a moment.)
These are set using settings.
• Loop
and
Forward
works like
Loop
, except that once you’ve captured the first
Loop
clip by pressing
Tag
or
REC/TAG
the recorder saves the previous segment plus all of the video from that point until
you stop recording.


