Vigilant Vision PD195WHV Скачать руководство пользователя страница 9

2.2.4 OSD   

1. Press -/+ button to select 
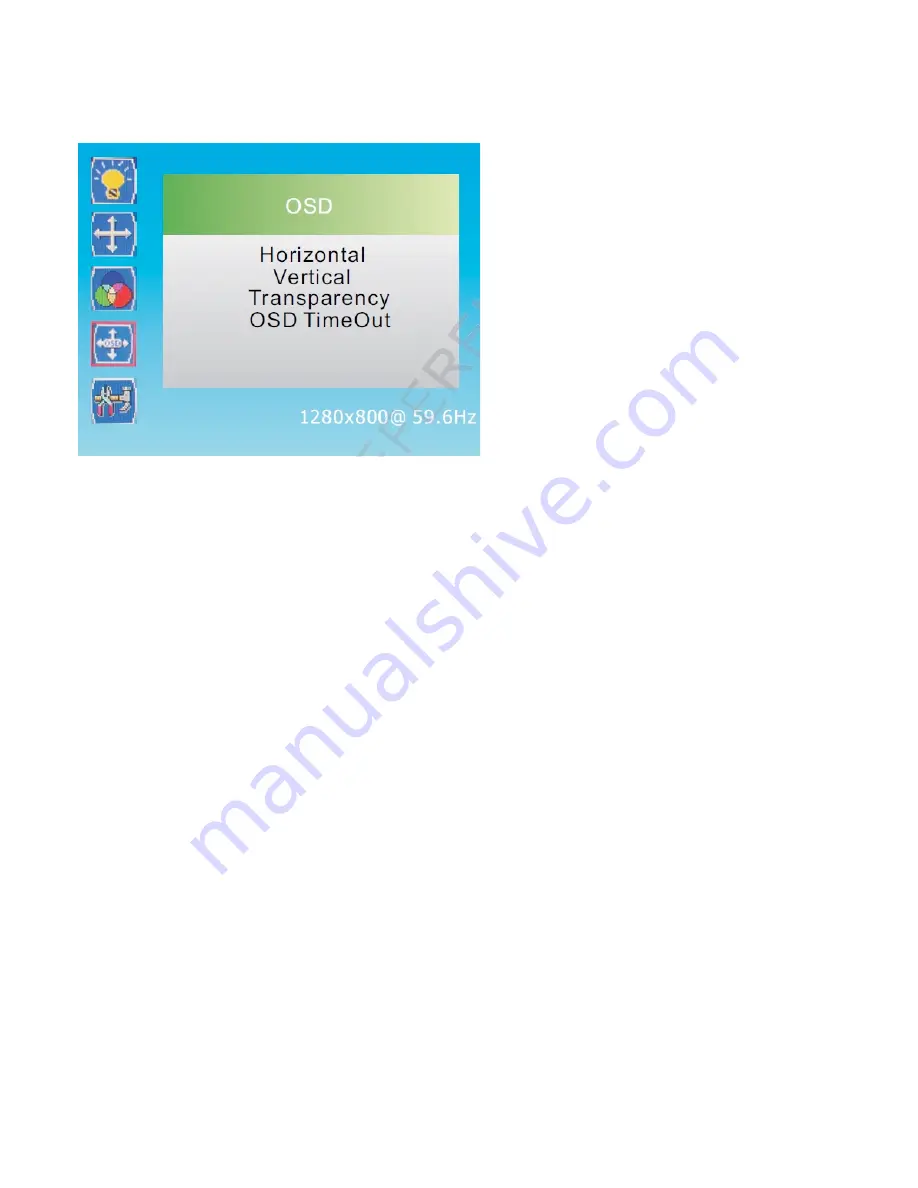
OSD 

in the main menu, then press 

MENU 

button to enter.


2. You can also enter 

OSD 

menu from the 

Main 

menu. 


HORIZONTAL POSITION 


It allows the changing of horizontal position of the display image. Press “3” and “4” buttons to horizontally move the 
image.   

VERTICAL POSITION 


It  allows  the  changing  of  vertical  position  of  the  display  image.  Press  “3”  and  “4”  buttons  to  vertically  move  the 
image.   

TRANSPARENCY 


It allows the setting of the OSD transparency time on the screen. Press “3” and “4” buttons to change the values of 
this parameter.   

OSD TIMEOUT 


It allows the setting of the OSD duration time on the screen. Press “3” and “4” buttons to change the values of this 
parameter.   

Содержание PD195WHV

Страница 1: ...LED Monitor Operation Manual...

Страница 2: ...box 1 1 3 Warnings 2 1 3 1 Power 2 1 3 2 Safety precautions 2 1 3 3 Installation precautions 2 1 3 4 Cleaning the device 2 1 3 5 Privacy and copyright 2 2 Controls and settings 3 2 1 Controls 3 2 2 OS...

Страница 3: ...lay LCD 1 1 1 GENERAL FEATURES Display area Wall mounting bracket not included audio input output HDMI video input Two computer input channels of DVI VGA Wide inclination to allow viewing either from...

Страница 4: ...the cabinet are provided for ventilation These openings must not be blocked or covered Do not place heavy or heat generating objects on top of the device this could damage the casing and or increase i...

Страница 5: ...socket Power BUTTON This is used to switch the monitor on and off The blue LED lights up when the monitor is on When it is red it shows standby condition VOLUME BUTTONS 3 4 AND CONFIRM 1 They allow to...

Страница 6: ...Menu press the 2 button In order to select the Menus of the horizontal bar press the 3 buttons In order to select each single Menu press the 5 or 6 button In order to change a value once the option is...

Страница 7: ...2 Position Menu 1 Press button to select Position in the main menu then press MENU button to enter 2 You can also enter Position menu from the Main menu Phase Press 5 and 6 button to select Phase the...

Страница 8: ...s 3 and 4 buttons to change the values of this parameter Red Press 5 and 6 button to select Red then press MENU button to confirm the choice and press 3 and 4 button to adjust the value of the primary...

Страница 9: ...ons to horizontally move the image VERTICAL POSITION It allows the changing of vertical position of the display image Press 3 and 4 buttons to vertically move the image TRANSPARENCY It allows the sett...

Страница 10: ...and 4 button to choose VGA DVI or HDMI DCR Press 5 and 6 button to select DCR then press MENU button to confirm the choice and press 3 and 4 button to choose ON or OFF This item can judge the picture...

Страница 11: ...e Colour Temperature 9300K 6500K 5800K User Video Compatibility Multi Standard for NTSC PAL Aspect Ratio 16 9 Speaker Multimedia Speakers Right x 1 Left x 1 2 5W Sound Demodulation Stereo Audio Mute Y...

Отзывы: