


1.
Press“5” and “6” button to select
Colour
in the main menu, then press
MENU
button to enter.
2.
You can also enter
Colour
menu from the
Main
menu.
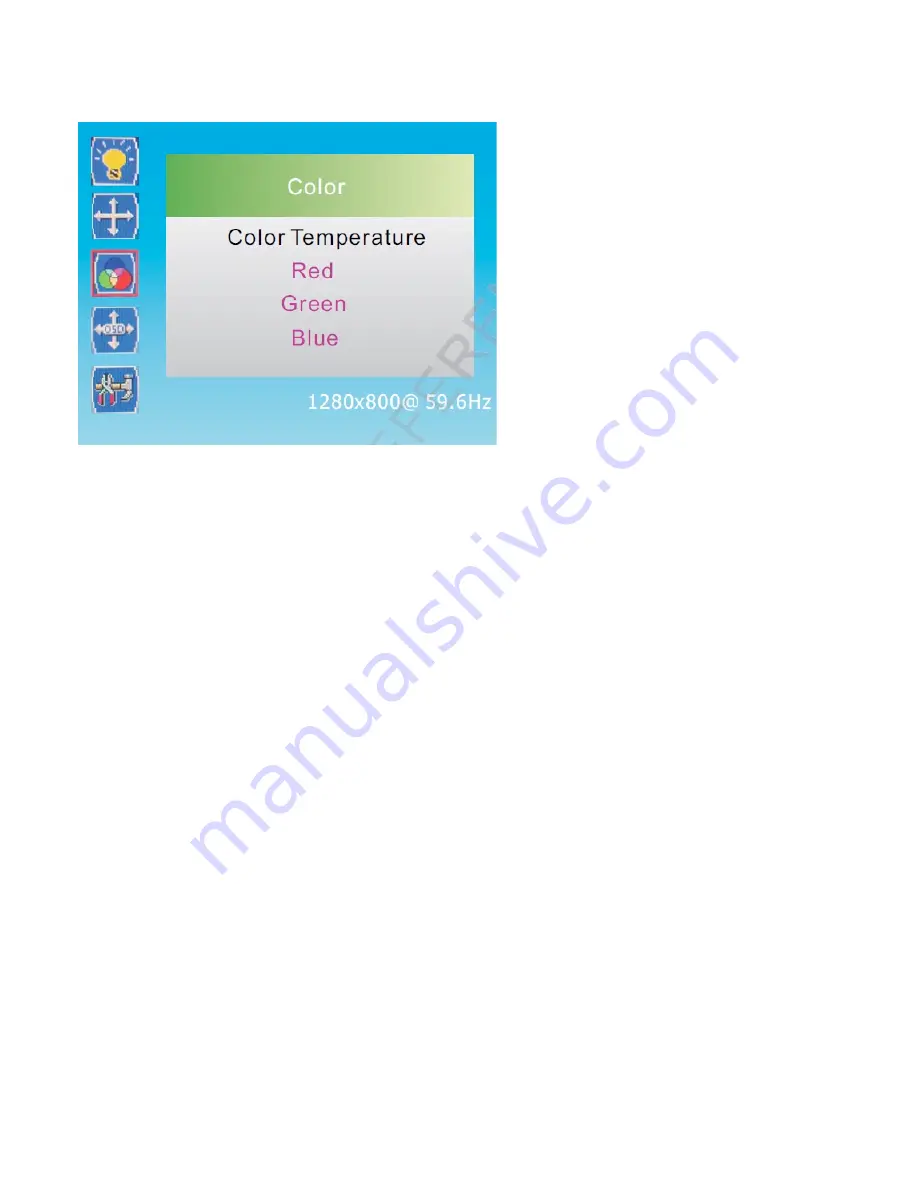
COLOR
It allows to change colors of the image. Press “3” and “4” buttons to change the values of this parameter.
COLOUR TEMP.
It allows to change the color settings among the following: ”Warm – Cool – Normal”. Press “3” and “4” buttons to
change the values of this parameter.
Red:
Press “5” and “6” button to select
Red
, then press
MENU
button to confirm the choice and press “3” and “4”
button to adjust the value of the primary colour of red.
Green:
Press “5” and “6” button to select
Green
, then press
MENU
button to confirm the choice and press “3” and
“4”
button to adjust the value of the primary colour of green
Blue:
Press “5” and “6” button to select
Blue
, then press
MENU
button to confirm the choice and press “3” and
“4”
button to adjust the value of the primary colour of blue.
Содержание PD195WHV
Страница 1: ...LED Monitor Operation Manual...