background image

VidyoRoom™ and VidyoPanorama™ 600 Quick User Guide 

18 

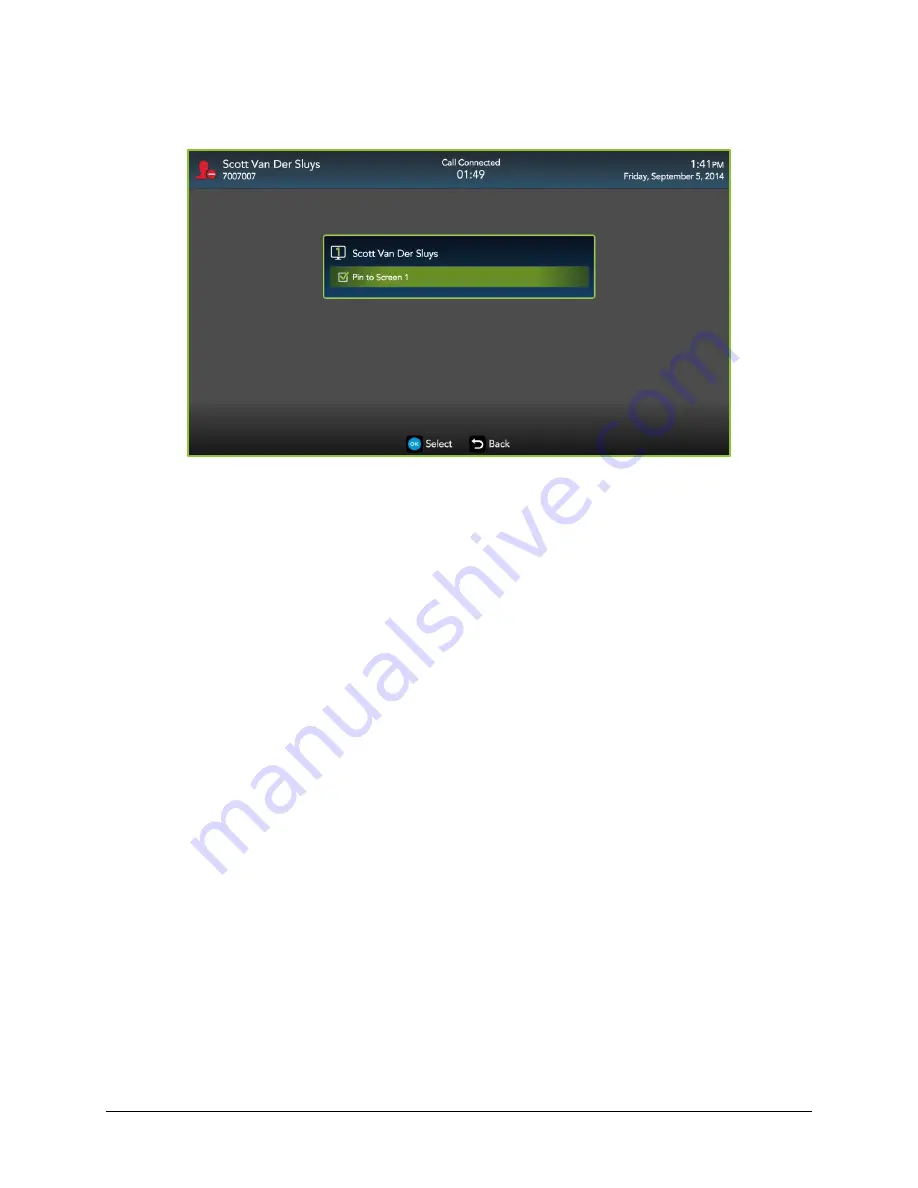
The corresponding screen number now appears on the icon shown to the left of the 
conference participant’s name, and the screen check box is selected. 


7.


The participant is now pinned to the selected screen and remains there regardless of 
loudest speaker settings. 

8.


To move a participant to a different screen, repeat steps 3 through 6 but select a different 
screen. 

9.


To unpin the participant and revert back to automatic layout, repeat steps 3 through 6, but 
select the screen to which the participant is pinned and remove the check mark from that 
screen.  

Sharing Content to a Conference 

To share content to a conference while in a call: 

1.


Connect a compatible content-sharing device to your laptop and your VidyoRoom system. 

While your content now appears on the video screen of your VidyoRoom system, it is not 
shared to the participants in your conference. This is called Projection Mode. For more 
information, see “Projecting Content in Your System” on page 

12

. 

The Content Share Encode Status icon appears in gray on the upper-right of the screen. 

2.


Select from your available content sources in the Content Source settings under the 
Settings > Devices tab. For more information, see "Configuring System Settings" on page 

19

. 

3.


Press the Share button. For more information, see “Using the Infrared Remote Control” on 
page 

3

, “Viewing the In-Call Menu” on page 

13

and "Configuring System Settings" on page 

19

. 

Содержание Panorama 600

Страница 1: ...es as well as issued and pending international patents The VIDYO logotype is a registered trademark of Vidyo Inc in the United States and certain other countries and is a trademark of Vidyo Inc throug...

Страница 2: ...ng the handheld infrared remote control that was shipped with your VidyoRoom system Alternatively you can control your system using VidyoRemote for Android or VidyoRemote for iOS You can use any of th...

Страница 3: ...o navigate and highlight options for selection After hiding the Pre Call menu supported cameras may be controlled as follows left and right buttons pan up and down buttons tilt OK Press to select a hi...

Страница 4: ...hen the right arrow key to turn it OFF To use the Lucky Clover remote control keypad 1 When in applicable text fields press any button on the alphanumeric keypad The corresponding number is shown in t...

Страница 5: ...ed The current VidyoRoom or VidyoPanorama 600 system time and date also appears 2 The search box where you can enter a name to search for a contact or room As soon as you begin typing in this box sear...

Страница 6: ...through additional pages using your remote control arrow keys 6 Hints about how to use your handheld infrared remote control Joining a Contact s Room or Calling a Contact Directly To join a contact s...

Страница 7: ...make a direct call Select Add to My Contacts to add the selected contact to your list Select a room to join that contact s room Calling a User on a Different VidyoPortal or an H 323 SIP Endpoint To ca...

Страница 8: ...call You cannot make a direct call to this contact however you can join the contact s room The contact is offline not logged into the VidyoPortal You cannot make a direct call to this contact however...

Страница 9: ...for your VidyoRoom by your system administrator some tags and notifications may not appear correctly when viewed in different mail and calendar clients Viewing Meeting Details The On Screen UI displa...

Страница 10: ...abled meetings remain on the screen for an hour after the scheduled start time and appear as a gray tile Non Vidyo enabled meetings disappear from the screen right after the scheduled start time If yo...

Страница 11: ...ining Vidyo Enabled Meetings Five minutes before the scheduled Vidyo enabled meeting begins a dialog box appears reminding you of the upcoming meeting You can join the meeting directly from this dialo...

Страница 12: ...following 1 Use the arrow keys on your remote control to move down from the search box and highlight the desired meeting tile 2 Select Join Projecting Content in Your System To project content on you...

Страница 13: ...Select any of the following Icon Description Signals the meeting moderator that you have raised your hand when participating in conferences that are using the Presenter Mode feature For more informat...

Страница 14: ...remote control to move down and highlight a desired Share available for viewing in the conference Note The Start Sharing My Content button only appears when using compatible content sharing devices wi...

Страница 15: ...ative Becoming the Moderator Becoming a moderator allows you to use call control functions such as muting and unmuting the conference participants and recording the conference If you want to become th...

Страница 16: ...s include the following Pinning participants to specific viewing screens For more information see Pinning Participants to Specific Screens on page 16 The following viewing methods are also available T...

Страница 17: ...participant you wish to pin to a specific screen 4 Select OK The conference participant is then shown along with the list of available screens The number of available screens depends on the number of...

Страница 18: ...to a Conference To share content to a conference while in a call 1 Connect a compatible content sharing device to your laptop and your VidyoRoom system While your content now appears on the video scr...

Страница 19: ...t 720p in the Resolution drop down On a Mac 1 Select Display Preferences 2 Select the Scaled option 3 Select 720p On all other platforms 1 Select Display Advanced Settings 2 Select the Maintain Displa...

Страница 20: ...OFF Then provide values for IP Address Subnet Gateway and DNS Enables you to select a microphone adjust the microphone level select from available speakers adjust the speaker volume turn join and exi...

Страница 21: ...o PIN protect your VidyoRoom or VidyoPanorama 600 settings upload background images for display on the Settings menu and set the language and time zone You can also select Reboot System on this screen...

Отзывы: