


Vicon Motion Systems
Page 5 of 12
Set up your Vicon Vantage system
Set up your Vicon Vantage system
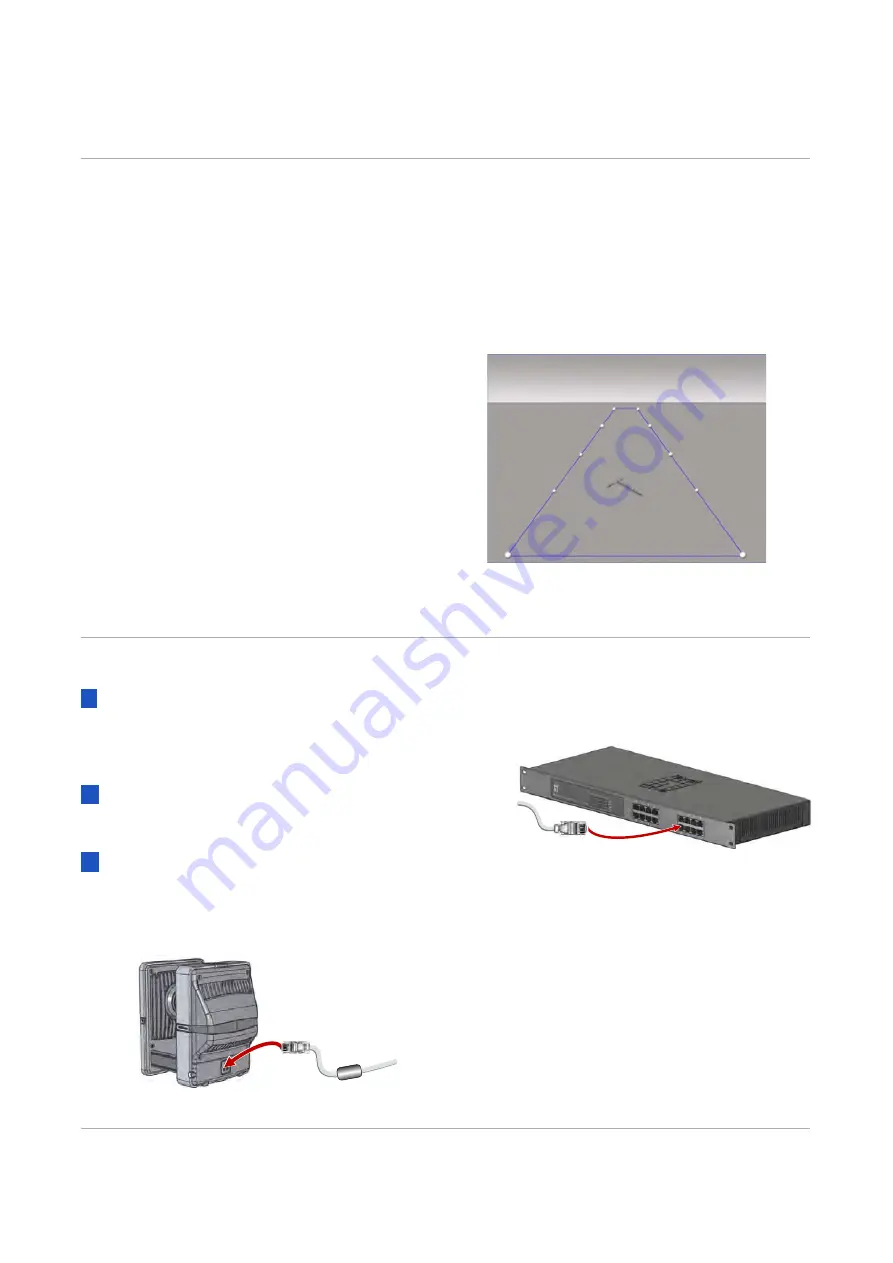
Define the capture volume
Lay out the intended capture volume by
placing markers around the edges of the
volume.
You can often place the markers on the
floor, as shown. If the volume to be
captured is higher up, place the markers
accordingly. This makes it easier to
visualize the capture space.
Roughly position the cameras around the
volume to provide full coverage across the
volume. For more information, see
Positions will depend on the volume size
and camera lenses.
Remember to include height as well as
width and depth in your volume
calculations!
Install and connect the cameras
1
Install each camera on a tripod, on the wall,
or on a ceiling-mounted rig.
You can order mounting brackets and
camera mounts from Vicon.
2
Ensure the Power over Ethernet (PoE+)
switch is connected to an appropriate
power source.
3
For each camera (up to 12 per PoE+ unit):
❙
Insert the ferrite end of one of the
supplied network cables (RJ-45) into
the camera.
❙
Connect the other end of the cable to
the PoE+ switch.
Although there are 16 sockets in total,
always remember:
❙
One socket is needed to connect to
the Vicon Vantage host PC.
❙
Each set of four ports on the PoE+
switch can support up to three
Vantage cameras. The remaining
ports can support any of the other
Vicon components required in your
system, such as host PC,
Содержание Vantage V16
Страница 1: ...Quick Start Guide...


