Viasat Business Hotspots Installation Guide
Page | 9
Step 8 | Install network equipment
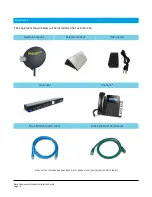
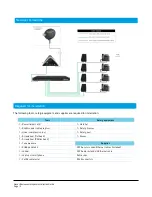
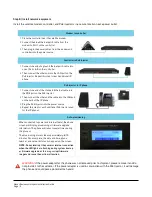
Install the satellite modem, controller, and PoE injector/s in a secure location near a power outlet.
Modem to controller
1
Place the controller near the satellite modem.
2
Connect the blue Ethernet patch cable from the
modem to Port 1 on the controller.
3
Then plug in the power cables from the modem and
controller into the power source.
Controller to PoE injector
1
Connect one end of a green Ethernet patch cable into
one of Ports 6-9 on the controller.
2
Then connect the other end into the LAN port on the
PoE injector. Repeat this step for each additional IP
phone.
PoE injector to IP phone
1
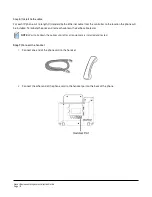
Connect one end of the standard Ethernet cable into
the POE port on the PoE injector.
2
Then connect the other end the cable into the LAN port
on the back of the IP phone.
3
Plug the PoE injector into the power source.
4
Repeat this step for each additional PoE injector used
for the IP phones.
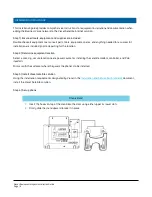
Auto-provisioning
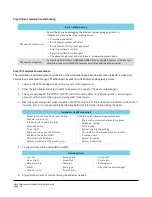
When connected to power and internet (data), the phone
screen will display provisioning or firmware upgrade
information. The phone will reboot several times during
this process.
The provisioning process takes approximately 8-10
minutes. Once complete, the date and time, phone
number, and network status icon appear on the screen.
NOTE: Do not interrupt the power or internet connection
when the LED lights are flashing during system boot up
or firmware upgrade, as this may corrupt firmware
images and cause the unit to malfunction.
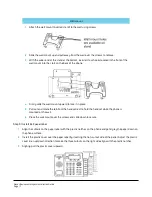
WARNING!
If the power adapter for the phone was not removed prior to shipment, please remove it and do
not provide it to the customer. If the power adapter is used in conjunction with the PoE Injector, it will damage
the phone and could pose a potential fire hazard.


