Chapter 3 Web Page Of RDU-A G2 35
RDU-A G2 Intelligent Monitoring Unit User Manual
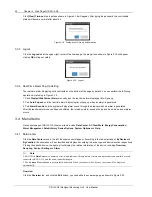
2. Click the
Acknowledge
button to confirm the alarm. The confirmed alarm will not participate in alarm linkage, and
the alarm notification is sent once only.
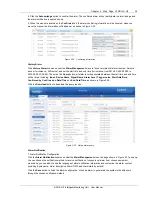
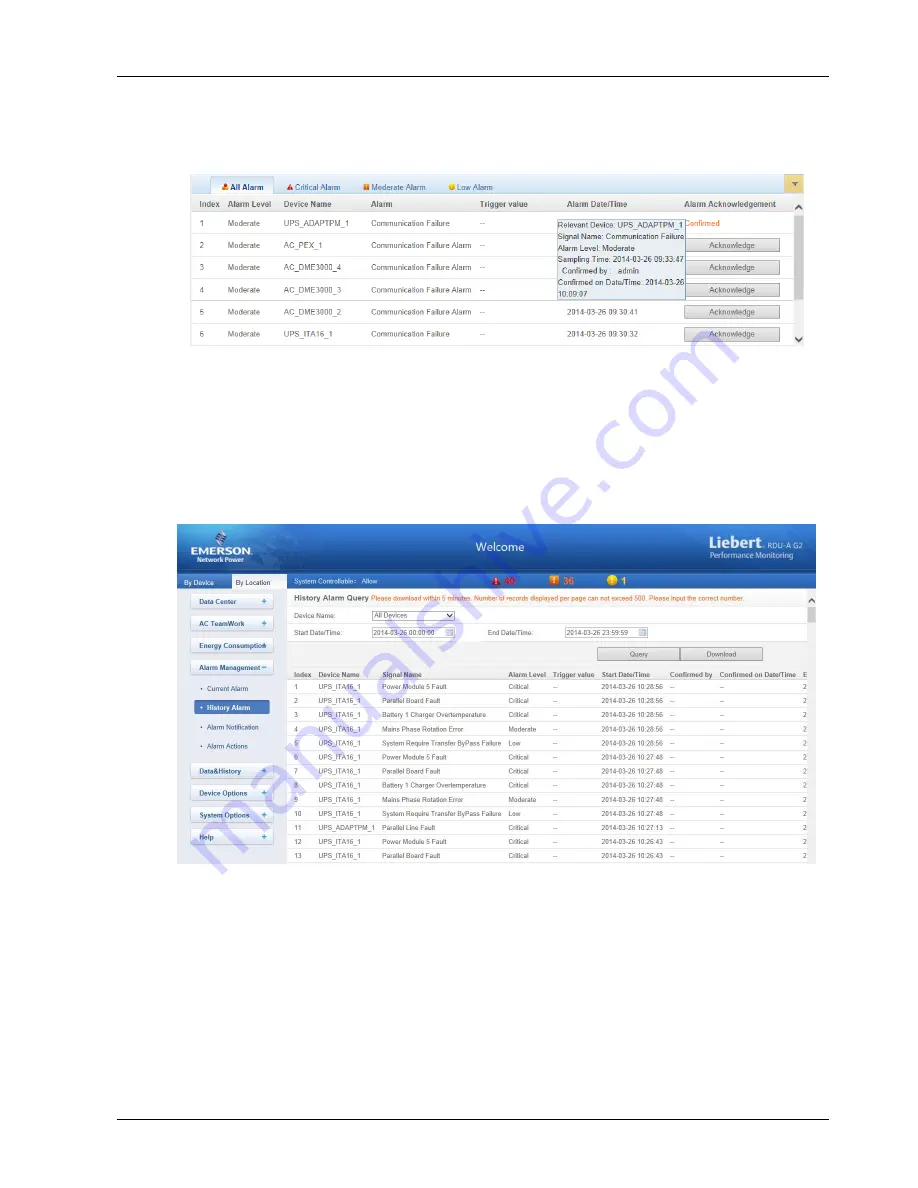
3. When the mouse is located on the
Confirmed
link, the alarm confirming information will be hovered; when you
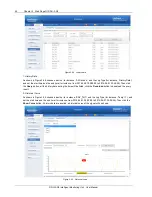
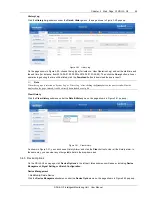
move the mouse, the information will disappear, as shown in Figure 3-35.
Figure 3-35 Confirming information
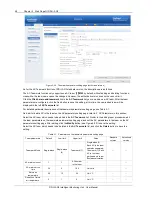
History Alarm
Click
History Alarm
submenu under the
Alarm Management
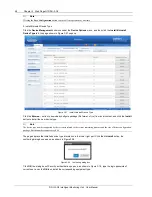
menu to look over historical alarm records., Select a
device (for instance,
‘All Device’) and set the start time and end time (for instance, from 2014-03-26 00:00:00 to
2014-03-26 23:59:59). Then click the
Query
button, all alarm records generated between the start time and end time
will be listed, including:
Index
,
Device Name
,
Signal Name
,
Alarm Level
,
Trigger valve
,
Start Date/Time
,
Confirmed by
,
Confirmed on Date/Time
and
End Date/Time
, as shown in Figure 3-36.
Click the
Download
button to download the query results.
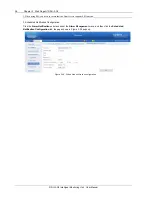
Figure 3-36 History alarm query
Alarm Notification
1. Alarm Notification Configuration
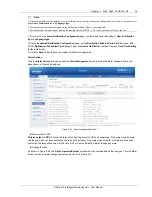
Click the
Alarm Notification
submenu under the
Alarm Management
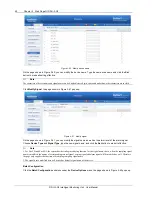
menu, the page shown in Figure 3-37 pops up.
You can choose the notification method to receive notification of chosen level alarm from chosen equipment,
meanwhile, you can also choose the language of alarm notification information and customize the alarm content
(including Equip name, Alarm description, Alarm TIME and Alarm state by default).
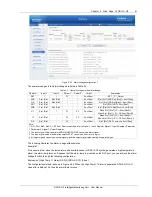
Click
the
Save
button to finish the alarm configuration. When an alarm is generated, the system will notify users
through the chosen notification method.

