M
AKING
THE
C
ONNECTIONS
Edge 300 User Guide
- 8 -
Positioning the Edge 300 (continued)
3) When the Edge 300 is at the desired height, select the closest pair
of notches and insert the supporting arms in the notches. Press
down slightly on the Edge 300 until you feel the supporting arms
snap into place.
Note:
Also remember, as with any piece of electronic
equipment, your Edge 300 may be damaged by contact
with liquids. So please try to place the Edge 300 in an
area that is free from the danger of spills.
M
AKING
THE
C
ONNECTIONS
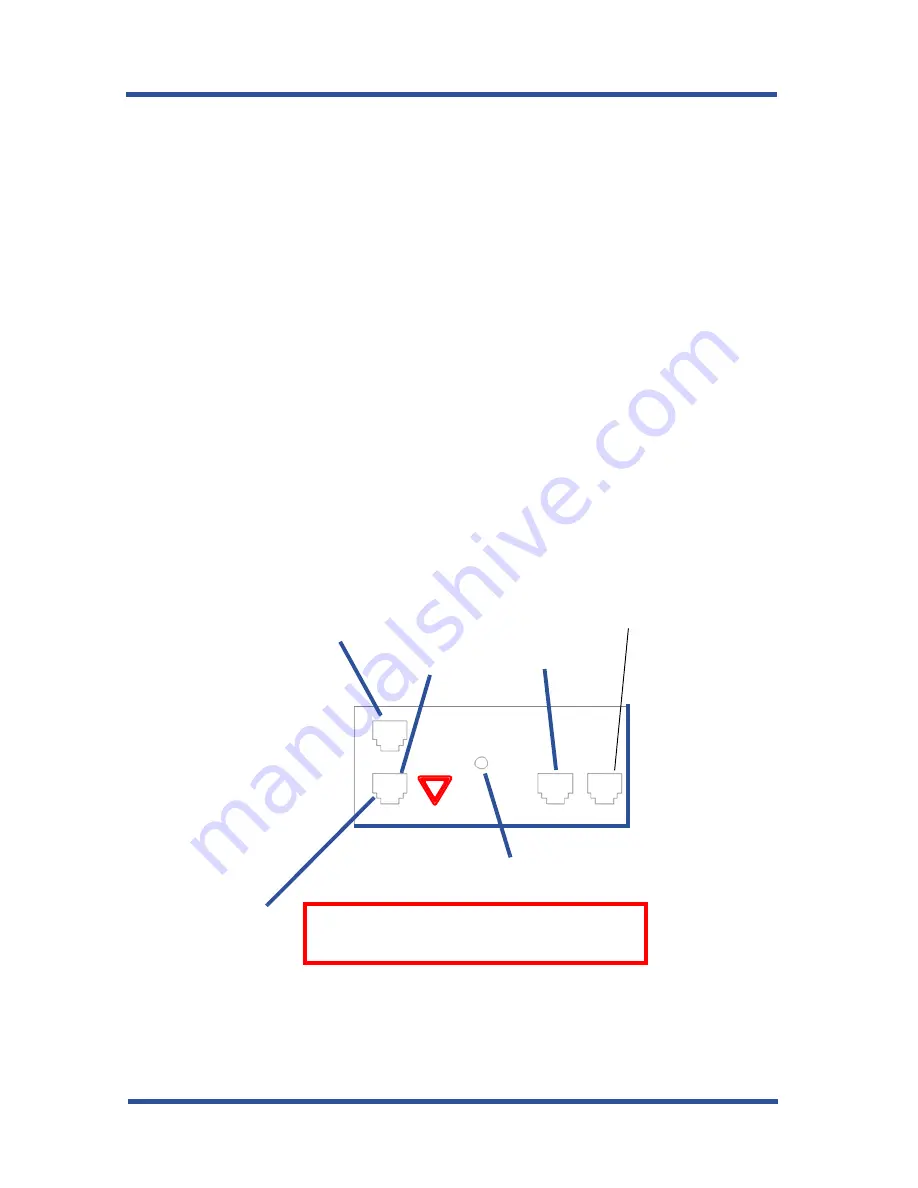
The connectors for attaching your Edge 300 to the network are located on
the underside of the instrument. Here you will also find connectors for
attaching the power supply and an optional headset. You can also connect
a cable from the Edge 300 to your PC so that both devices can operate with
a single network cable. The following diagram shows the cable connection
locations.
Note
:
Some types of network equipment can provide the
power for the Edge 300 instrument through its Ethernet
connection. In those instances, the external power
supply is not required.
To LAN
connection
To PC
To Handset
To Headset
Power
Caution:
Do not connect this jack
directly to a central office line.


