


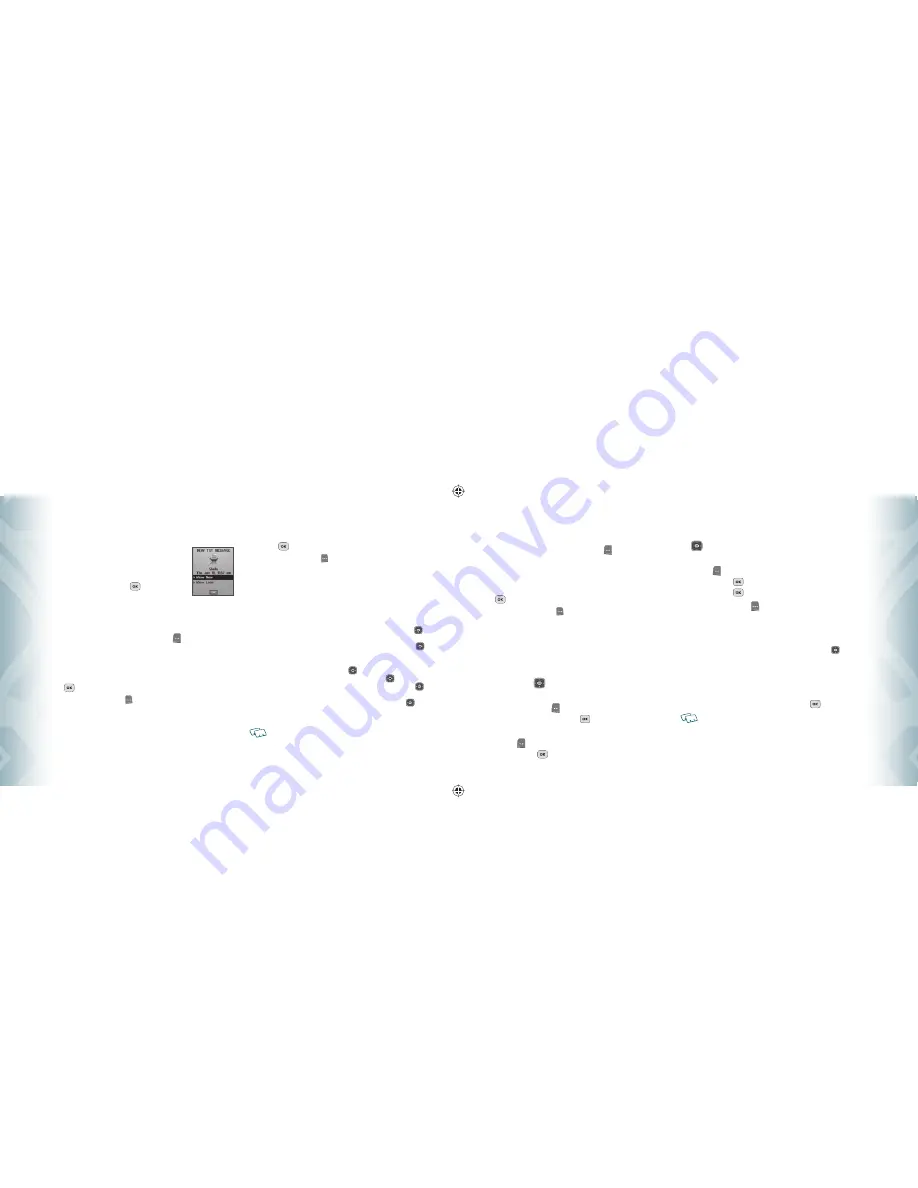
WHEN A NEW MESSAGE ARRIVES
1
.
The following display appears when a new
message arrives.
2
.
To display the message, select “
View Now
”
and then press the OK Key
[OK].
NEW MESSAGE
TXT MESSAGE
1
.
From standby mode, press the Left Soft Key [Message],
and press
1. New Message
.
2
.
Press “
1. TXT Message
”.
3
.
Under “
To:
”, input the phone number and then press the OK Key
[OK].
•
By pressing the Right Soft Key
[Add], you can choose from the following:
1. From Contacts:
Search for a phone number which is stored in the contacts list.
2. Recent Calls:
Search for a phone number which is stored in the recent calls list.
3. Groups:
Search the groups stored in the contacts list.
4. To Contacts:
Save the number or email you’ve entered to the contacts list, when you
enter the number.
4
.
Under “
Text:
”, input a new TXT message. When completed, press the
OK Key
[SEND].
•
By pressing the Right Soft Key
[Options], you can choose from the following:
1. Quick Text:
Inserts already written sentences in TXT message.
2. Save As Draft:
To save the TXT message.
3. Add:
To attach Quick Text, Graphic, Sound, Name Card.
•
Graphic:
Inserts simple graphic images in TXT message.
•
Sound:
Inserts EMS sound in TXT message.
•
Add Name Card:
Inserts name card in TXT message.
4. Edit Text Format:
Allows you to edit the “Alignment”, “Font Size”, “Font Style”, “Font
Color”, “Background Color”.
•
Alignment:
Select “Left”, “Center” or “Right” by pressing the Directional Key
left or right.
•
Font Size:
Select “Small”, “Normal” or “Large” by pressing the Directional Key
left or right.
•
Font Style:
Select “Strikethrough”, “Normal”, “Bold”, “Italic” or “Underline” by
pressing the Directional Key
left or right.
•
Font Color:
Select Font color by pressing the Directional Key
left or right.
•
Background Color:
Select Background color by pressing the Directional Key
left
or right.
5. Priority Level:
Select “High” or “Normal” by pressing the Directional Key
up or
down.
6. Cancel Message:
To cancel message.
If one of the fields is inserted in the TXT message field, the message is saved in the
draft box.
106
Chapter 6
−
Messaging Menu
M
essaging
Messaging
PICTURE MESSAGE
1
.
From standby mode, press the Left Soft Key [Message],
and press
1. New Message
.
2
.
Press “
2. Picture Message
”.
3
.
Under “
To:
”, input the phone number and then press the OK Key
[OK].
•
By pressing the Right Soft Key
[Add], you can choose from the following:
1. From Contacts:
Search for a phone number which is stored in the contacts list.
2. Recent Calls:
Search for a phone number which is stored in the recent calls list.
3. Groups:
Search the groups stored in the contacts list.
4. To Online Album:
To send Picture message by using online Address.
5. To Contacts:
Save the number or email you’ve entered to the contacts list, when you
enter the number.
4
.
Under “
Text:
”, input a New Picture Message and then press the
Directional Key
down.
5
.
Under “
Picture:
”, you can only insert/remove one picture.
Press the Left Soft Key [My Pics] to select the picture you would
like to send then press the OK Key
[OK].
6
.
Under “
Sound:
”, you can only insert/remove one sound. Press the Left
Soft Key [Sounds] to select the sound you would like to send then
press the OK Key
[OK].
7
.
Under “
Subject:
”, input a subject and then press the Directional Key
down.
8
.
Under “
Name Card:
”, you can insert your name card. Press the Left
Soft Key [Add] select “
1. My Name Card
” or “
2. Contacts
” then
press the OK Key
[OK]. Select the card you’d like to send then
press the OK Key
[OK].
9
.
Press the Right Soft Key [Options] to access the following:
•
Preview:
To preview a written Picture Message.
•
Save As Draft:
To save the Picture Message.
•
Add Quick Text:
Inserts already written sentences in Picture Message.
•
Add Slide:
To add a another message.
•
Priority Level:
Select “High” or “Normal” by pressing the Directional Key
up or down.
•
Remove Picture:
To remove inserted picture in Picture field.
•
Remove Slide:
To remove inserted Slide Message.
•
Remove Sound:
To remove inserted sound in Sound field.
•
Remove Name Card:
To remove inserted name card in Name Card field.
•
Cancel Message:
To cancel message.
10
.
To send the Picture message, press the OK Key
[SEND].
If one of the fields is inserted in Picture Message field, the message is saved in the
draft box.
Messaging Menu
−
Chapter 6
107
M
essaging
Messaging
080716_CDM8950_ECHO.indd 106-107
080716_CDM8950_ECHO.indd 106-107
2008.7.16 4:2:9 PM
2008.7.16 4:2:9 PM


