E - 14
This owner’s manual explains the basic instructions of this unit. Some DVDs are produced to
limit operation during playback. For example, many DVDs do not allow users to skip government
warnings, or in some cases previews or other features. This is not a defect in the unit. Refer to the
instruction notes of discs.
“ ” may appear on the screen during operation. A “ ” means that the desired operation is
not permitted by the unit or disc.
PLAyING A DISC
1. Slide the
STANDBy/ON
switch to the ON position. (Slide the
ON/OFF
switch on the
monitor to the ON position.
See
CUSTOMIZING THE DVD FUNCTION SETTINGS
before proceeding to step 2.
2. Press the button and hold the front panel to open the disc door.
3. Hold the disc by its edge and gently push it onto the spindle, with the label side facing
the front, until you hear a “click”.
4. Push the disc door gently to close it. It takes a short while for your unit to load the disc.
After loading, for most DVDs, the unit will automatically take you to the main menu
or start playing. If the unit does not automatically start playing the DVD, press the
PLAy
button.
PLAyING A PICTURE FILE DISC
This unit can play picture files recorded on CD-R and CD-RW discs.
1. Press the button and hold the front panel to open the disc door.
2. Hold the disc by its edge and gently push it onto the spindle, with the label side facing
the front, until you hear a “click”.
3. Push the door gently to close it. The picture files on the disc will be displayed one by
one automatically.
4. Press the
STOP
button to go to the folder list.
5. Press the or button to highlight a file to play. Press the
PLAy
button to start
playback.
Note:
• You can press the
PAUSE
button to interrupt playback, and press the
PLAy
button
to resume playback.
• You also can use the
GOTO
function or use the numbered buttons to enter the image
number to quickly select any image.
• Press the
ANGLE
button on the remote control to rotate the picture orientation by
90°.
CD/DVD OPERATION
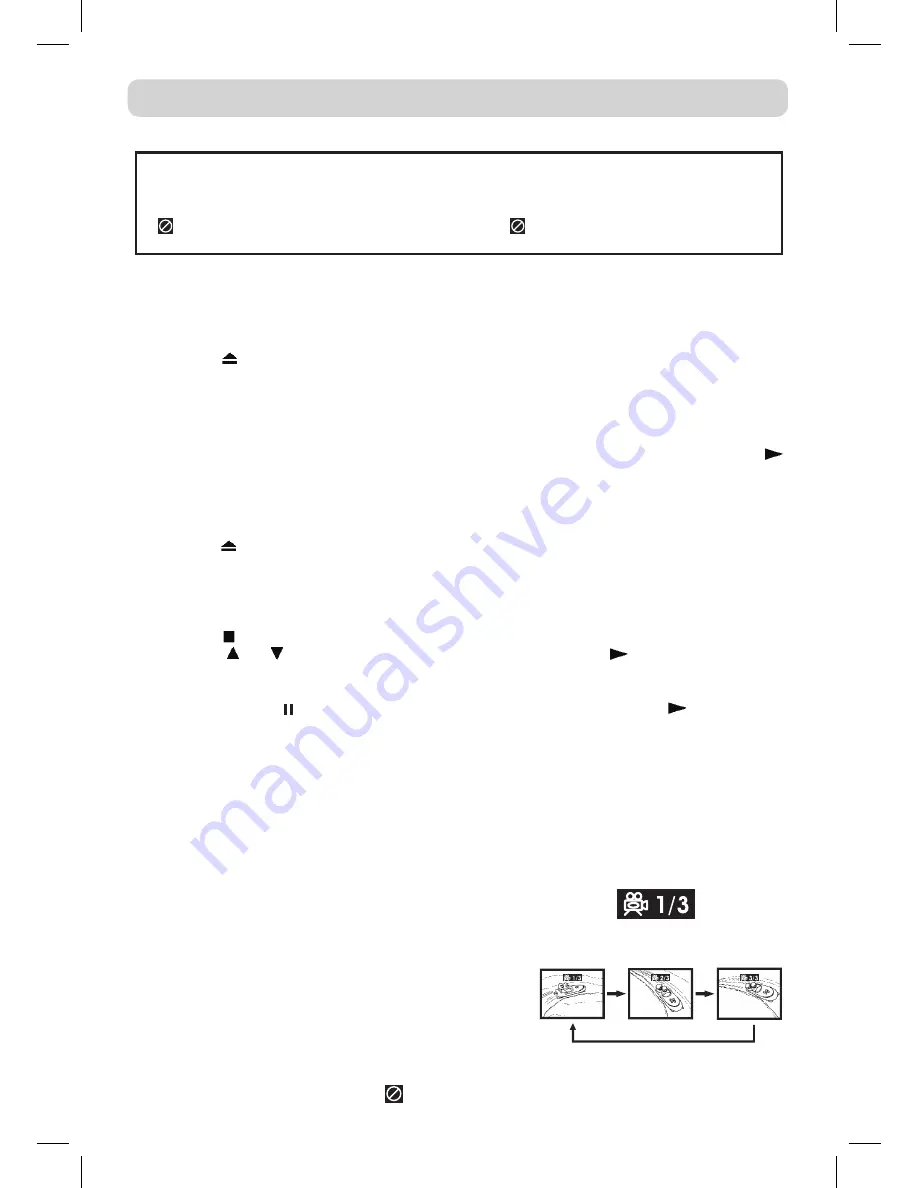
ANGLE SELECTION (DVD)
Some DVDs contain scenes that have been shot from a number of different angles. For
these discs, the same scene can be viewed from each of these different angles.
Note:
• this function can only be used for discs on which scenes shot from multiple angles have
been recorded.
• If only one angle is recorded, “ ” is displayed.
1. While you are playing a DVD with different angles
recorded, press the
ANGLE
button to view the number
of current angles available.
2. Press the
ANGLE
button repeatedly to change the scene
to the next angle in those recorded.
• about two seconds later, playback continues from
the new angle selected.
• If no button is pressed within 10 seconds, playback
continues without changing the current angle.
Sequence of angle shots
(Example)
811-798191W012.indd 14
4/1/2008 5:00:59 PM


