SERVICE
Service - 53
ROPS And Seat Belt Inspection
WARNING
Failure to inspect and maintain the Roll-Over Pro-
tection System (ROPS) and seat belt can lead to
serious injury or death.
If any part of the ROPS experiences structural
damage, the entire ROPS must be replaced.
Inspect the roll bar and seat belt prior to operation,
as part of the daily inspection.
1. Inspect the roll bar for damage, missing compo-
nents, and loose or missing hardware. Replace
any damaged or missing components and tighten
loose hardware prior to operating the power unit.
2. Inspect the seat belt webbing for cuts, abra-
sions, fraying, or excessive wear.
3. Inspect the seat belt webbing for damage from
exposure to the sun’s ultraviolet rays. If the original
color of the webbing is extremely faded, the physi-
cal strength of the webbing may be deteriorated.
4. Inspect the seat belt webbing for dust and dirt.
If the webbing is packed with dirt, the physical
strength of the webbing may be deteriorated.
5.
Inspect the seat belt webbing for stiffness. If
the webbing is no longer flexible, the physical
strength of the webbing may be deteriorated.
6. Inspect the seat belt buckle and latch for dam-
age, cracks, or excessive wear.
7. Inspect the seat belt for proper operation. The
seat belt should latch securely and release
smoothly. Seat belt adjustment should be
accomplished without excessive resistance.
If any problems are detected during this inspection,
the component must be replaced prior to operating
the power unit.
Parking Brake Inspection & Adjustment
The parking brake tension must be set between a
minimum of 15 pounds (7 kg) and a maximum of
22 pounds (10 kg) of force required to engage the
selector lever into the park brake position. If the
force required to engage the selector lever into the
park position is not within this range, or if engaging
the park brake will not prevent the power unit from
moving, the brake will need to be adjusted.
1. Park the power unit on a level surface.
2.
Shut off the engine and remove the key from the
ignition switch.
3.
WARNING
The parking brake must be disengaged as part of
the adjustment procedure. Park the power unit on
a level surface and place wheel chocks in front
and back of wheels to prevent the power unit from
rolling forward or backward.
Place wheel chocks in front and back of wheels
to prevent power unit from rolling.
4.
WARNING
If power unit is not adequately supported, the unit
could accidentally fall and trap or crush a person
or appendage, causing severe injury or death.
Lift the left front corner of the power unit so the
left front tire is off the ground and secure the
power unit with a jack stand or supporting block.
5. Remove the left front tire to provide easier
access to the brake adjustment castle nut.
6.
Place the selector lever in the Neutral Assist Off
position.
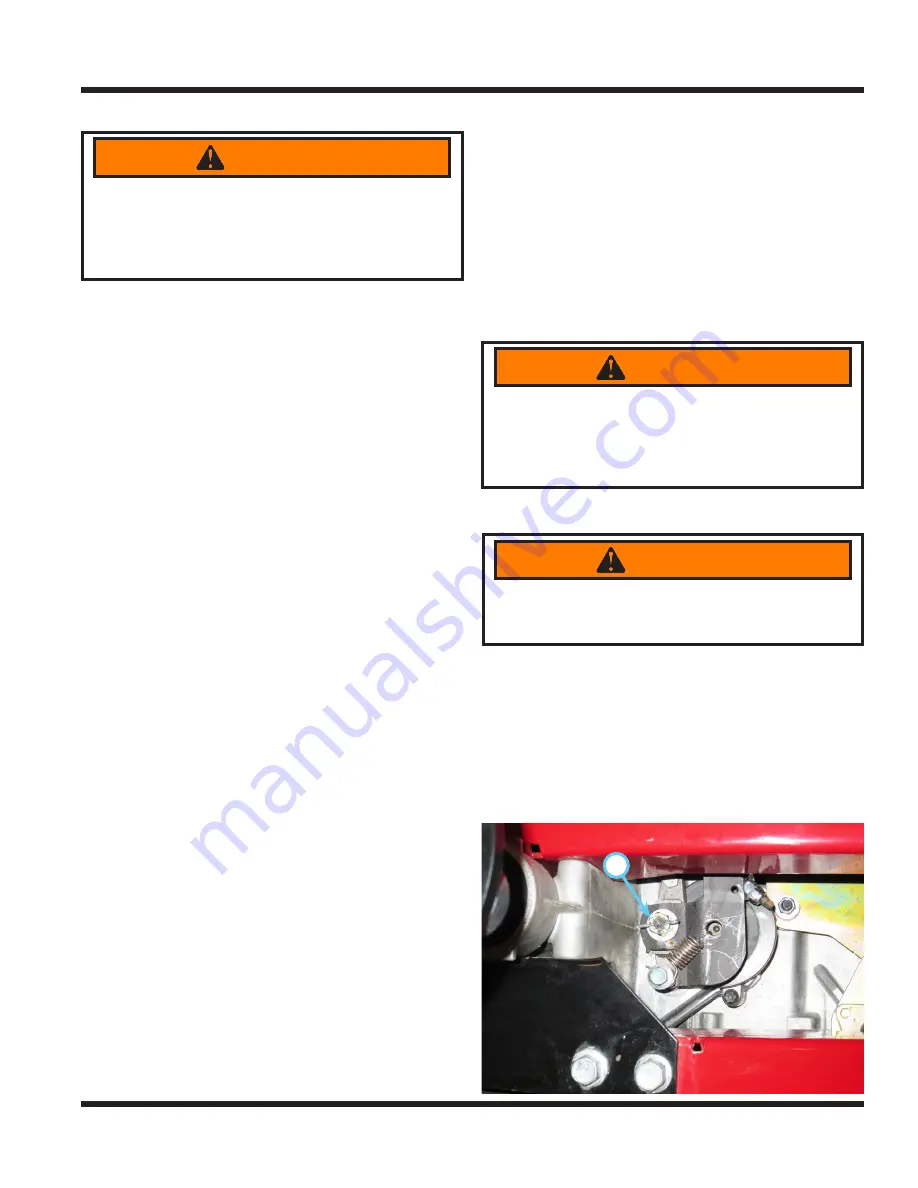
7. Remove the cotter pin from the brake adjust-
ment castle nut (A).
A


