1
1 sec
10 sec
L R
L R
18 VELUX
®
VELUX
®
19
ENGLISH
ENGLISH
Function as interface
Registration with VELUX INTEGRA
®
control pad KLR 200
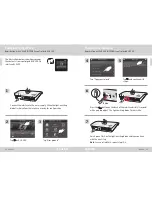
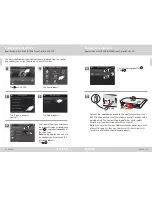
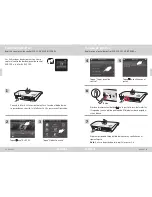
When the white light-emitting diode is on, interface KLF 200 has been
configured as an interface. The configuration may take up to several
minutes.
Note:
If you want to add more products to the interface, repeat
steps 9-15.
Function as interface
Registration with VELUX INTEGRA
®
control keypad KLI 110
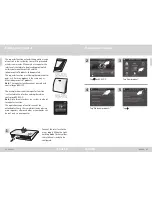
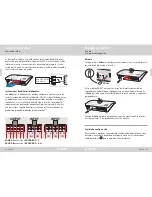
The illustrations below show how you copy the
contents from a control keypad KLI 110 to interface
KLF 200.
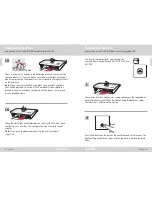
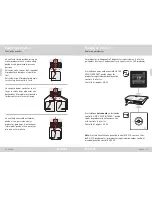
Connect the interface to the mains supply and connect the supplied wire
bundle to input terminal. When the light-emitting diode flashes yellow,
the interface is ready for configuration.
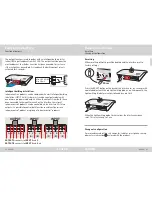
Short-circuit wires (1 second) in the double input which is to control the
chosen product(s). It can take up to 1 minute before the light-emitting di-
ode flashes green and the product(s) is/are assigned to the input terminal
on the interface.
Note:
When short-circuiting the same input again, previous configura-
tions will be replaced. This means that if a product is to be added to a
group which has already been configured, all the products in the group
have to be added again.
Press the R button on the back of the control keypad for 10 seconds. The
light-emitting diode flashes green and the products run briefly back and
forth.
1
16
15
2


