CCTVPROM18
V. 02.1 – 30/01/2014
6
©Velleman nv
ADVANCED CONFIG
Click to set CAMERA, DETECTION, ALERT, NETWORK, DISPLAY, RECORD, DEVICES,
DCCS, IVS & NOTIFY.
SCHEDULE SETTINGS Click to set record timer, detection timer & alarm timer.
Refer to the full user manual on the included CD-ROM for more details.
Setting Date and Time
Before using the DVR, the time and date shall be set to get a valid time stamp.
1.
Right-click the screen and enter the admin password.
2.
Click the QUICK START icon.
3.
Select TIME SETUP to set date and time.
Note:
once recording started, do not change date or time as this will make it very difficult to find back the recorded files.
Note:
when using the DVR for the first time and the correct time is set, leave it on for at least 48 hours.
Password Setting
1.
Right-click the screen and enter the admin password.
2.
Click the SYSTEM icon.
3.
Go to ACCOUNT. Select the password you want to set and click EDIT.
Note:
an operator cannot access the main menu, only the quick menu bar (see below).
4.
Press the cursor up (
) or down (
) button to select the value of the first number and press enter to save and go to
the next character, or use the mouse to select the desired value. Repeat this for all four password numbers.
Note:
the default admin password is
admin
.
Record Settings
1.
Right-click the screen and enter the admin password.
2.
Use the arrow button to select ADVANCED CONFIG.
3.
Use the arrow button to select RECORD.
4.
Select the record type you want to set (manual, event or timer).
5.
In "CHANNEL", select "ALL" to apply the changes to all channels.
6.
Or, select "BY CHANNEL" to set the image size, image per second & image quality individually for each channel.
7.
Use the arrow button to select GENERAL.
8.
Set the image size, images per second (I.P.S.) and image quality.
9.
Select APPLY.
Refer to the full user manual on the included CD-ROM for more details.
Audio Playback
Press the SLOW and ZOOM button simultaneously to select the desired audio channel or use the quick menu bar (see below).
The current audio channel is indicated in the status bar.
Switch Users
1.
The DVR can be accessed as administrator ( ) or operator (
), icons are indicated in the status bar.
2.
To switch between users, click on the user icon ( or
) to lock the current session (
).
3.
Click the key lock icon (
) and enter the password of the desired profile.
8.
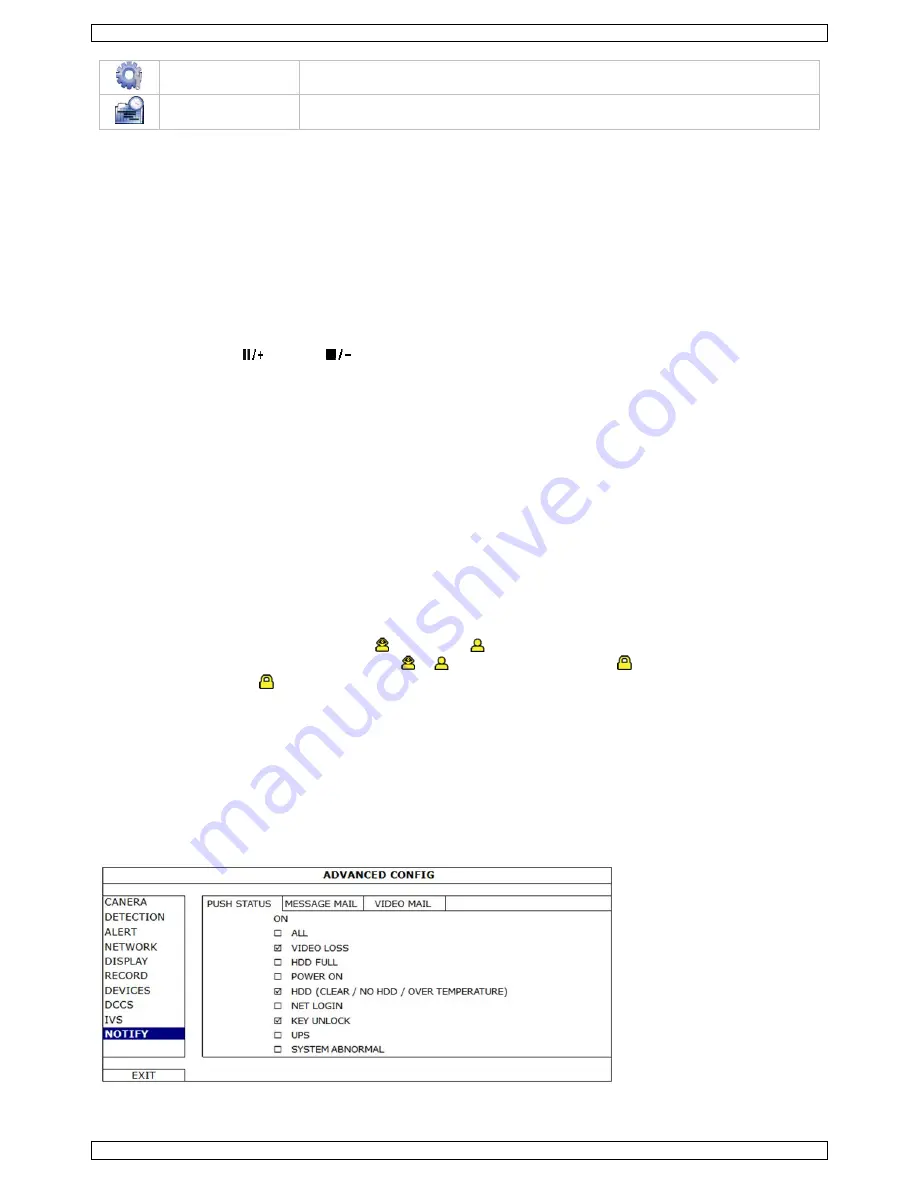
Push Status Configuration
If you have an iPhone, iPad, or Android mobile device, you can use the DVR's push status function: the DVR will send a
notification to your device when an alarm event occurs.
The alarm events are:
ALL
VIDEO LOSS
HDD FULL
POWER ON
HDD (CLEAR / NO HDD / OVER TEMPERATURE)
NET LOGIN
KEY UNLOCK
NETWORK
UPS
SYSTEM ABNORMAL.
To do so, you need to install the EagleEyes app on your mobile device (see
Installing the EagleEyes App
below).


