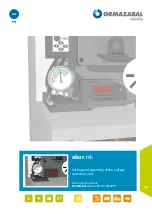
4.2. Checking the ekor
.rtk
relay
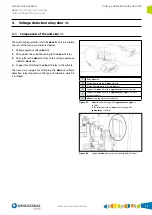
To test the output contacts on the
ekor
.rtk, press the test
push-button installed on the unit for this purpose, as shown
in
“Figure 4.3. Test push-button and indication LED”
. The
three phase output contacts will change position while the
push-button is being pressed. The green power indication
LED will turn red during the test to inform the operator of
the status of the unit. Once the test is completed, the LED
will switch back from red (relay in test status) to green (relay
in operating status).
1
Test push-button
2
Indication LED
Figure 4.3.
Test push-button and indication LED
4.3. ekor
.rtk
relay installation
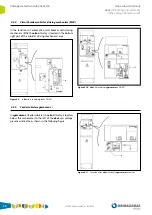
To install an
ekor
.rtk relay in a cubicle, you must have the
ekor
.rtk voltage presence relay assembly and the necessary
support, depending on the type of cubicle in which it is to
be fitted.
4.3.1. General instructions for the
ekor
.rtk
relay installation
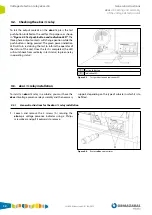
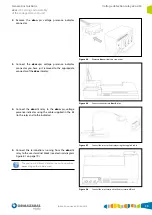
1.
Loosen and remove the 2 screws (A) securing the
ekor
.vpis voltage presence indicator using a Philips
screwdriver and pull it outwards to remove.
Figure 4.4.
Remove
ekor
.vpis
indicator
IG-094-EN version 09; 01/08/2019
12
Voltage detection relay ekor.rtk
General instructions
ekor
.rtk: Setting and assembly
of the voltage detection unit
Содержание ORMAZABAL ekor.rtk
Страница 23: ......

