Chapter 3 - Software Installation, Connection and Upgrade
MPA Installation Guide
3 - 3
Document No. CO 402227
2.
When installing
from the CD
, insert the Remote Client software CD into the PC’s
CD-ROM drive, and open the
Remote Client
folder.
−
Double-click
SETUP.EXE
from the
Remote Client
folder, to launch the
Remote Client software setup utility
3.
When installing
from the Web Site
, go to
www.lightwave.com/service/service.YOU
−
Register (if not already) and Login
−
Select
Remote Software
from the
Services
menu on the left
−
Download and launch the latest Remote Client software setup utility
−
Click OK to begin the installation
4.
Select
Next
and follow the on-screen instructions to install the software into a
directory. The default directory is
C:\Program Files\DLI\RemoteClient.
5.
From the Remote GUI Directories dialog box, select
(A) Create Multiple
Directories
(default) for faster access and to prevent downloading and overwriting
the previous remote GUI files every time the Remote Client connects to the MPA
device. Select Additional Information for details.
6.
After the installation is complete, a Remote Client shortcut icon appears on the
desktop. Open the application by clicking the
Remote Client
icon.
7.
This completes the installation. See
Starting the Remote Client software
information on connecting to a unit.
Starting the Remote Client software
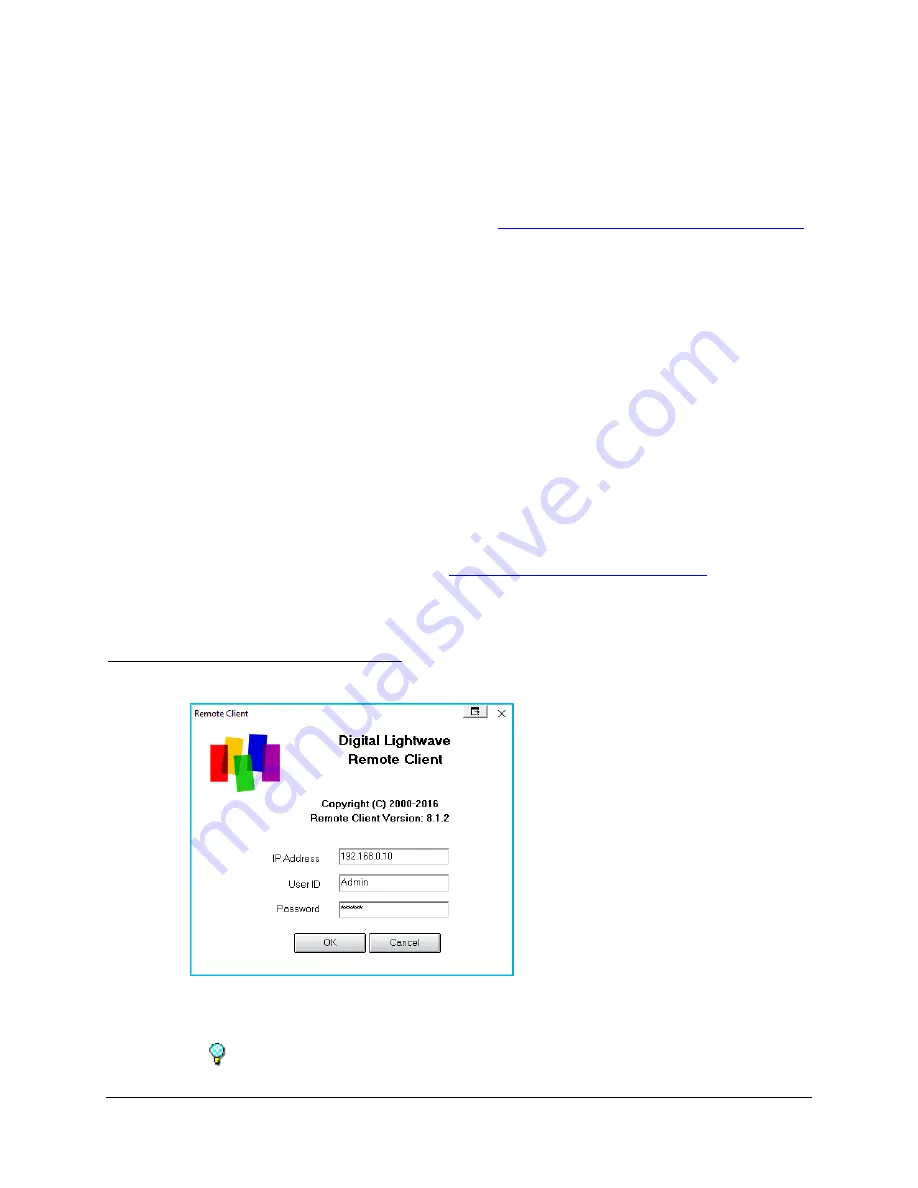
1.
Double-click the
Remote Client
icon that appears on the desktop.
Figure 3-1: Remote Client
2.
Enter the remote unit’s
IP Address
, and your user ID and password.
The default user ID is
Admin
. The default password is
Admin1
.
Содержание MPA SCM-210
Страница 1: ......
Страница 2: ...MPA INSTALLATION GUIDE ii MPA Installation Guide Document No CO 402227...


