TLC3-FCR-T Engineering Manual
Doc: 70-00-0200, V3.1 Date: 20160411
© Vector Controls GmbH, Switzerland
Page 5
Subject to alteration
Manual heat – cool change
To manually change heating or cooling mode press the OPTION key for more than 2 seconds. Access to manual heat –
cool change may be disabled by parameters.
Precondition: UP03 must be set = 1 or 3.
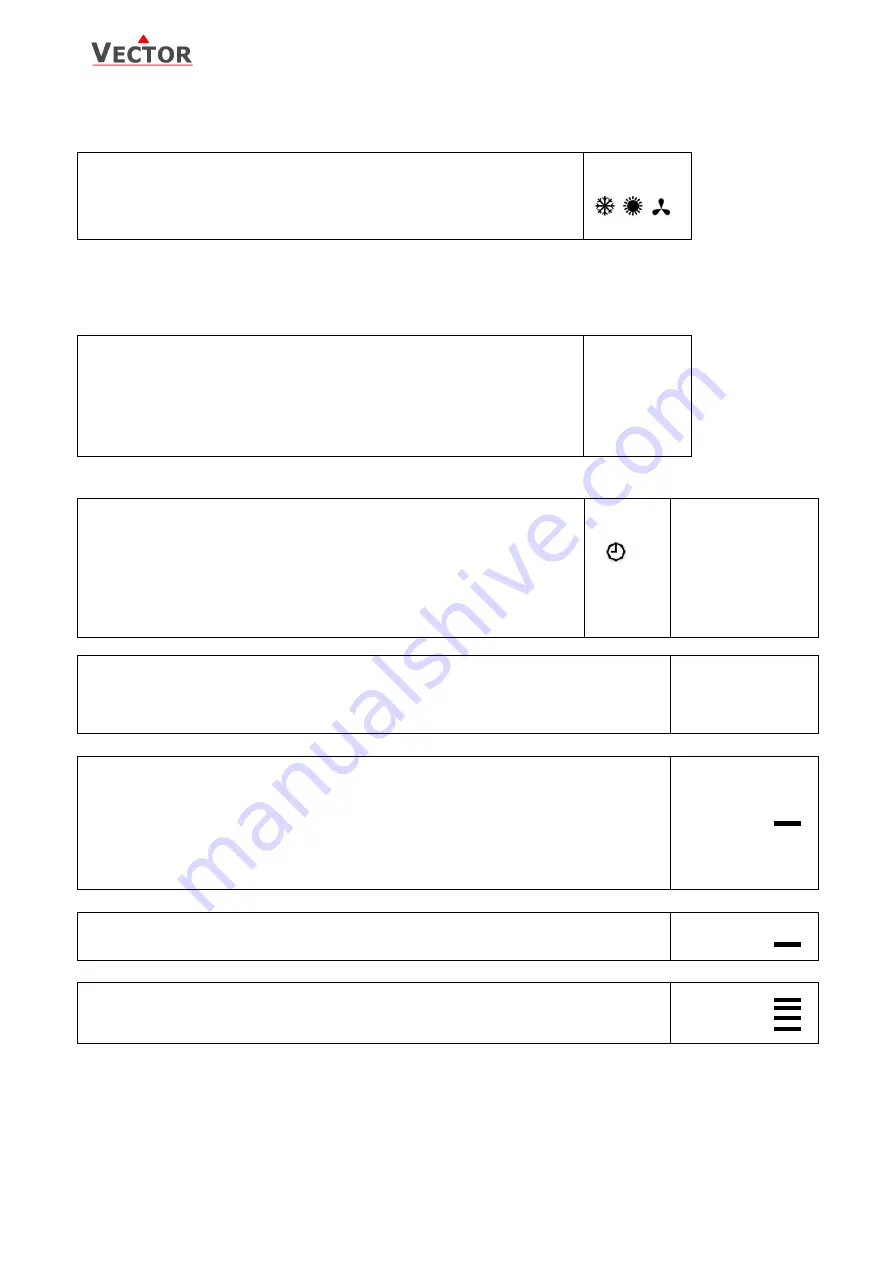
For standard models: Press OPTION > 2 sec. SEL and H-C is displayed.
For deluxe models: Press OPTION > 2 sec. SEL and current time is displayed.
Press UP key twice. SEL and H-C is displayed.
Press OPTION again to toggle Heating, Cooling and Fan only modes.
SEL
H-C
Clock operation
The deluxe model contains a quartz clock with battery back-up. Up to 4 time schedules with each 4 mode changes
based on time and day of the week may be programmed. A blinking clock indicates that the time has not been set or if
the unit was without power for longer than 48 hours. The time needs to be set to allow time schedules to operate.
Clock setup
Precondition: UP03 must be set = 2 or 3.
Press OPTION > 2 sec. SEL and current time displayed
Press OPTION < 2 sec. to change time,
Minutes blink: UP/DOWN to changes, OPTION to save,
Hours blink: UP/DOWN to changes, OPTION to save,
Press OPTION to save time,
DAY1 blinks: UP/DOWN to change, OPTION to save
SEL
00:00
DAY1 (Mon)
Creating time schedules
Step 1: Selection and enabling of time schedules
Precondition: UP03 must be set = 2 or 3.
Press OPTION > 2 sec. SEL and current time displayed
Press UP:
SEL and PRO displayed, clock symbol blinks
Press OPTION:
PRO1 shows with 1 blinking. UP/DOWN select time schedule group
Press OPTION
OFF/ ON blinks, UP/DOWN to change, OPTION to save
SEL
PRO
Pro1-Pro4
OFF/ON
Step 2: Select weekdays
This time schedule will be active during the selected weekdays
Press UP/DOWN to step through available options:
d1-7, d1-6, d1-5, d6-7, day1, day2, day3, day4, day5, day6, day7
Day 1 stands for Monday, day 2 for Tuesday and so forth
Press OPTION to save day selection
Pro1
d1-7
Step 3: Selected action of first switching event
One bar on the right side indicates the first switching event
Press UP/DOWN to select action for first switching event:
No = switching event not active
OFF = switches unit off, Reset (UP17) active if switched to ON manually.
Eco = sets operation mode to On and Economy (Not occupied),
reset (UP17) active if set to comfort manually
On = sets operation mode to On and Comfort (Occupied)
Uni = University mode, Reset (UP17) not active if manually activated
Press OPTION to select switching time of first event
Pr01
no
Step 4: Selected time of first switching event
Press UP/DOWN to select switching time:
Select switching time 00:00 to 23:45 in 15-minute steps
Press OPTION to complete and select action of second switching event
Pr01
08:00
Step 5: Select actions and time of switching event 2 - 4
Repeat Step 3 and Step 4 for the remaining switching events.
If a switching event is not needed, set it to “no”
The bars on the right side indicate number of switching event
After completing the 4
th
switching event, the process returns to the selection of the time schedule on step 1.
Pr01
08:00
UNI: University mode: This switching mode is used for rooms such as lecture rooms and auditoriums that might
be occupied during a certain time. During this time the reset is not active. The unit will not start itself when UNI
mode is active. It still needs to be manually activated. This is to avoid unnecessary heating or cooling of such
rooms while they are not occupied.
A blinking clock indicates that the time needs to be set. Time programs will not operate if the time is not defined.
See chapter operation, advanced settings for instructions on how to set the time.
Access to time schedules may be disabled with UP-04


