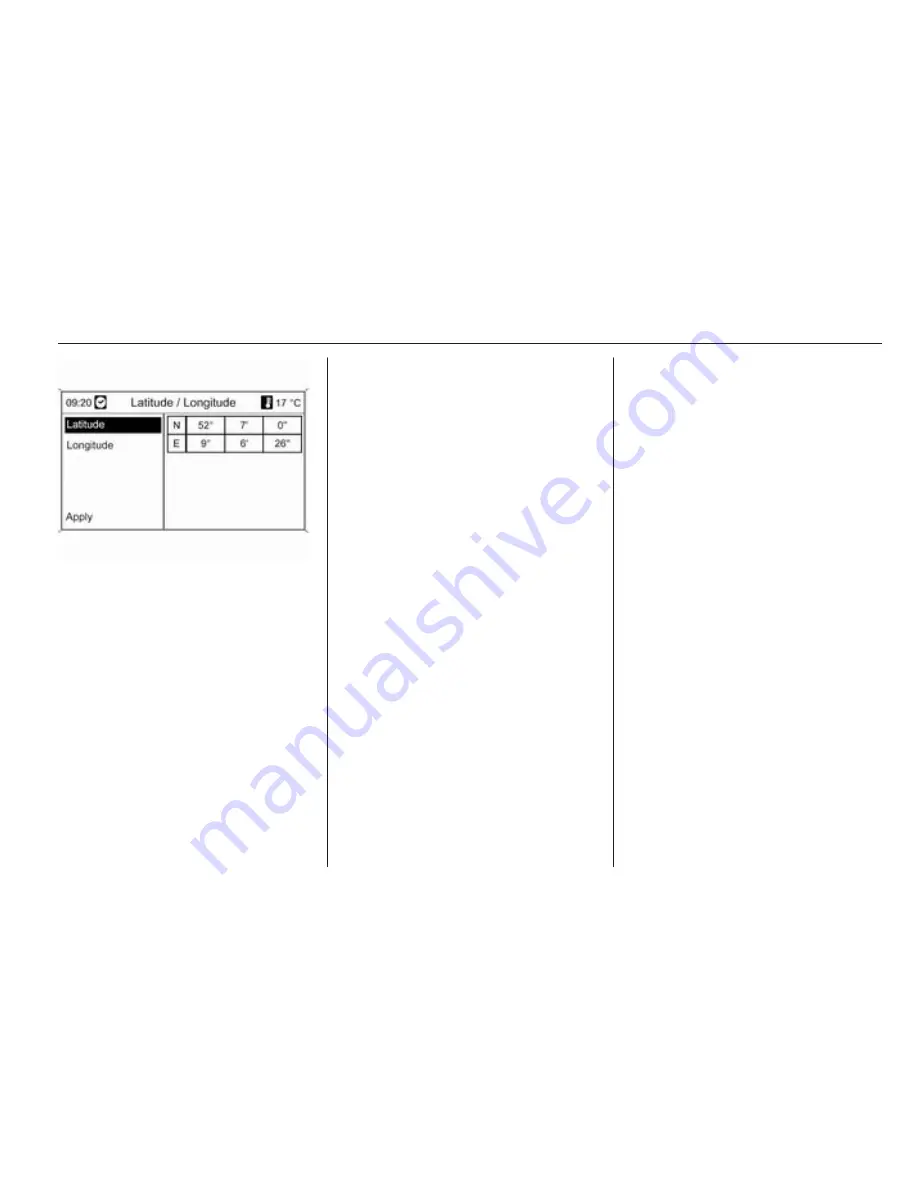
Navigation
77
Entering the Latitude coordinate
1. Select Latitude.
2. Turn the multifunction knob to
select N or S (north or south of the
equator).
3. Press the multifunction knob to
confirm the selection.
4. Turn the multifunction knob to
enter the desired degrees of
latitude.
5. Press the multifunction knob to
confirm the entry.
6. Enter the desired values for the
latitude minutes and seconds.
Entering the Longitude coordinate
1. Select Longitude.
2. Turn the multifunction knob to
select W or E (west or east of the
prime meridian in Greenwich).
3. Press the multifunction knob to
confirm the entry.
4. Enter and confirm the desired
values for the longitude degrees,
minutes and seconds.
Select Apply to confirm the displayed
coordinates.
The Navigation menu is displayed.
Starting route guidance
Select Start navigation to start route
guidance to the displayed address.
Description on route guidance, see
section "Guidance"
3
85.
Storing the address
Select Store if you want to store the
displayed address in the address
book or myPOIs memory.
The Store menu is displayed, see
"Storing an address in the address
book or myPOIs memory" below.
Storing an address in the
address book or myPOIs
memory
The Infotainment system provides
two separate memory areas where
you can store your favourite
destination addresses: the address
book and the myPOIs memory.
Before storing an address in one of
these memory areas, you need to
assign the address to a category:
■ If you want to store an address in
the address book, you need to
assign the address to the
categories Private or Business.
■ If you want to store an address in
the myPOIs memory, you can
choose from 18 categories (e.g.
Restaurant, Travel or Culture).
Storing an address in the address
book
Press the DEST button to open the
Enter destination menu, and then
select an option for the input or
selection of a destination address
(e.g. Enter address or Last
Содержание Astra GTC
Страница 5: ...4 Introduction Control elements overview Instrument panel Navi 600 Navi 900...
Страница 8: ...Introduction 7 Instrument panel CD 400...
Страница 10: ...Introduction 9 Instrument panel CD 300...
Страница 97: ...96 Navigation Symbols overview...
Страница 99: ...98 Navigation...


