2
Set up the heads w/ cameras
before connecting the green “Head Control” cables
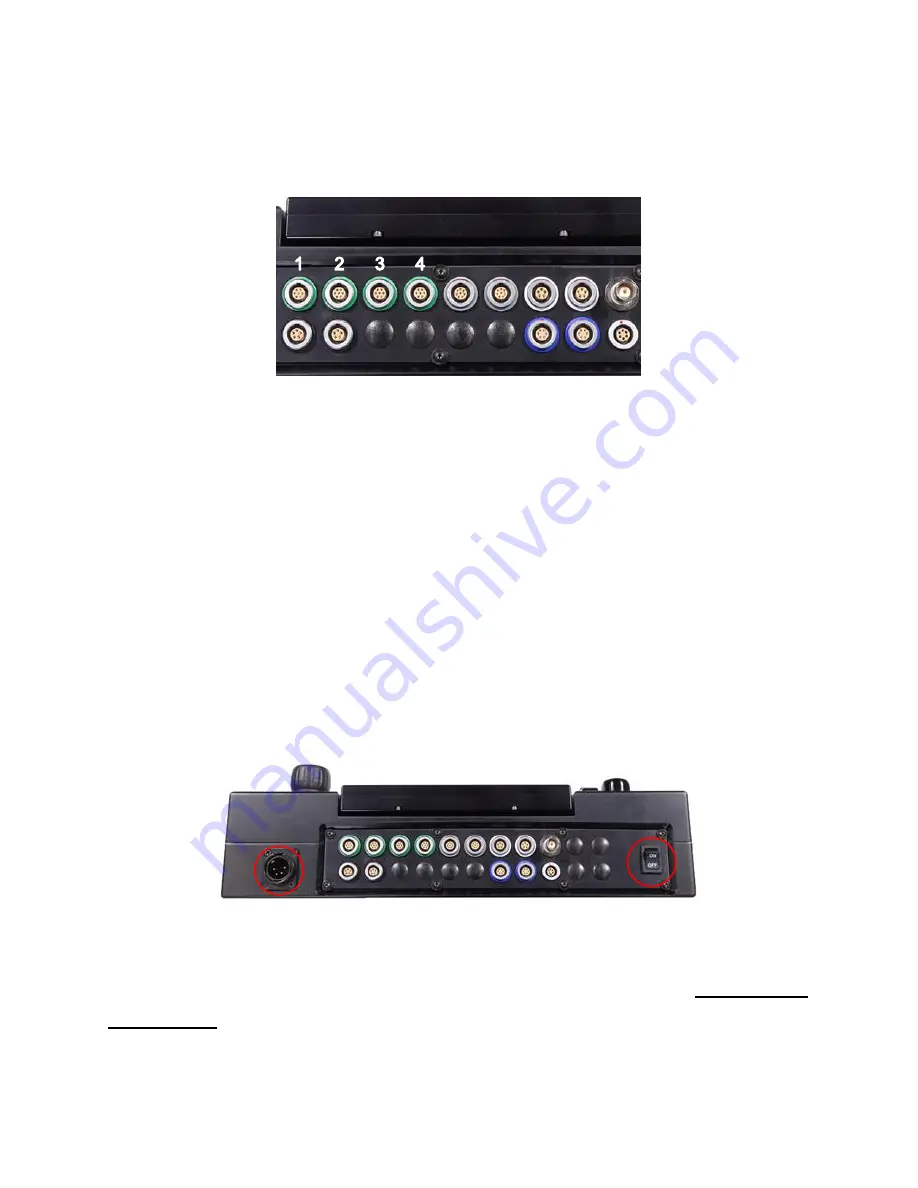
between the head and console. The control ports are indicated with green rings, and on
the River console they are ordered 1-4 from left to right. (connector panel may differ)
The additional ports are for advanced
optional
equipment and can be ignored for now.
The gray ports are serial connections that can be used for firmware updates or
connection to various external devices. The white ports are analog inputs for external
zoom/focus grips or foot pedals. The BNC connector allows camera sync for frame-
accurate motion control. The black ports are for track control (track not available yet).
The blue ports are for pan bars or hand wheels, and the uncoded 6pin Fischer port
below the BNC is for bloop/sync.
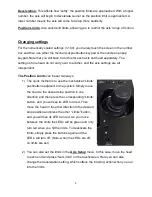
Make sure the power switch is “Off” and connect the River power supply to the XLR
connector.
Power up the console by flipping the back panel switch
“On.” Let the console warm up
for 5 minutes before operating. This will give you an opportunity to review
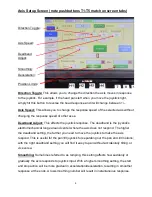
Touchscreen
Key Settings
(note “Axis” refers individually to Pan, Tilt, Zoom, etc). For now, ignore
anything not pointed out below:


