


vM CT360 STEREO CD TRANSPORT
5
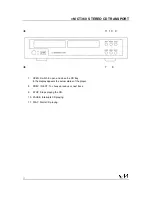
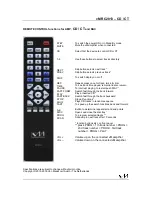
Controls
Precautions
Connections
Maintenance and advice
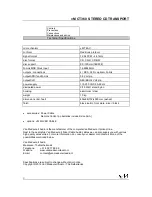
Technical Specifications
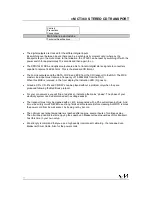
ONLY connect the transport to a (professionally installed) wall socket with earth or ground and the
corresponding voltage setting, as indicated on the back. Any faulty connection will invalidate the
warranty.
If it is necessary to replace the fuses, use only Slow fuse(s) with the exact same value. The fuse
holders are positioned inside the transport and should only be replaced by an authorized Van
Medevoort Service Center. There are no user serviceable parts inside.
The correct order for ON/OFF switching of the various products is as follows:
On: always first the source, then the pre-amplifier, followed by the power amplifier.
Off: always first the power amplifier, then the pre-amplifier, followed by the source.
With the Q-Link connection switch ON the DAC first (to produce the MCK) and second the
transport.
To prevent damage to your loudspeakers it is advisable, both at switching ON and OFF to turn the
volume control fully to the left. Fully anti-clockwise sets the volume at its lowest level. The same
applies when changing sources.
Do make sure that there is enough space in front of the transport in order to
change CD’s safely.
Do not put any magnetic devices near or on top of the transport, e.g. floppy disks. This can cause
irreparable damage to such devices.
If you experience any problems, always contact your nearest authorized Van Medevoort Service
Centre.
Содержание CT360
Страница 1: ...C T 3 6 0 INSTRUCTION MANUAL...


