manualshive.com logo in svg
background image

Version No.: V1.20170107

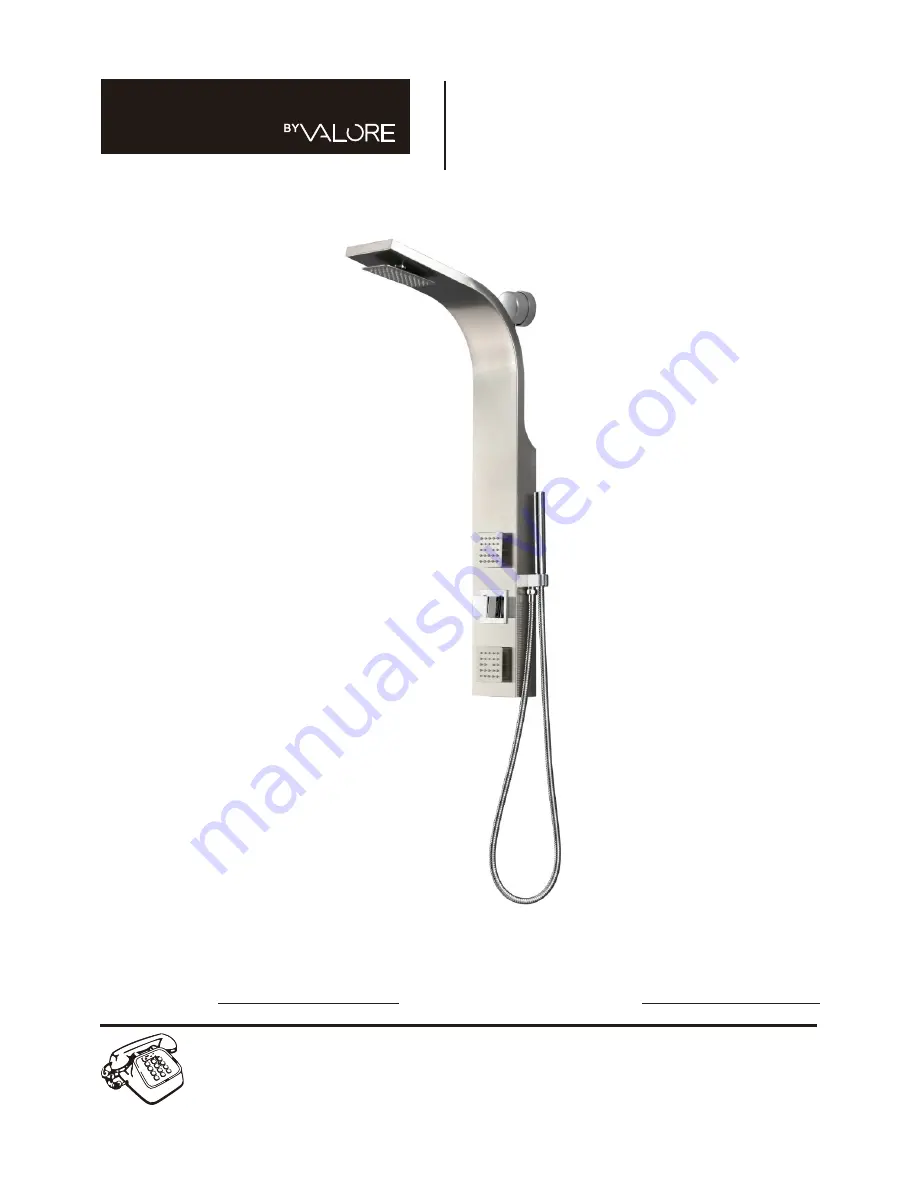
Easy Install Shower Panel

Installation and User Guide

EFFUSION

ATTACH YOUR RECEIPT HERE

Serial Number                                         

Purchase Date                                        

If you have questions relating to the use, warranty, return, claims and replacement,


please call: Phone: 877-551-0484 (Monday to Friday 8:30am-5:30pm Pacific)

Содержание Effusion

Страница 1: ...anel Installation and User Guide EFFUSION ATTACH YOUR RECEIPT HERE Serial Number Purchase Date If you have questions relating to the use warranty return claims and replacement please call Phone 877 551 0484 Monday to Friday 8 30am 5 30pm Pacific ...

Страница 2: ...IMENSIONS CODE COMPLIANCE FEATURES Read this Installation and User Guide before installing and operating Always take extra care when installing to prevent injury Wear appropriate safety equipment Do not allow children unsupervised use of the shower panel Do not use the shower panel if you are physically impaired or under the influence of alcohol or any substance which may prevent you from properly...

Страница 3: ...be installed to prevent water leakage Manufacturer will not be responsible or liable from any damage which results directly or indirectly from failure to installation of the O Ring Gasket This panel does not include a mixing valve it is intended for use in a shower with an existing mixing valve BEFORE INSTALLATION RECOMMENDED TOOLS FOR INSTALLATION PH 2 5 mm Drill Bit 6mm Electric Drill Wrenches 2...

Страница 4: ... 4 1 8 7 5 4 11 3 2 6 9 6 10 11 12 11 6 15 14 13 15 14 13 16 17 19 20 18 21 ...

Страница 5: ...ASSEMBLY a b 7 12 6 10 11 c d ASSEMBLY 5 1 9 9 9 9 6 9 9 ...

Страница 6: ...d to 4 Two brass extender joints Part 4 are included with this shower panel Test both extender joints to see which joint will provide you a minimum of 5 8 from the wall Use the plumbing tape and wrap the threaded part of the brass extender joint Part 4 on both ends Place the flow regulator Part 17 into the appropriate extender joint Part 4 ensure the flow regulator s direction is right as diagram 4 ...

Страница 7: ...ze of the shower panel The bottom of the template should be above your existing shower valve Recommended that there is a clearance above the valve If the template does not fit within the clearance provided you can mount the panel off center and to the side Installation Template Guide PVC cover is not required if the water outlet is below 33 38 Valve goes below this template Bottom of panel An inst...

Страница 8: ... Hose Part 8 and shear the excess length from the hose Draw a level horizontal line based on the lower edge of the selected hole Shear Connecting the Supply Line Elbow to the main PVC Supply Line 1 Insert the Ring Clamp Part 7 onto the end of PVC Supply Line Part 8 2 Fully insert the grooved end of the Elbow Connector Part 3 into the PVC Supply Line Part 8 3 With a Phillips head screwdriver tighte...

Страница 9: ...es have been drilled insert the provided Anchor Screws Part 15 To ensure the template and your shower panel will be in a completely straight and level position use a level tool against the side of the template guide to make fine adjustments to the template guide s position until fully level Once fully level this will be the final position of the template guide Take a pencil marker and mark the pos...

Страница 10: ... brackets Part 14 using the supplied screws Part 13 For the Positioning Mounting Brackets Part 14 make sure that they are installed with protruding portion facing upward as shown in the drawing 14 12 11 INSTALLATION INSTRUCTIONS 10 14 x2PCS 13 x4PCS PH ...

Страница 11: ... sealant can be applied to seal the gap between the shower panel casing and the shower wall to hold it in place and prevent water from entering behind the panel 1 Peel off the paper backing to the adhesive ring for the Base Plate cover Part 5 2 Place the adhesive side to the wall and apply pressure to secure the Base Plate Cover Part 5 Note Remove all residues to ensure the cover will bond properl...

Страница 12: ...or knob is placed in c When the selector knob is placed in a Shower Head Position a b c When the selector knob is placed in between two operating this will result in a to simultaneous operation of both adjustment spray modes A slight reduction in water pressure may occur due to the shared water flow between the two spray modes Dual Spray Modes When the position knob is placed in the d handshower a...

Страница 13: ...open the set screw access hole 1 Loosen the set screw 1 from the valve stem and pull the knob 2 straight out 2 2 5 mm 3 2 1 Loosen and remove the gland nut 4 4 4 3 13 4 5 1 2 3 3 1 Remove the Diverter valve 5 by pulling it straight out 5 Diverter valve 4 2 5 mm 2 1 1 Diverter valve ...

Страница 14: ...correct position of the knob has been determined place the knob on the valve stem and tighten the set screw 1 Do not overtighten 14 5 Diverter valve Place the Diverter valve 5 into the valve body Note the one pillar on the bottom of the Diverter valve 5 must be aligned with the hole in the rear of the body 2 4 2 Tighten the gland nut 4 Take precaution to avoid scratching the trim plate Do not forc...

Страница 15: ...ing forced into cold water pipe or vice versa when mixer is closed Check valves dirty or leaking Clean check valves exchange if necessary Dirt or sedimentation on valve seat shut off unit damaged Clean or exchange shut off unit Shower drips continuously Modern faucets and shower products utilize a combination of materials to comply with the needs of the market with regard to design and functionali...

Страница 16: ...the purchase price The limited warranty does not cover damage due to such things as accident misuse abuse mishandling neglect acts of God fires earthquakes floods high winds government war riot or labor issues defined as strikes lockouts delay of carrier unauthorized repair or any other beyond the control of the Seller whether similar or dissimilar to the foregoing Seller is not responsible for an...

Отзывы: