background image

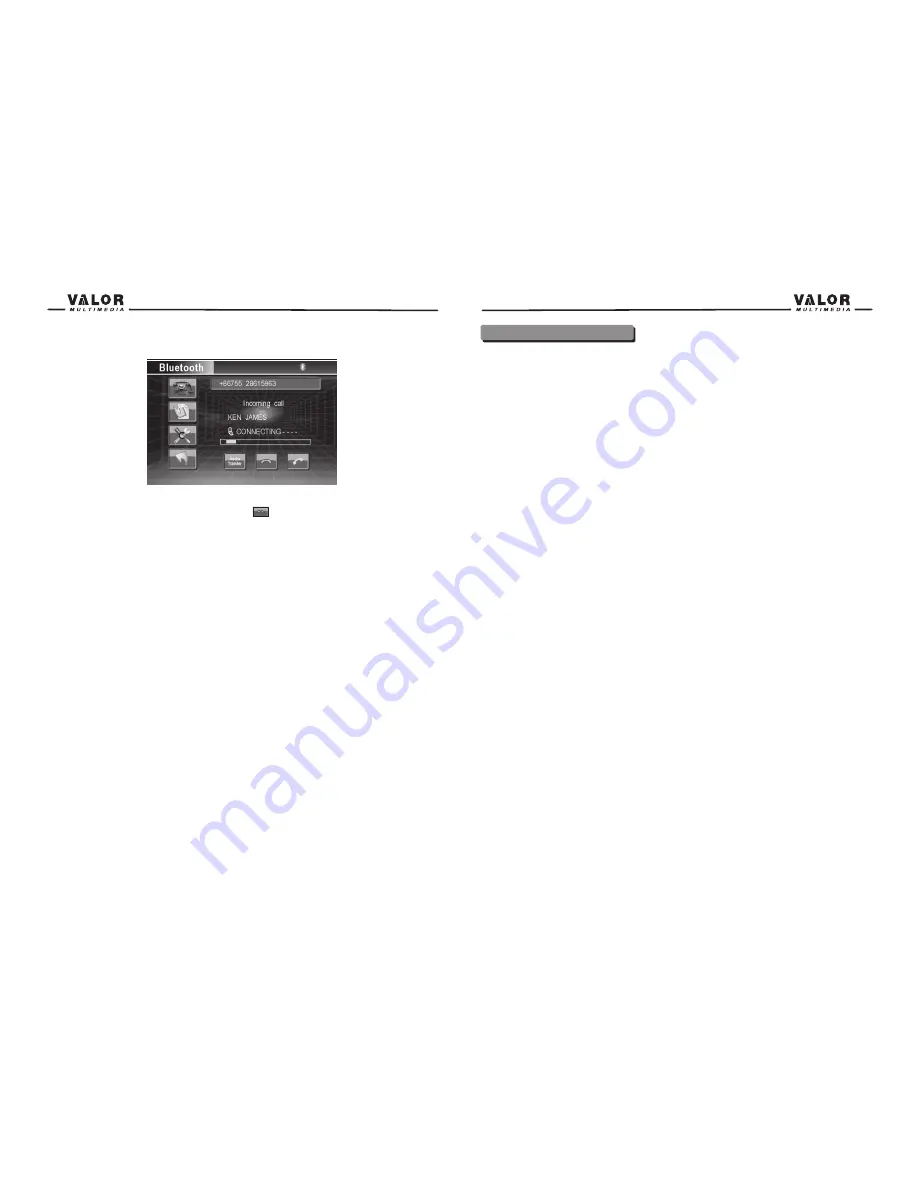
End a call


Press the ESC button on the remote or touch the


icon to end a call.


NOTE:


Not all handsets are compatible with the Bluetooth hands free system. Please check the 


compatibility list if you are experiencing connectivity problems. If you are experiencing 


operation problems, please contact your installation center for assistance. You may have an 


Incompatible handset and your unit is functioning normally. 

46

Navigation Operation

Access the Navigation mode


1. Access the MAIN menu and select the NAVI button on the touch-screen to enter the 


Navigation Operation interface.


2. Press the SRC button on the front panel or on the remote control to switch the source to 


Navigation.


3. Press NAV button on the front panel of the unit.

Navigation Operation


Please read the Navigation Software User Manual

IMPORTANT INFORMATION:


Make sure that the SD Card with the map information is inserted into the NAV-1 or NAV-2 


navigation unit before installing in the vehicle. It may be hard to access this card slot once the 


installation is completed.


Follow the instructions on loading mapping information from the DVD-ROM to the SD Card in the 


Navigation Software User Manual. This must be done prior to loading the SD Card into the 


Navigation Unit.

How to Listening to an Audio program while using/viewing the Navigation

47

You can listen to an audio program while using Navigation. To do so, do the following:

1. Select the audio source. The source can be the Tuner, Satellite Radio, iPod, SD 

Card, or the audio from the AUX input.

2. Touch the NAV button on the front panel to select Navigation. The map will be 

shown on the TFT display, and audio will continue to play while you are in the 

Navigation mode.

3. Navigation voice prompts will mute the audio source, give the instruction, and then 

return to the audio source

4. To adjust a parameter of the audio source (i.e., select a different radio station), 

touch the NAV button. This will return you to the audio source screen. Make your 

adjustments, and then press the NAV button to return the Navigation function. 

Navigation will continue while you are in an audio source screen, and voice prompts 

will continue while you make adjustments.

Содержание DTS-660W

Страница 1: ...DTS 660W...

Страница 2: ...o Signal Processing Configuration Menu Rear Zone Operation Standby Tuner Operation Tuner TFT Display Switch to Radio Tuner source Select FM AM Band Auto Tuning Manual Tuning Using Preset Stations Auto...

Страница 3: ...50W X 5 output amplifier 5 1 channel surround sound output Dual zone function with easy operation Smart Touch screen operation All functions can be operated by included Remote Controls Rear zone remo...

Страница 4: ...S in this manual Controls and Indicators Button Operation 1 MENU Press to go to MAIN menu Press to go to the previous source if applicable while in the MAIN menu 2 FM AM Press to change among the foll...

Страница 5: ...screen controls and different mode displays different menu F On DVD VCD mode display the GOTO search menu on the screen directly The key areas of touch screen The touch key areas are outlined below fo...

Страница 6: ...in chapter track preset station in current band Position search function on VCD DVD mode Up down left right to select items for setting Title Root Also can activate and disable SCAN mode while playing...

Страница 7: ...nitor into the desired viewing position If TFT Auto Open is Manual when the unit is turned on or turned off the monitor has no Movement See General setting for more instructions Monitor Tilt Angle Adj...

Страница 8: ...iew video camera NAVI and SD Card The playing mode is displayed on the TFT display AUX IN Mode An external audio video device can be connected to this unit via RCA cables to the AUX IN CAMERA Mode CAM...

Страница 9: ...ts Rear Zone If a monitor is installed in the rear zone and connected to the rear zone AV output passengers in the back seat can control the DVD output using the rear zone remote control See Rear Zone...

Страница 10: ...h to access the Standby mode Note Remote Smart dial touch screen operations and buttons on front panel are all useable to select menu and adjust settings The following instructions will show the diffe...

Страница 11: ...on directly 3 The numeric keypad will pop up 4 Press the numeric button on the remote control or touch the numeric keypad on the screen to adjust the hour or minutes 5 Press the OK button on the remot...

Страница 12: ...sover frequency sets a cut off frequency of the subwoofer s LPF low pass filter and the SMALL speakers HPF high pass filter The Crossover frequency setting has no effect if the subwoofer is set to Off...

Страница 13: ...ce Menu simultaneously Tuner Operation 1 Current Source information touch this area to return to MAIN menu 2 Current Radio Band Indicator 3 Current Preset Station playing Indicator 4 Stereo Broadcast...

Страница 14: ...buttons on the screen to see the other 6 stations Storing a Station 1 Select a band if needed then select a station 2 Touch and hold an onscreen preset button 6 for three seconds The preset number ap...

Страница 15: ...er you want to start and the point B wherever you want to end then DVD displays from A to B continually 7 Touch to choose a language if the disc is recorded in multiple languages 8 Touch to display Su...

Страница 16: ...udio Support for CD SD Card and DVD Surround I is available for decoding analog or digital 2 channel down mixed sources Surround II is available for decoding digital bit stream sources NOTE Only 2 Cha...

Страница 17: ...the button Playback Information During DVD and VCD playback press the INFO button on the remote control or touch area B to display playback information on the screen including the media playing and c...

Страница 18: ...If you want To restore the factory default settings please use the Load Factory in the RATING Menu See RATING Menu Selecting a Feature for Adjustment Once inside a menu press the on the remote control...

Страница 19: ...enter speaker does not have good bass output Use when center speaker is not present Speaker Selection Selecting LARGE for the multi channel speaker option will give a full range output Selecting SMALL...

Страница 20: ...n CD MP3 WMA JPEG Operation Instructions for Insert Eject Play Pause Stopping Playback Track Selection Fast Forward Fast Reverse Scan and Random Play are the same for DVD CD and MP3 operation Please s...

Страница 21: ...5 17 16 18 13 14 19 12 8 9 10 11 1 Current source indicator touch this area to access MAIN menu 2 Disc title 3 Track title 4 Bluetooth indicator 5 Current time 6 Touch to play pause 7 Touch to stop d...

Страница 22: ...17 Elapsed playing time 18 Playback information 19 Volume indicator 38 iPod Operation Accessing iPod Mode 1 To switch to iPod mode press the SRC button on the front panel or the SRC button on the remo...

Страница 23: ...low NOTE An optional Terk XM Direct Universal Tuner box XMD1000 and XM Antenna is required to receive XM Radio along with a subscription to XM Radio Check with your dealer for these Optional devices 1...

Страница 24: ...ion to activate the Bluetooth feature 2 Pair your mobile phone to this unit refer to the Pairing operation It is necessary to pair your phone to the unit Without pairing Bluetooth is not available The...

Страница 25: ...n connected with the unit and you want to still pair a new one then the system will retain the default phone and last used phone used The phone least used except the default phone will be deleted and...

Страница 26: ...ccess this card slot once the installation is completed Follow the instructions on loading mapping information from the DVD ROM to the SD Card in the Navigation Software User Manual This must be done...

Страница 27: ...Clean disc or replace Recreate disc with good files DISC 49 Unit will not power on Remote control does not function No low audio output Poor sound quality or distortion Tel Mute malfunction Unit reset...

Страница 28: ...side up Press EJECT key for 5 seconds to reset loading mechanism Remote control Remote control does not function Battery is covered with insulation tape Battery depleted Battery installed incorrectly...

Страница 29: ...d clean the discs used in this unit more frequently than used in your home because of the environmental conditions of the vehicle Suggestions 52 Specifications Power Ratings Main Amplifier Power Outpu...

Страница 30: ...e Resolution DVD Composite Video in 280 800 sub pixels 1200 W X 234 H Viewing angle 55 60 degrees left or right 35 40 degrees up 50 55 degrees down General Auxiliary Input impedance 10k Power Supply 1...

Отзывы: