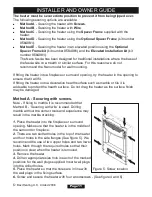
Fitting the brackets to the heater.
1.
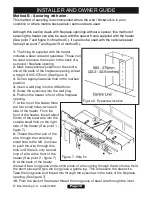
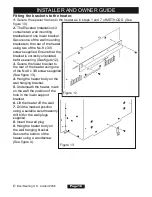
Secure the spacer frames to the heater as in steps 1 and 7 of METHOD D (See
figure 10).
2.
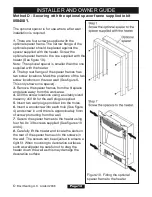
The Elevated Installation kit
contains two wall mounting
brackets and one lower bracket.
Secure one of the wall mounting
brackets to the rear of the heater
using two of the No.8 x 3/8
screws supplied. Ensure that the
bracket is correctly orientated
before securing (See figure 12).
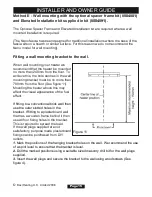
3.
Secure the lower bracket to
the rear of the heater using one
of the No.8 x 3/8 screws supplied
(See figure 13).
4.
Hang the heater body on the
wall hanging bracket.
5.
Underneath the heater, mark
on the wall the position of the
hole in the lower support
bracket.
6.
Lift the heater off the wall.
7.
Drill the marked position
using a suitable sized masonry
drill bit for the wall plugs
supplied.
8.
Insert the wall plug.
9.
Hang the heater body on
the wall hanging bracket.
Secure the bottom of the
heater using a woodscrew
(See figure 4).
Page 16
INSTALLER AND OWNER GUIDE
©
Baxi Heating U.K. Limited 2008.
Figure 13
Figure 12
Содержание 842
Страница 25: ...Baxi Heating U K Limited 2008...


