Valcom Master Clock
(V2)
Page 17
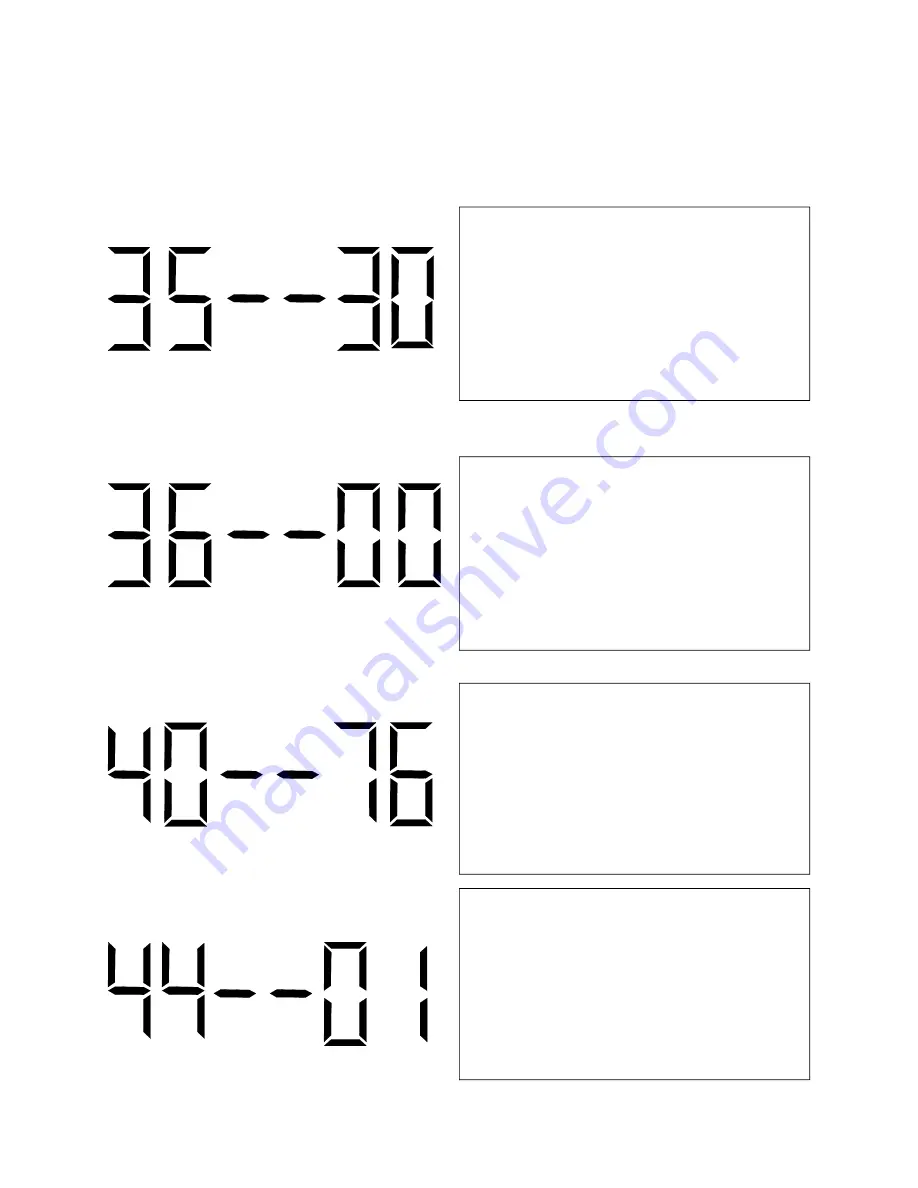
Press the top button to enter option 40. The num-
ber “40” will appear on the left side of the LED
display. This option displays the last time the clock
received an input signal (in hours). The display will
be between 00 - 99. This option is read only. It
cannot be modified.
Press the top button to enter option 44. The num-
ber “44” will appear on the left side of the LED
display. This option displays whether the clock is
receiving an Internet Connection. A “01” will ap-
pear on the right side if the master is receiving an
Internet Connection. A “00” will appear on the
right side if it is not receiving an Internet Connec-
tion. This option is a read-only option.
Press the top button to enter option 35. The num-
ber “35” will appear on the left side of the LED
display. This option allows the user to set the min-
utes that the time is to go to when Once A Day
Pulse is selected. Press the bottom button to scroll
through “00-59”.
*This option is only available if option 30 or 31 is
set to 11.
Press the top button to enter option 34. The num-
ber “34” will appear on the left side of the LED
display. This option allows the user to set the sec-
onds that the time is to go to when Once A Day
Pulse is selected. Press the bottom button to scroll
through “00-59”.
*This option is only available if option 30 or 31 is
set to 11.
Содержание V-GPS-TX
Страница 1: ...Valcom Master Clock V2 V WMCA V GPSA V GPS TX Valcom Inc 5614 Hollins Road Roanoke VA 24019 ...
Страница 23: ...Valcom Master Clock V2 Page 23 Web Browser Programming System Settings Page 1 1 2 3 4 5 6 7 ...
Страница 25: ...Valcom Master Clock V2 Page 25 System Settings Page 2 Web Browser Programming 1 2 3 4 5 6 7 8 ...
Страница 27: ...Valcom Master Clock V2 Page 27 IP Settings Page 1 Web Browser Programming 1 2 3 4 5 6 7 8 9 ...


