NuvaWave Handheld Disinfection Device Instructions for Use
037-0110 (Rev C)
© 2020 UV Innovators, LLC
Page 25 of 35
3.2.5 Powering
Up
NuvaWave
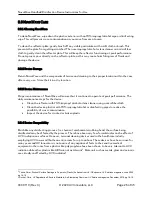
To power on the device, make sure the battery cable is connected to NuvaWave. Press the switch
located at the bottom of NuvaWave to the ON position. NuvaWave has a power-up sequence that it
will run every time the device is powered on.
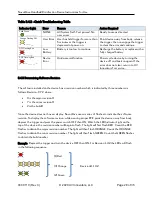
The LED Indicator light will first flash Red, then Orange, then Green. If the device has passed all self-
tests, the light will remain a solid Green, indicating that the system is ready for use. If the LED
Indicator Light begins to flash at any point after the power-up cycle, this is an indication of either a
user error or a system error. For a full break down of the LED error sequences and their meanings,
refer to Section 3.4.
3.2.6
Disinfecting with NuvaWave
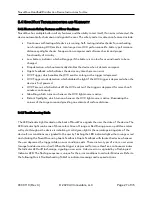
To begin disinfecting with NuvaWave, make sure the UVC Light Source is pointed away from you and
towards the surface you wish to disinfect. Engage the trigger located on the handle to begin
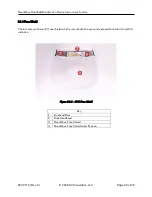
disinfection. The Glow Ring will turn on and glow blue when the UVC light is being emitted. Four
Spotlights will illuminate the corners of the area you are disinfecting with white light. UVC light is
invisible, so the Glow Ring and the four Spotlights will alert you that UVC light is being emitted.
To properly disinfect an area, NuvaWave
must be held 25mm to 90 mm. (1 to 3.5 inches) above the
surface you wish to disinfect. Hold the device above the contaminated area and move the device
slowly in a sweeping motion, exposing each point on the surface for at least 2 seconds. Refer to Tables
4.2 - 4.4 for a summary of 3-log disinfection times for common pathogens, including SARS-CoV-2.
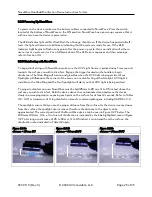
The spotlights ensure that you are the proper distance from the surface. As the device is moved away
from the surface the spotlight size increases, therefore the distance to the object can be
approximated. The correct position of the NuvaWave device can be seen in Figure 3.2.7 below. The
100mm x 100 mm. (4 in. x 4 in.) area of disinfection is indicated by the blue highlighted area on Figure
3.2.7a. As long as a distance of 25 to 90 mm. (1 to 3.5 inches) is maintained from the surface, the
disinfection rates indicated in Table 4.2 apply.
Figure 3.2.6a
distance = 25 mm (1
”)
Figure 3.2.6b
distance = 64 mm (2.
5”
)
Figure 3.2.6c
distance = 90mm (3.5
”
)
90
mm
64
mm
25
mm


