NuvaWave Handheld Disinfection Device Instructions for Use
037-0110 (Rev C)
© 2020 UV Innovators, LLC
Page 22 of 35
3.2
N
UVA
W
AVE
I
NSTRUCTIONS FOR
U
SE
3.2.1 Charging the Battery
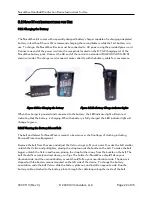
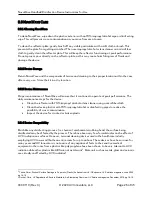
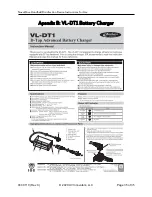
The NuvaWave Kit comes with a specially designed battery charger capable of recharging a depleted
battery in less than 6 hours. We recommend charging the second battery while the first battery is in
use. To charge, the NuvaWave Device must be connected to AC power using the provided power cord.
Connect one end of the power cord into the receptacle located on the D-TAP charging port of the
NuvaWave battery pack. Connect the AC end of the cord into a standard 100-240 Volt 50-60 Hz
electrical outlet. The charger cord connector mates directly with the battery cable for convenience.
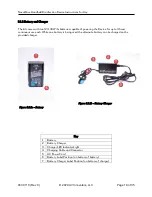
Figure 3.2.1a: Charging the battery
Figure 3.2.1b: Battery Charge indicator Lights
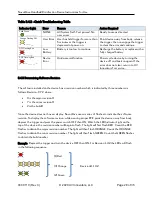
When the charger is powered and connected to the battery, the LED indicator light will turn red,
indicating that the battery is charging. When the battery is fully charged, the LED indicator light will
change to green.
3.2.2 Wearing the
Battery
Mount
Belt
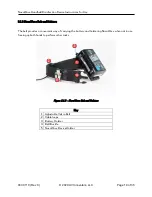
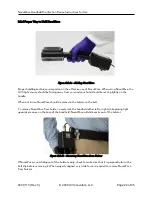
The belt and holster for NuvaWave is meant to be worn over the final layer of clothing including
Personal Protective Equipment.
Remove the belt from the case and adjust the Velcro straps to fit your waist. To make the belt smaller,
unlatch the Velcro and pull tighter, placing the strap towards the buckle on the belt. To make the belt
bigger, unlatch the Velcro and loosen, placing the strap farther away from the buckle on the belt. The
belt should fit securely and rest above your hips. The holster for NuvaWave should fall on your
dominant side, and the v-mount battery mount should fall on your non-dominant side. The device is
shipped with the battery mount mounted on the left side of the device. To change the battery
orientation, undo the belt Velcro, slide the battery plate out, and install on opposite side. Run the
battery cable, attached to the battery plate, through the cable loops along the inside of the belt.


