6-51
Operation Panel
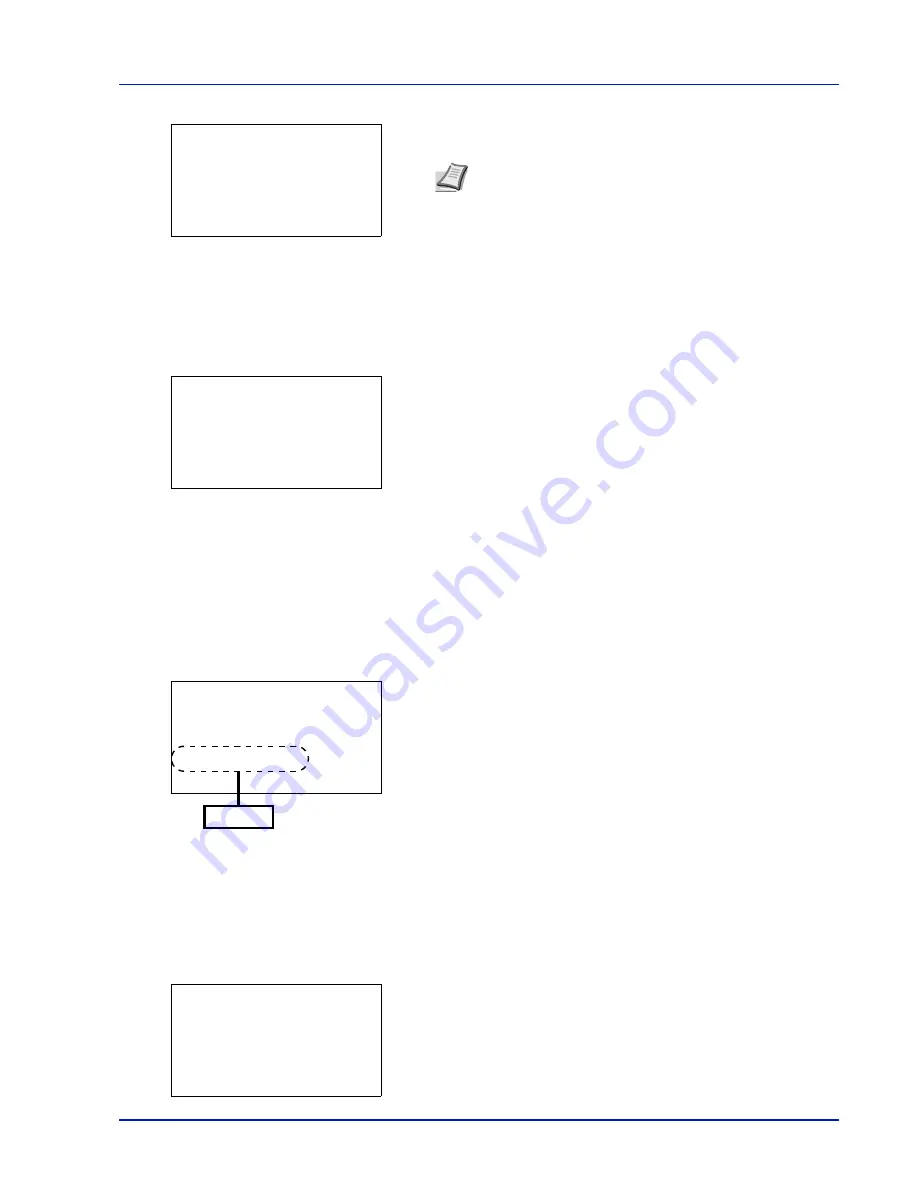
When a Preshared Key must be entered:
Enter the Preshared Key using the numeric keys and press
[OK]
.
Push Button (Connect using Push Button)
When the access point supports the automatic wireless LAN setup button, you can configure the wireless settings
automatically using the button and the panel operation of the printer.
1
In the Quick Setup menu, press
or
to select
Push Button
.
2
Press
[OK]
. A confirmation message is displayed.
3
Press the automatic wireless LAN setup button on the access point.
4
Press
[Yes]
(
[Left Select]
). The message
Connecting...
appears and the connection with the access point starts.
PIN (Device) (Connect using a PIN code (for the Wireless Network Interface Kit))
The connection is started using the PIN code for the machine. The PIN code displayed should be entered at the access
point. The PIN code for the machine is generated automatically.
1
In the Quick Setup menu, press
or
to select
PIN (Device)
.
2
Press
[OK]
. A PIN code is displayed on the Message display.
3
Register the PIN code displayed on the Message display at the
access point.
4
Press
[Next]
(
[Left Select]
). The message
Connecting...
appears and the connection with the access point starts.
PIN (Terminal) (Connect using a PIN code (for the access point)
The connection is started using the PIN code for the access point. Enter the PIN code for the access point. For details of
the PIN code for the access point, refer to the Operation Guide of the access point.
1
In the Quick Setup menu, press
or
to select
PIN (Terminal)
.
2
Press
[OK]
. The
PIN code
entry screen appears.
Note
The number of characters is between 8 and 64. For
details on entering characters, refer to
Character Entry
Method on page A-6
.
Preshared Key:
a
b
0000000
0
ABC
[ Text
]
Press the push button
on access point and
then press [Next].
[
Yes
] [
No ]
Enter the PIN code
into the access point
and press [Next].
PIN:xxxxxxxx
[
Next
]
PIN code
PIN Code:
a
b
0000000
0
ABC
[ Text
]
Содержание P-C4580DN
Страница 1: ...User manual P C4580DN P C5580DN Print A3 Colour Printer ...
Страница 18: ...xiv ...
Страница 24: ...Part Names 1 6 ...
Страница 37: ...2 13 Preparation before Use 9 The selected printer is added This completes the print settings ...
Страница 70: ...Preparation before Use 2 46 ...
Страница 127: ...6 3 Operation Panel Menu Map Sample Menu Map Printer Firmware version ...
Страница 258: ...Operation Panel 6 134 ...
Страница 276: ...Maintenance 7 18 ...
Страница 354: ...Appendix A 28 ...
Страница 359: ......
Страница 360: ...Rev 1 2012 9 2MNGEEN001 TA Triumph Adler GmbH Betriebsstätte Norderstedt Ohechaussee 235 22848 Norderstedt Germany ...


