Page 28
the GUI or other devices, etc. Press the Get Latest button to get the 100 most recent log entries. Press the Get All
button to get the full log from the JSD-100.
The log shows the record number in the JSD-100 log, the UTC time of the event, the “JSD Time” of the event, and
the “GUI Time” of the event. The JSD-100 stores all log events in UTC time. When the log events are displayed by
the GUI, the time at the JSD-100 is calculated based on the settings entered using the “Date & Time” button on the
GUI. The GUI applies the time zone offset for where the JSD-100 is located, determines if the daylight saving time is
observed where the JSD-100 is located, and whether daylight saving time is currently in effect. Based on this data,
the GUI calculates and displays the time of the event at the JSD-100. The name of the time zone (PDT in the
sample) is shown in the column header to help identify the time. The GUI also does a similar calculation to display
“GUI time.” That is the time the event occurred at the GUI location, which may be several time zones away from
where the JSD-100 is located.
The log shows the source of the event (internal, USB Port, front panel, TCP4, etc.). When a device connects to the
JSD-100 over Ethernet, the connection and the IP address are logged. Later actions can be tied to a specific IP
address by looking back through the log for the last connection to that TCP port. The JSD-100 supports 5
simultaneous TCP connections on TCP4 through TCP0.
Pressing the Save button saves the currently displayed log data as a tab delimited text file. This file can be
imported into a spreadsheet or viewed with a text editor.
Software Update Tab
The firmware in the main processor and the Digital Signal Processors (DSPs) in the JSD-100 can be updated through
the GUI over Ethernet or USB. The right side of the screen shows the current firmware versions. The left side of the
screen contains controls to do a firmware update.
Firmware is usually delivered in a Software Package that includes new versions of the code for each DSP and the
main processor (PIC). We suggest making the updates in this order: DSP2, DSP1, PIC. Look at the versions of each
piece of code in the software package. If one of the versions is already installed in the JSD-100, that portion of the
JSD-100 does not need to be updated.
Select the device to be updated: DSP2, DSP1, or the PIC. Press the Browse button to select the file to be
downloaded to the JSD-100. Press the Download button. During the download, the front panel LEDs on the JSD-
100 will flash. After a download of the PIC (the main processor), the JSD-100 will reset to start executing the new
code. The GUI will disconnect at that time.
PIC Firmware Restore
If a download of the PIC firmware to the JSD-100 is interrupted, the JSD-100 may be left inoperable. To restore the
original firmware, turn off the JSD-100, press buttons 4 and 6 on the front panel (Digital 16 Channel and User 2),
then turn the power on while continuing to hold the buttons down until the front panel LEDs start flashing. When
they stop flashing, the factory installed firmware has been restored, and the JSD-100 will restart.
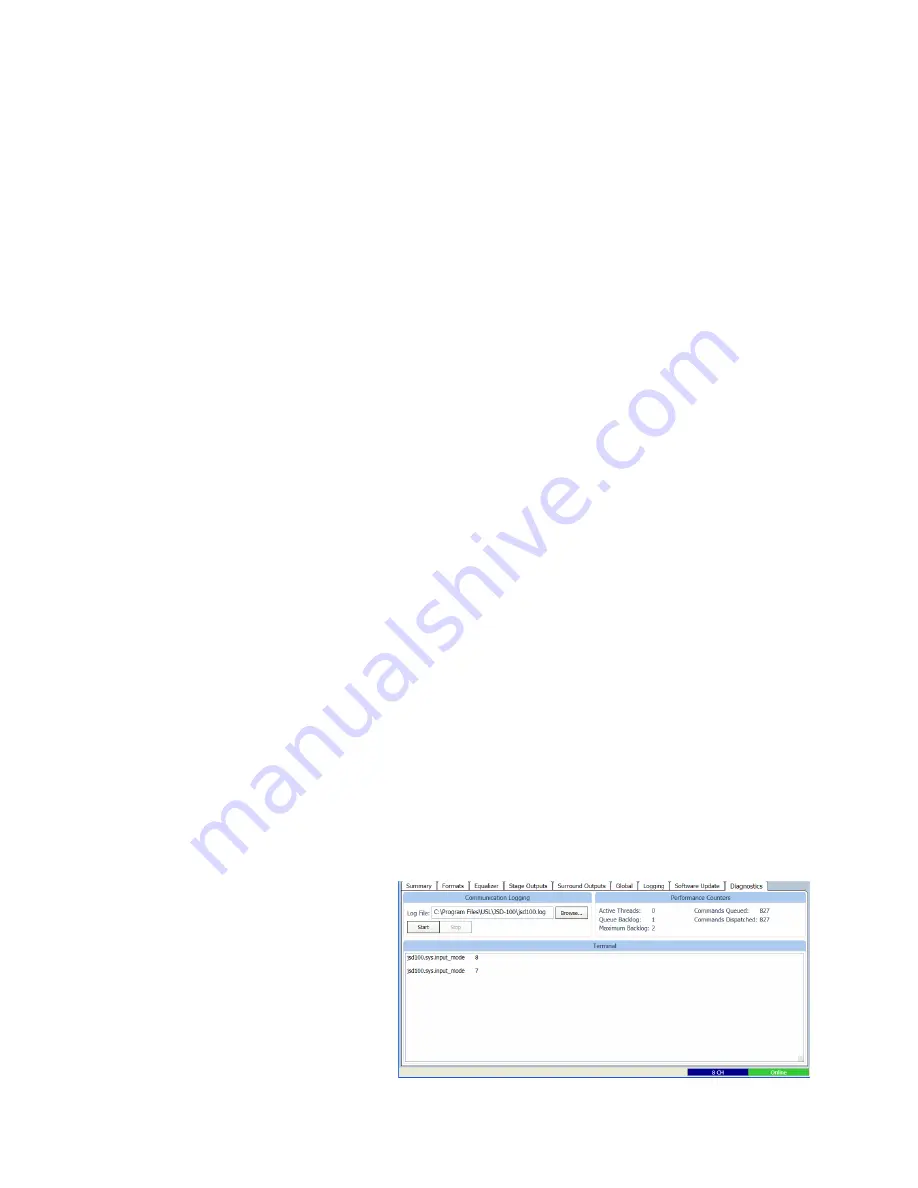
Diagnostics Tab
This tab provides diagnostics that help USL
personnel in debugging the system. You may
be instructed by USL to perform various
functions on this tab to debug problems in
the installation. The terminal section of this
screen can be used to test JSD-100
commands, such as those an automation
could send. The image to the right shows a
couple automation commands being sent to
the JSD-100. Click the mouse cursor in the


