E N G L I S H
61
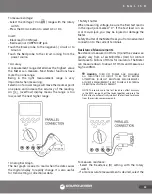
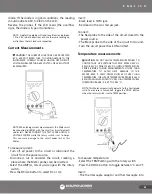
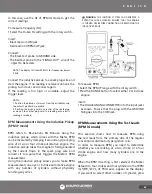
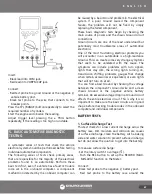
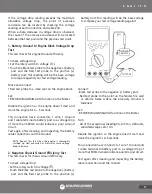
diode. If the diode is in good conditions, the reading
should indicate 0.3V to 0.8V on the LCD.
Reverse the probes. If the LCD reads (the overflow
sign), the diode is in good conditions.
NOTE: A defective diode will read (overflow) or between
1.0 to 3.0V in both directions or have the same reading no
matter how the test leads are connected.
Current Measurements
CAUTION: THE CURRENT FUNCTIONS ARE PROTECTED
BY A 600-VOLT RATED FUSE. TO AVOID DAMAGE TO THE
INSTRUMENT, CURRENT SOURCES HAVING OPEN CIRCUIT
VOLTAGES GREATER THAN 600 VOLTS DC OR AC MUST NOT
BE MEASURED.
NOTE: When taking current measurements, this Meter must
be connected in SERIES with the circuit (or circuit element)
under test. NEVER CONNECT THE TEST LEADS ACROSS A
VOLTAGE SOURCE while the rotary switch is set to Amps.
This can cause damage to the circuit under test or this
Meter.
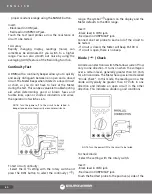
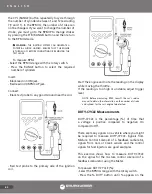
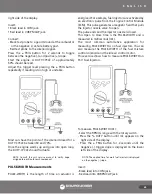
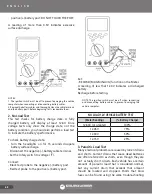
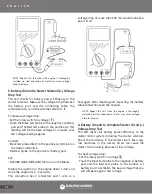
To measure current:
- Turn off all power to the circuit or disconnect the
circuit from the power source.
- Disconnect, cut or unsolder the circuit, creating a
place where the Meter probes can be inserted.
- Select the AMP (A, mA or μA) range with the rotary
switch.
- Press the DC/AC button to select DC or AC.
Insert:
- Black lead in COM jack.
- Red lead in the A or mA μA jack.
Connect:
- The Red probe to the side of the circuit closest to the
power source.
- The Black probe to the side of the circuit to Ground.
- Turn the circuit power back ON and test.
Temperature measurements
CAUTION: DO NOT ALLOW TEMPERATURE PROBES TO
CONTACT ANY LIVE VOLTAGE THAT MAY EXCEED 30V AC
RMS OR 42V AC PEAK OR 60V DC. UNPLUG TEMPERATURE
PROBE BEFORE TAKING MEASUREMENTS OTHER THAN
TEMPERATURE. TO AVOID HEAT DAMAGE TO THE
METER, KEEP IT AWAY FROM SOURCES OF VERY HIGH
TEMPERATURE. THE LIFE OF TEMPERATURE PROBE IS ALSO
REDUCED WHEN EXPOSED TO VERY HIGH TEMPERATURES
(OPERATING RANGE IS –40°F TO 2,498 °F).
NOTE: This Meter automatically defaults to the Centigrade
scale. To measure in Fahrenheit, toggle the DC/AC button
when the rotary switch is set to TEMP position.
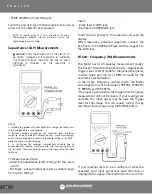
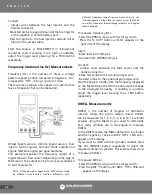
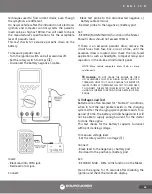
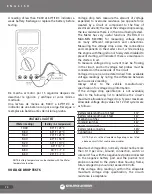
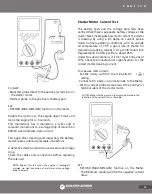
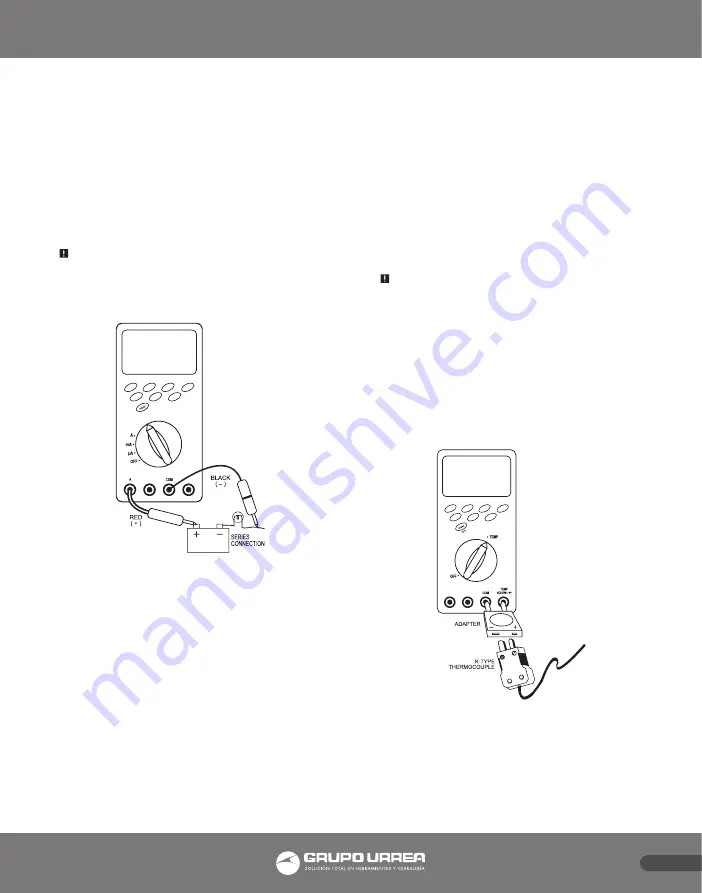
To measure temperature:
- Select the TEMP setting with the rotary switch.
- Press the DC/AC button to toggle between °C and °F.
Insert:
- The thermocouple adaptor and thermocouple into
Содержание UD88
Страница 94: ...94 NOTAS NOTES ...
Страница 95: ...95 NOTAS NOTES ...

