8
QUICK START
Warning: Non-Porous inks contain flammable solvents. Do not smoke or handle these rolls in the
presence of sparks or open flames. Inks will also stain clothing, furniture, carpeting and your hands.
Rubber gloves should be worn during the following procedures.
The ink roll you install on the coder must be properly pre-inked.
If your coder was supplied with a dry XF
Neoprene ink roll, refer to the Maintenance Section for inking instructions.
Rollers that have been pre-inked at the factory are slightly oversaturated with ink to compensate for potential
solvent loss during shipping and storage. If you received a pre-inked ink roll with your coder, it is important to
examine the roll prior to installation.
The ink roll should be thoroughly saturated with ink but not dripping
wet.
Excess ink can be easily removed by lightly rolling the ink roll across a clean piece of absorbent paper.
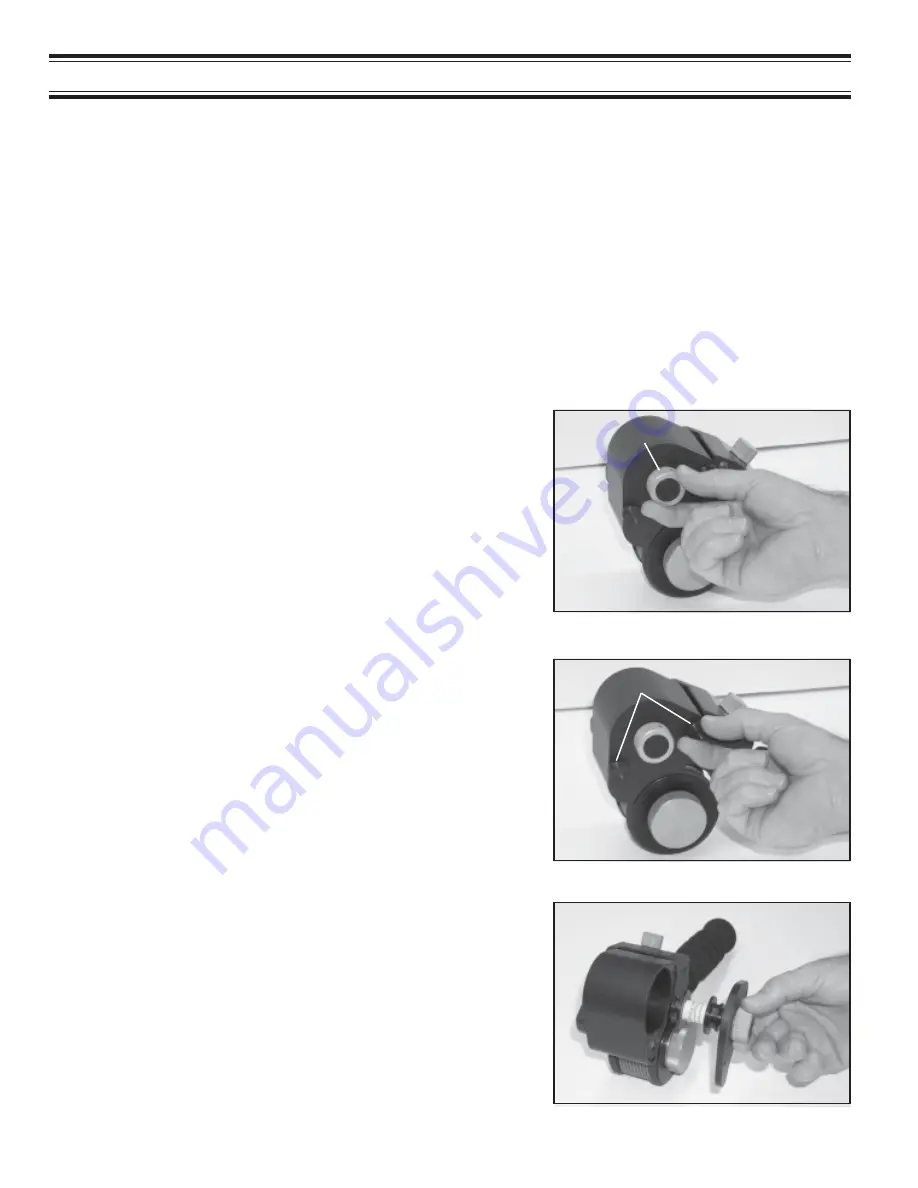
1 - To install the pre-inked roll, first turn the Ink Roll Ec-
centric Adjusting Knob “A” to the “MIN” position.
FIGURE 6
This moves the ink roller axle away from the Transfer Roll
and enables the ink roll to be installed without interference
with the Transfer Roll during reassembly of the inking sys-
tem.
FIGURE 7
2 - Remove the two cover retaining Thumbscrews “B”.
3 - Remove the Inking System Housing Cover.
The Ink Roller Core Assembly is installed on the
Ink Roller Axle when shipped from the factory.
FIGURE 8
INSTALLING THE PRE-INKED ROLL
A
B
Содержание HPNP-100
Страница 25: ...25 ...


