61
Programming Radio Systems
When the scanner prompts
Confirm?
, press
E
to accept
the settings. The scanner creates an empty LTR system,
with a default name of
System nnN L
.
nNn
increments as you add new systems.
L
indicates that
this is an LTR system.
Next, refer to the appropriate section to set system-wide
options. For most settings, you can accept the default.
However, for the items in
bold
, you must enter informa-
tion in order for your scanner to scan the system.
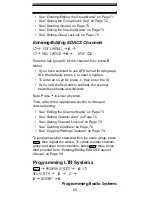
• See “Editing the System Name” on Page 63
• See “Setting the System Hold Time” on Page 64
• See “Editing the System Quick Key” on Page 63
• See “Setting the Channel Delay Time” on Page 65
• See “Setting ID Scan/Search (Trunked Systems
Only)” on Page 65
• See “Reviewing Locked Out Frequencies” on
Page 89
• See “Setting Channel Attenuation (Conventional
Channels Only)” on Page 77
• See “Deleting Systems” on Page 71
• See “Copying Systems” on Page 71
• See “Setting System Frequencies” on Page 61
• See “Entering/Editing LTR Channel Groups” on
Page 61
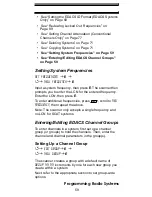
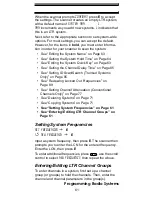
Setting System Frequencies
SET FREQUENCIES
J
E
4
New FREQUENCY
J
E
Input a system frequency, then press
E
. The scanner then
prompts you to enter the LCN for the entered frequency.
Enter the LCN, then press
E
.
To enter additional frequencies, press
, use the scroll
control to select
New Frequency
, then repeat the above.
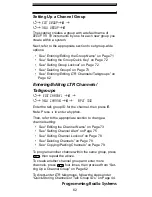
Entering/Editing LTR Channel Groups
To enter channels in a system, first set up a channel
group (or groups) to hold the channels. Then, enter the
channel and channel parameters in the group(s).
Menu


