www.ungerglobal.com
www.ungerglobal.com
26
27
H
I
F
LO
™ RO-M
OBILE
RO30G & C: The integrated resin filter
H
I
F
LO
™ RO-M
OBILE
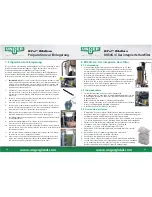
Preparation for storage
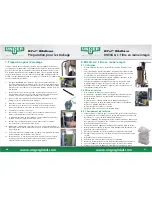
7. Preparation for storage
The reverse osmosis system supplied must not be shut down for more
than 7 days, i.e. the raw water supply must not be interrupted for more
than 7 days, or the system must be operated at least every 7 days.
If the system is shut down for more than 7 days, it must be prepared for
storage. For this purpose, we have designed a preservation kit for mobile
osmosis specifi cally for this system. This must be requested from an au-
thorised dealer when required.
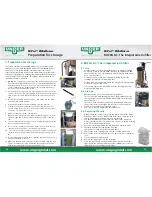
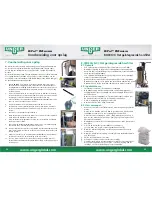
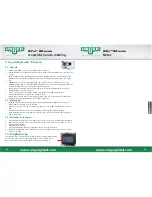
1. (RO30G & C only): Before you perform the following steps, the resin
fi lter must be bridged without fail, since it will be damaged by the
membrane protection agent. To do this, unscrew the two hoses and
connect them with the double thread element, with which they
were also connected when delivered.
2. Unscrew the fi lter cup in the pre-fi lter group and remove the fi lter
element. Insert the feed pipe supplied in the black fi lter attachment
from below. The end with the transverse hole must be at the bot-
tom.
3. Next, fi ll the supplied membrane protection agent into the fi lter
cup and fi rmly attach it again.
4. Connect the system to the water supply only. (No power!)
5. Permeate outlet and concentrate outlet must remain open; it is
recommended that you place a collecting container with a volume
of approx. 2-3l under the outlets.
6. Make sure that the system is switched off.
7. Open the water inlet valve and allow the infl owing water to fl ow
freely through the system, without starting operation of the sys-
tem.
8. The membrane protection agent is now fl owing through the system
due to the water inlet pressure.
9. As soon as the membrane protection agent runs out from the con-
centrate outlet at the rear, close the water inlet valve.
10. The system is now prepared for storage. The ingress of air into the
system must now be prevented by closing the two red valves (2) &
(9).
11. It is recommended to change the membrane protection agent once a
month to maintain its effect.
12. Make sure that the water inlet valve does not remain open too long.
There is a risk that the entire membrane protection agent will be
fl ushed out completely in the drain and will be lost.
8. RO30G & C: The integrated resin fi lter
8.1. Use
•
A reverse osmosis system fi lters the water to a purity of approx.
95-98%. In order to achieve 100% fi ltering, this unit has an addi-
tional resin fi lter. This is important in areas with very hard water
or on special surfaces.
•
However, you only obtain an optimum fi ltering result if the
cartridge is completely fi lled with water.
•
To vent, press the red button above the fi lter. Hold it down until
water fl ows out instead of air.
•
If necessary, repeat this procedure until the cartridge has com-
pletely fi lled with water.
8.2. Start-up
•
When delivered, the resin fi lter has been bridged.
•
This is connected with the application of the membrane protec-
tion agent prior to delivery. This fl uid MUST NOT fl ow through
the resin fi lter.
• Therefore,
fl ush the unit for approx. 5 minutes and only then
connect the hoses to the right and left sides of the resin fi lter.
•
Please do not confuse the inlet and outlet.
•
Vent the resin fi lter by pressing the red button.
8.3. Replacing the resin
•
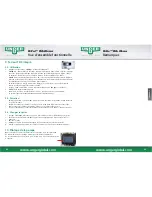
Always check the value of the fi ltered water with the TDS meter.
•
When the “Out“ value is higher than 0, this shows that the resin is
slowly becoming spent and must soon be replaced.
•
You should replace the resin when the “Out“ value is approxi-
mately the same as the “In“ value since, then, so to speak, nothing
more is fi ltered through the resin.
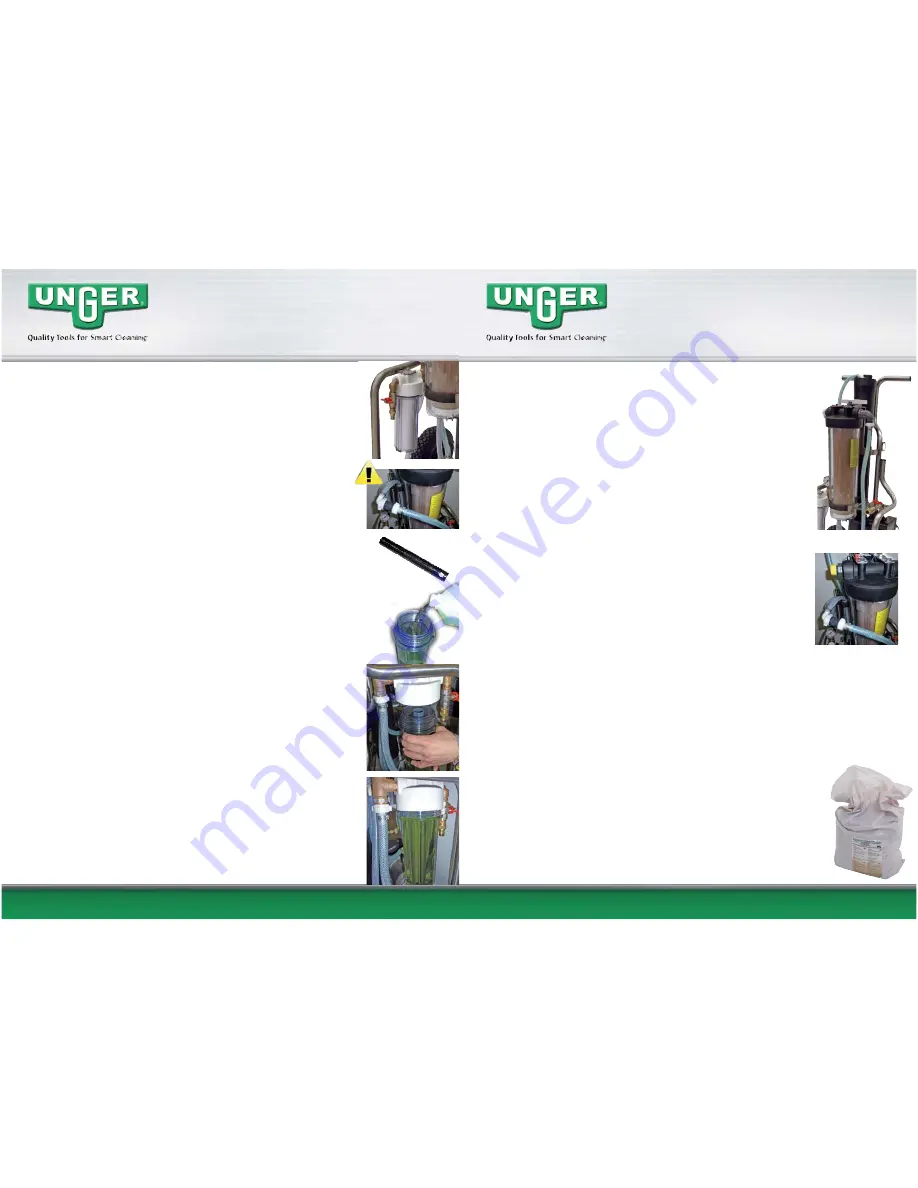
1.
Vent the system by pressing the red button on the resin fi lter.
2.
Carefully unscrew the transparent fi lter cup.
(be careful, it could still be fi lled with water).
3.
Remove the resin cartridge and unscrew it at the upper end.
4.
Remove the foam lining and dispose of the resin in a container or
sack.
5.
Fill the cartridge with new resin.
6.
Replace the foam and close the cartridge.
7.
Place the cartridge in the transparent fi lter cup and screw this
tightly onto the unit again. Ensure correct alignment of the car-
tridge and correct seating of the O-rings.


