-
18
-
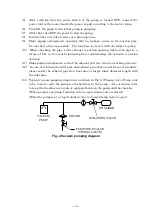
Step 8: Place the head gasket on the pump head. The
head gasket has notches on both sides as positioning
guides. Align the notches to the pins on the pump head.
Align the notches to the pins
Step 9: Place the pump head cover on the head gasket. As
with the head gasket, the pump head cover has notches on
both sides as positioning guides. Align the notches to the
pins on the pump head.
Once they are aligned correctly, using the torque
screwdriver (1.2 Nm), fasten them with the small flat head
screw (M4×6).
Do the same for Steps 6 through 9 on the opposing pump
head.
*Be sure to always follow the appropriate tightening
torque. Failure to do so can lead to product damage.
Align the notches to the pins
Small flat head screw
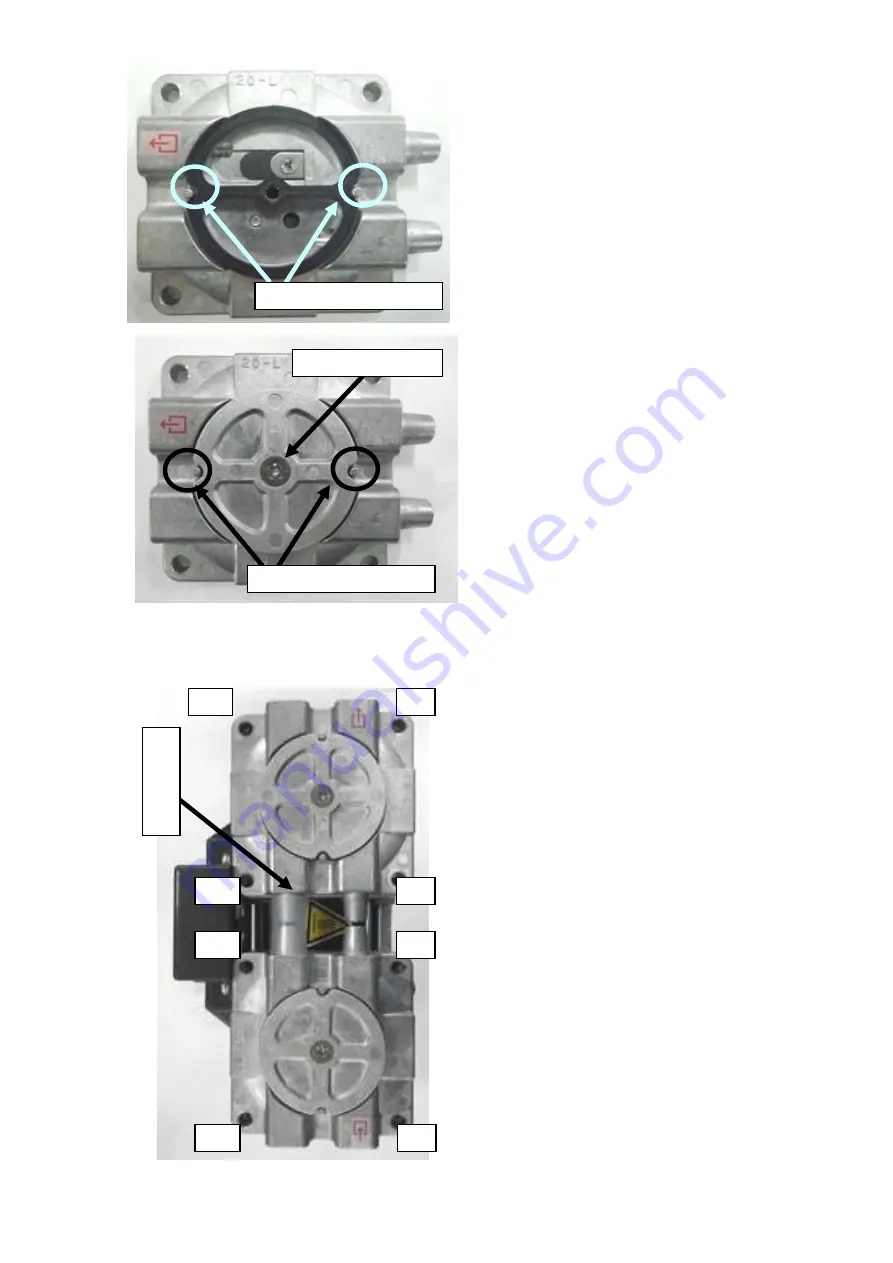
Step 10: Attach the pump head. First, using connecting
tubes, connect the primary and secondary side pump
heads. DAP-6D has one connection point and
DAP-12S has two. (The picture on the left is of
DAP-6D.)
After connecting the two pump heads, fasten them by
tightening the screws at their corners in order (1)
through (4), going over them three times, gradually
tightening each one of them.
Finally, use the torque screwdriver (1.2 Nm) to tighten.
*Be sure to always follow the appropriate tightening
torque. Failure to do so can lead to product damage.
The parts replacement procedure is now complete.
(1)
(2)
(3)
(4)
(1)
(2)
(3)
(4)
Co
n
n
ec
ti
n
g
tu
b
e


