AutoGo 550 Vehicle Owner’s Manual
EMC Part: 19285600 • Rev. 03 • 09/15/04
34
9.
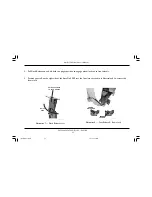
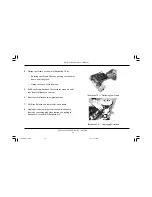
Loosen and remove the two Drivetrain Attachment Knobs on
the back of the folding chassis.
10. Lift rear of folding chassis to remove drivetrain.
If you are disassembling the AutoGo 550 for shipping or transport,
refer to “
Transporting the AutoGo 550
” on page 36 for
recommendations and procedures suggested for easy transport.
Re-assembling the AutoGo 550
Putting the AutoGo 550 back together involves re-attaching and re-
connecting the drivetrain, installing the seat, raising & locking the seat
frame, and re-positioning the tiller and dash for driving operation.
Instructions to re-assemble the AutoGo 550 are provided in this
section.
1.
Place drivetrain on firm, level surface with drivetrain kickstand
facing the front of the AutoGo 550.
2.
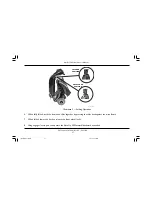
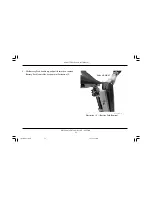
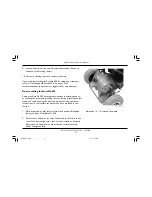
Position rear of frame over top of drivetrain so that slots in the
rear of the frame align with struts of the drivetrain, as shown in
Illustration 16. Drop frame onto drivetrain. Install drivetrain
knobs and tighten fully.
Illustration 16 — Drivetrain Connection
19285600/16
19285600 Rev.03.OM
9/15/04, 5:38 PM
34

