


21
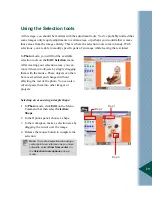
After the selection process
Once you have made your selection, there are a number of things that you can do with it.
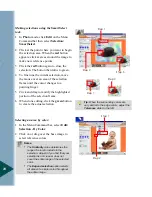
•
Use the selection to crop the photo. This means that only the selected area will remain while
other parts of the image will be removed. In the Options panel, click Next, and then click
Crop with current selection.
•
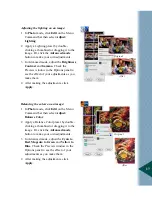
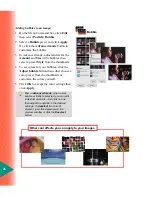
Create stunning edge effects.
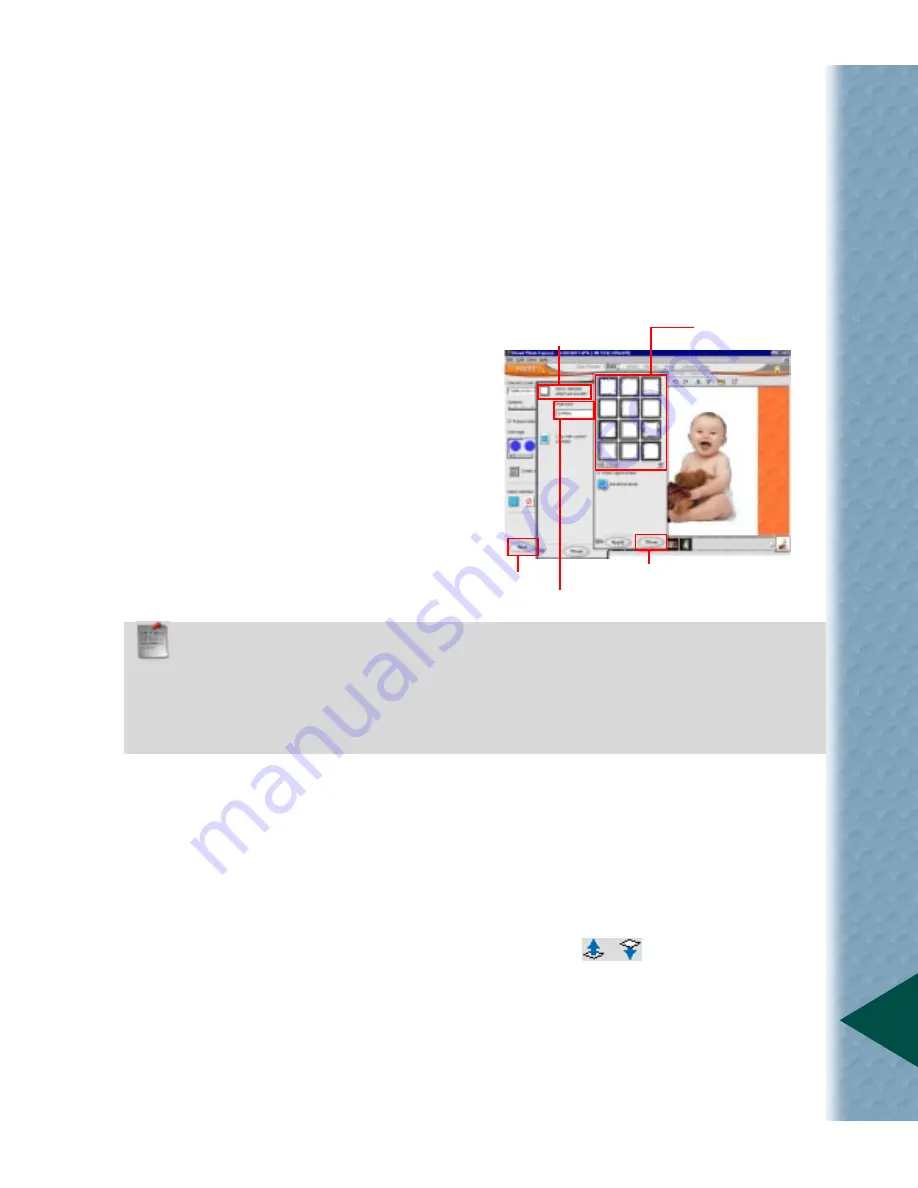
Using the Edges effect:
1 Click Next to go to the Other Options
panel.
2 Select an Edge type on the drop-down
menu.
3 Click Show selected edge type presets.
4 Double-click a preset to apply it to the
image.
5 Click Close when done.
Step 1
Step 2
Step 3
Step 4
Step 5
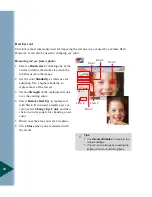
A few words about objects
Objects are self-contained components placed on images or projects. These can be frames,
shadows, text, image, or the background. When saved to a *.UPX (for images) or *.TPX (for
projects) format, each object’s characteristics and attributes remain editable for future editing.
Below are some useful object information:
•
Most objects can be adjusted using the tools used to create it.
•
Adjust an object’s layer by using the Object Level buttons
on the Shortcut bar.
•
Right-click on an object and select Transparency to define how see-thru the object is
against a background.
•
In order to integrate an object into an image permanently, right-click the object and select
Merge on the pop-up menu.
Notes:
•
Drag the selection to turn it to an object, or straight to the Thumbnail strip for a new image.
•
Maintain the current selection shape even when the Edge preset is of different shape by
selecting Keep original shape.
•
Select colors for the edges of the 2D/Mask and Magic effects in Advanced mode.
•
Personalize the Text edge effect by typing in your own words in Advanced mode.
Содержание PHOTO EXPRESS MD 5345
Страница 1: ...version 4 0 User Guide...


