24
IT GL
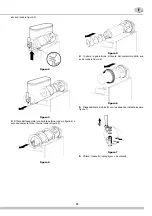
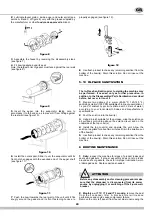
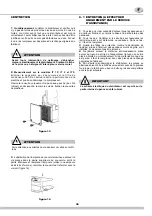
two plastic coated screws (see figure 13).
figure 13
3
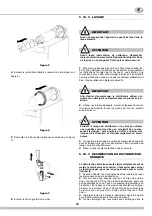
Replacement of lighted top cover bulb: remove the fixing
screw placed in the upper part of the top cover, remove the
lower part and replace the bulb (using a 24-28V 21W max
bulb). Reassemble the top cover and replace the fixing
screw.(see figure 14)
figure 14
6. 1 MAINTENANCE (TO BE CARRIED OUT BY
QUALIFIED SERVICE PERSONNEL ONLY)
1
Annually:
remove the panels and clean the inside of the
machine including the base, side panels, condenser, etc.
2
Annually:
Check if the auger bushings are worn out or
ovalized. If they are, replace them with new ones.
3
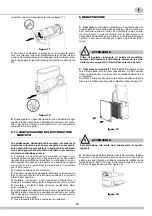
When installed, the anti-splash filters inside the slotted
panels must not be removed.
4
Never remove the insulating jacket from around the suction
tubing of the evaporator (the copper tubing located on the right
side of gear motor). In case the insulating jacket is missing
replace the entire parts with original spare parts from the
supplier.
5
In order to prevent any damages to the dispenser, all
plastics parts must be lubricated only with grease supplied by
the manufacturer or with another lubricating product suitable for
polycarbonate.
ATTENTION
Condenser fins are very sharp. Use extreme caution
when cleaning.
IMPORTANT
The electric diagram of the dispenser is located in the
inner part of the dispensing side panel.
Содержание IT 1P
Страница 59: ...59...

