Operation
21
1. Select the calibration volume from the list on the left you decide to use (similar
to the paw volume you wish to measure)
2. Wait for the instrument to zeroing . Do not touch the water cell.
3. Dip the desired calibration value into the cell and leave it to the cell bottom.
4. Press the CAL button and wait for successful calibration.
In case of no volume dipped an error message appears and the user can go
through the procedure again.
Notes
:
• Before making a second calibration, do not forget to zero the instrument first
and to dry the calibration volume with a cloth. Despite the wetting agent use,
while taking the calibration volomes out the cell you will also takes out some
water drops. If not dried, the second measure will show the volume of this
calibration volumes plus the volume of these drops.
• Also space the calibration by at least 10 second intervals, either when
calibrating or evaluating the oedema. This will let the liquid film formed on the
tube wall by the liquid column oscillations, to settle down and will give time to
the electrodes/solution interface to recover into steady conditions.
• Before each working session, it is advisable to check the calibration: simply zero
the display and dip the calibration volume you used for the calibration into the
cell, then read the value shown by the instrument.
If readed value is +- 0.5ml of the target value calibration is still valid; if out og
this range You need to re-calibrate the device.
• Never use a solution older than 2-3 days.
6.3. Measurement
Once calibrated, the Plethysmometer is ready to carry out accurate
measurements.
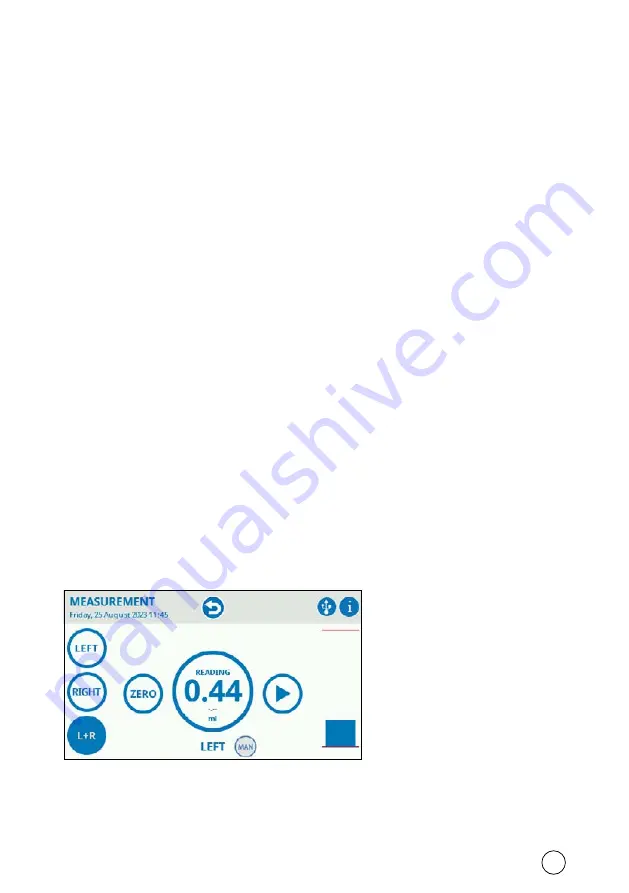
From the Main Menu press the “
Start Measurement
” button and the following
menu will show:
Measurement Menu
Содержание 37240
Страница 3: ......


