background image


13 

3.Teach & Play: Learning Mode 

What is Teach & Play? 

Teach uArm by hand, and then replay the recording anytime. 

How? 

1


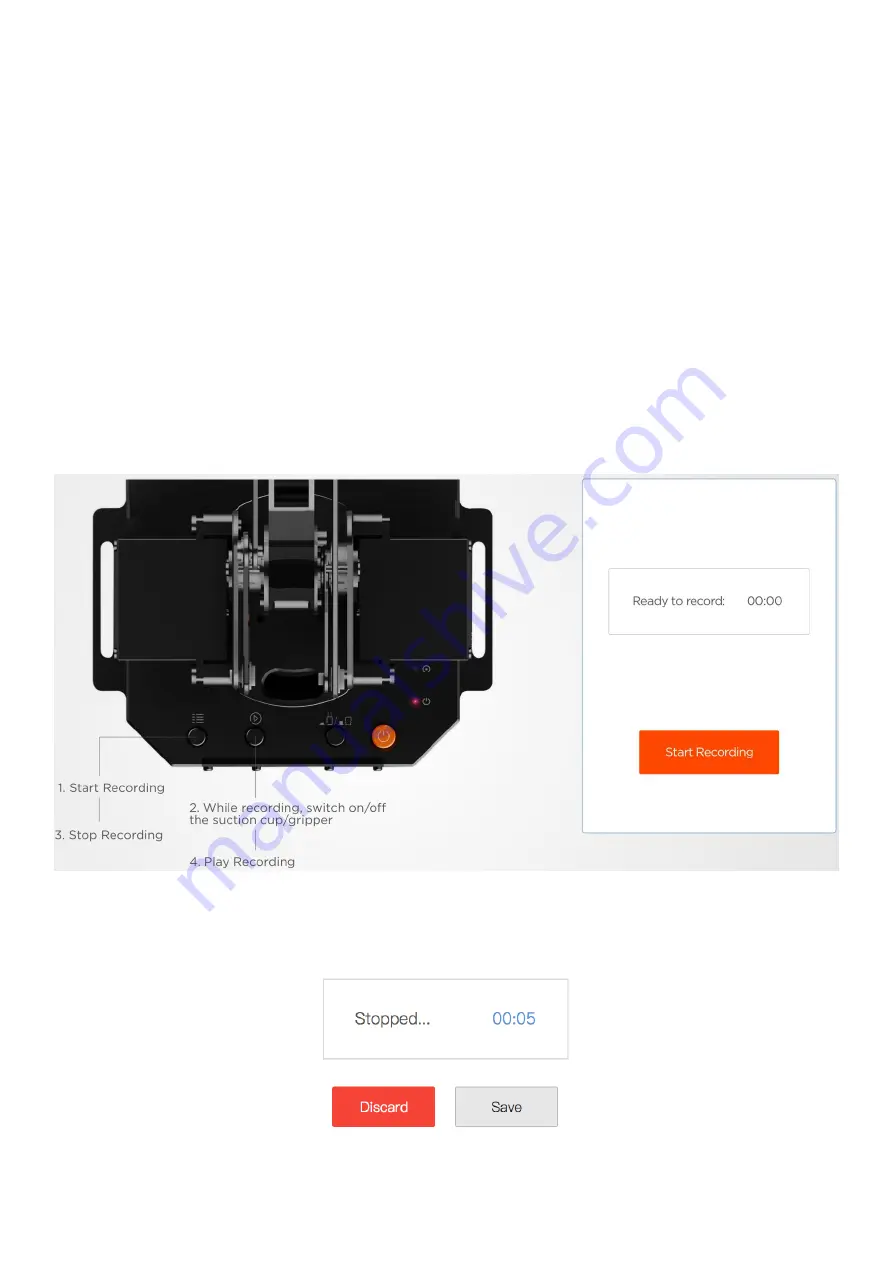
Make a recording 


Click the “New Recording” button to start “teaching”, OR, 


Use the buttons on the base (usage of the buttons is the same 

as that under “Offline Learning Mode”).


2)


Save your recording 


Содержание uArm Swift

Страница 1: ......

Страница 2: ...n 6 1 Suction Cup Default 6 2 Swift Gripper 8 3 Swift Universal Holder 10 Offline Learning Mode 11 Software uArm Studio Win Mac 12 1 Download uArm Studio 12 2 Device Connection 12 3 Teach Play Learnin...

Страница 3: ...ty Instructions 1 Please don t put your hands between the arms when uArm is moving 2 Please use the official power supply for safety reasons 3 Please clear a space for uArm in case of knocking down an...

Страница 4: ...4 Product Overview 1 Reference Frame...

Страница 5: ...5 2 Buttons Indicator Lights 3 Extension Description...

Страница 6: ...d Effectors Installation 1 Suction Cup Default Preparation Suction cup M3 screws and hex bar wrench Step 1 Fix the suction cup to the front mounting block Step 2 Wiring the limited switch and silicon...

Страница 7: ...7 Note Before unplugging the wire press the locker of connector and then unplug it...

Страница 8: ...8 2 Swift Gripper Step 1 Fix the gripper to the front mounting block...

Страница 9: ...9 Step 2 Plug the wire of gripper Note Because there is no need to use the silicon tube for suction cup we could use the velcro to fix the tube with the upper arm v...

Страница 10: ...10 3 Swift Universal Holder Step1 Fix the universal holder to the front mounting block Step2 Install the pen to the holder...

Страница 11: ...end effector again to turn off If is down end effector is gripper or it is pump Please remember to keep the button up after learning or it will turn on the Bluetooth Page 5 3 Finish the learning proce...

Страница 12: ...Studio from http www ufactory cc en support 2 Device Connection 1 Plug in the power cable 2 Press down the power button 3 Connect uArm to your computer via USB Status of device connection is displayed...

Страница 13: ...each uArm by hand and then replay the recording anytime How 1 Make a recording Click the New Recording button to start teaching OR Use the buttons on the base usage of the buttons is the same as that...

Страница 14: ...d import recordings made by others 3 You may apply your recording in Blockly visual programming interface which is explained up next 4 Blockly Visual Programming What is Blockly Blockly in uArm Studio...

Страница 15: ...15 1 Control uArm s basic movements 2 Change events i e how you trigger commands 3 Apply recorded movements 4 Dig deeper into programming functions variables etc...

Страница 16: ...ontroller 2 Driver for Leap Motion Controller 1 Plug uArm Leap Motion Controller into your computer 2 Place Leap Motion Controller in the way that you are facing the Green light 3 Ensure the Leap Moti...

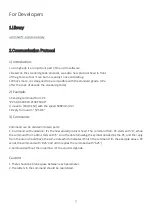
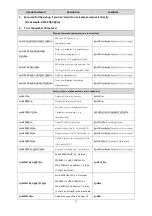
Страница 17: ...F5000 move to 180 0 150 with the speed 5000mm min Reply from uArm 25 OK 3 Commands Command can be divided into two parts 1 Command with underline it s the new added protocol head The command from PC s...

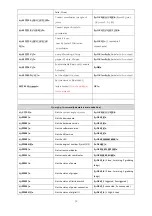
Страница 18: ...ers are in underline n M17 n Attach all the joint motors n OK n n M2019 n Detach all the joint motors n OK n n M2120 V0 2 n Set time cycle of feedback return Cartesian coordinates V is time seconds 3...

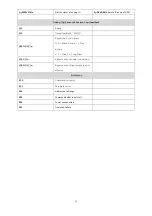
Страница 19: ...n in this command OK n Querying Command parameters are in underline n P2200 n Get the current angle of joints n OK B50 L50 R50 n nP2201 n Get the device name n OK V3 2 n nP2202 n Get the hardware vers...

Страница 20: ...k M2120 4 N0 V1 n Report the button event N 0 Menu button 1 Play button V 1 Click 2 Long Press 5 V1 n Report event of power connection 6 N0 V1 n Report event of limit switch in end effector Err Output...

Отзывы: