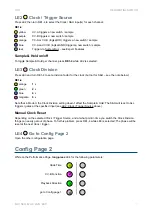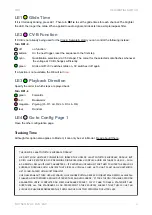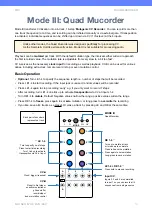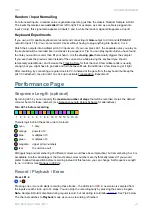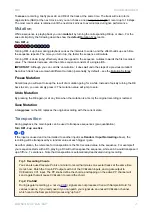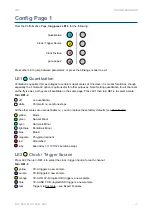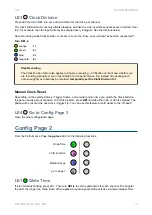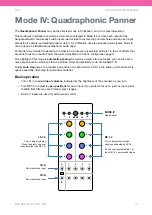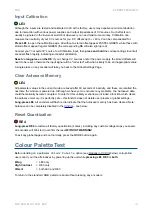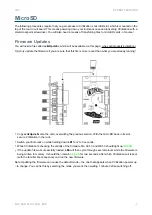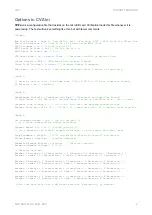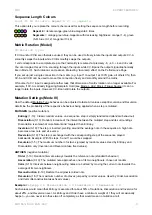
To
erase
a recording, briefly press LE and RE of the track at the same time. The track will return to its
original state (S&H) at the next clock, and you can choose a new sequence length or record up to 16 steps.
The most recent value is retained until the next clock arrives to avoid jumps during live performance.
Mutation
While a sequence is playing back you can
mutate
it by turning the corresponding RE up or down. For the
sake of simplicity, the following describes how the
default
Turn RE1-4
Turning RE1-4 up (blue) during playback causes the intervals to widen, and the effect builds up each time
the sequence repeats. The more you turn it up, the faster the sequence will mutate.
Turning RE1-4 down (ruby) effectively does the opposite: the sequence mutates towards the first recorded
value. The intervals decrease until the entire sequence consists of a single pitch…
IMPORTANT
: Although you can call this ‘unmutation’, it does
not
undo the steps of a previous mutation!
Note: Each track has a somewhat different mutation ‘personality’ by default – see the Mutation Settings!
Freeze Mutation
Sometimes you will want to keep the result of a mutation going for a while. Instead of quickly turning the RE
back to zero, you can simply press it: The mutation value will jump to zero.
Undo Mutation
By pressing the RE again (or at any time when the mutation is at zero) the original recording is restored.
Save Mutation
A
long-press
on the RE replaces the original recording with the current state.
Transposition
During playback, the main inputs can be used to transpose sequences (pre-quantization).
Turn RE1-4 up one tick
➔
If the input is unused and not normalled to another input (see
Random / Input Normalling
above), the
recording will be transposed by a random value at each trigger / gate.
As with mutation, the reference for transposition is the first recorded value in the sequence. For example if
your sequence starts with a D3, playing a D3 will not transpose the sequence, while an A3 would transpose it
up a fifth i.e. 7 semitones. Note that transposition is automatically deactivated during recording.
21
Tip 1: Recording Chords.
You can also use
Pressure Points
or similar to record harmonies on several tracks at the same time.
Here’s how: Patch the 3 main PP outputs with 3 of the CVilization inputs, and a gate output to
CVilization’s CV1 input. The PP knobs define the chords, and tapping on the active PP channel will
send a gate that will cause CVilization to record the chord.
Tip 2: Pre-S&H
During regular recording (i.e. not via
), signals are not processed ‘live’ with Sample & Hold, for
various reasons. If you really need it you can patch your signal via an unused CVilization channel,
which can do the Sample & Hold processing “up front”.
Содержание CVilization
Страница 1: ......


