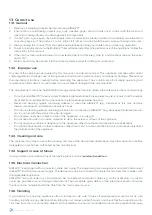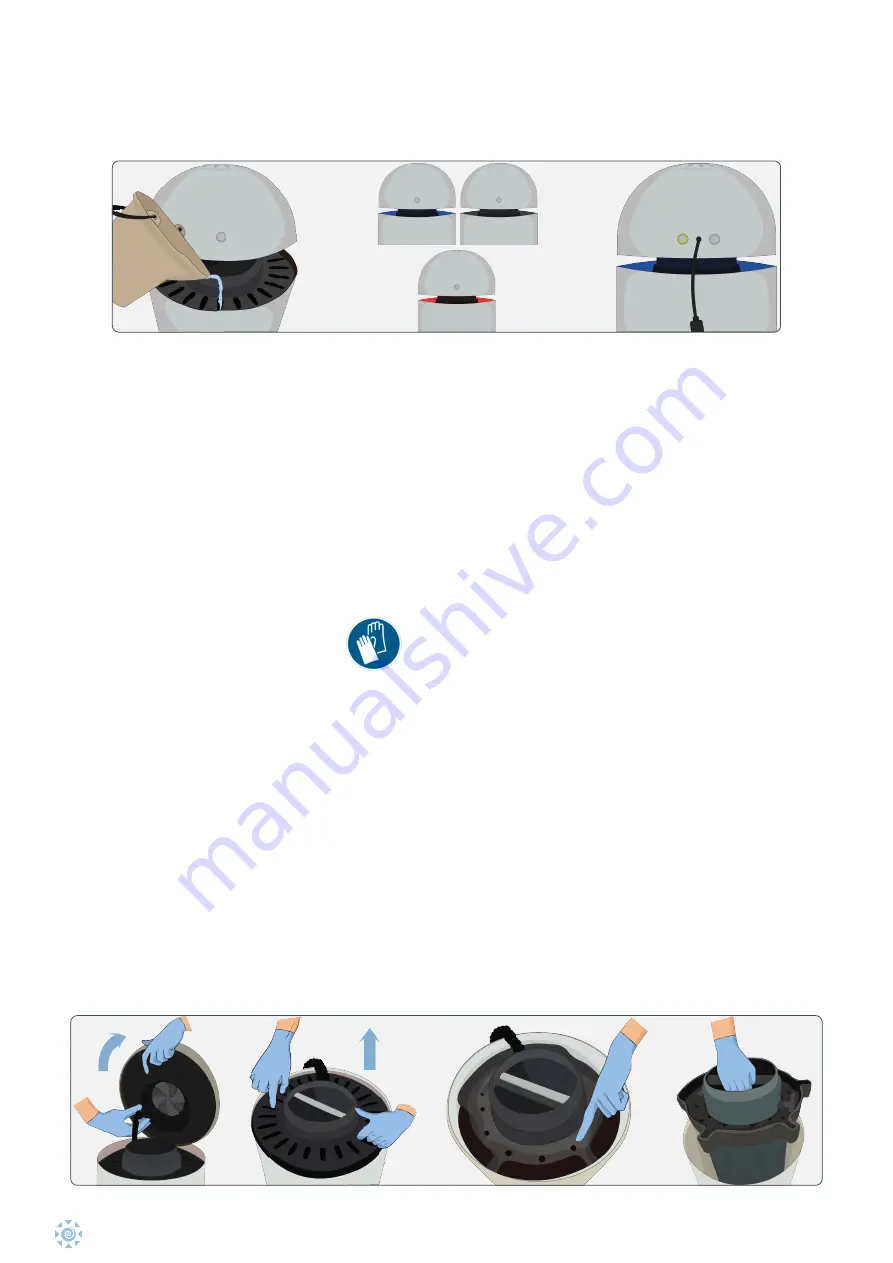
You can also decrease the noise of the fan, if you find it annoying, by simply pressing the button on the back of the
lid, next to the on/off button.
11.2. Operation details
The device is populated by a consortium of bacteria that digests pollution on a daily basis. We calculated that each
AIRcel70™ has a neutralising capacity rate (measured as the concentration of volatile organic compounds captured
and digested in the laboratory) of 3.5 kg per day.
AIRcel70™ creates a PURE AIR ZONE within a range that protects against all types of pollutants regardless of species
or size. Captured contaminants are digested by the system and converted to water, carbon dioxide and any elemen-
tal components present in the captured compounds, which fall to the bottom of the tank and can be disposed of as
a natural harmless byproduct.
12. Periodic cleaning procedure
Approximately every 120 days the device should be completely cleaned using only water. Use protective latex
gloves during cleaning and maintenance.
1. Turn the unit off and disconnect it from the main power supply;
2. Lift the cover and place it next to the tank;
3. Disconnect the cable by unscrewing the connector;
4. Place the lid on a flat surface and remove the cover;
5. Ensure that the waterplate holes and all tubes are free of sediment. If necessary, remove the sediment inside the
tubes with running water;
6. Remove BioStack™ and store it near the device. Gently wipe the surface of the BioStack™ cylinder with a soft
sponge. A coating on the cylinder surfaces is a sign that the biological filter is active, and should not be removed
or scraped off. Please note that all AIRcel70™ bioreactors are factory tested, so it is perfectly normal to find traces
of coating on a new BioStack™;
7. Empty the tank and remove any sediment. Dispose of the water according to applicable regulations;
8. Replace the BioStack™ filter in the tank;
9. With a soft brush, or rather with a vacuum cleaner, vacuum the inside of the lid to clean the fan;
10. Place the lid on the side of the tank and reconnect the cable, screwing the connector;
11. Insert the cover in its seat aligning it with the AIRcel70™ logo, connect the cable to the power supply and turn on
the machine.
User Manual - AIRcel70™
6
Содержание AIRcel70
Страница 1: ...AIRcel70 UserManual...
Страница 16: ...www u earth eu...


