


Type the password, up to eight characters in length, and press <Enter>.
The password typed now will clear any previously entered password
from CMOS memory. You will be asked to confirm the password. Type
the password again and press <Enter>. You may also press <Esc> to
abort the selection and not enter a password.
To disable a password, just press <Enter> when you are prompted to
enter the password. A message will confirm the password will be
disabled. Once the password is disabled, the system will boot and you
can enter Setup freely.
PASSWORD
DISABLED.
When a password has been enabled, you will be prompted to enter it
every time you try to enter Setup. This prevents an unauthorized person
from changing any part of your system configuration.
Additionally, when a password is enabled, you can also require the
BIOS to request a password every time your system is rebooted. This
would prevent unauthorized use of your computer.
You determine when the password is required within the BIOS Features
Setup Menu and its Security option (see Section 3). If the Security
option is set to “System”, the password will be required both at boot and
at entry to Setup. If set to “Setup”, prompting only occurs when trying to
enter Setup.
4.13 – Exit Selecting
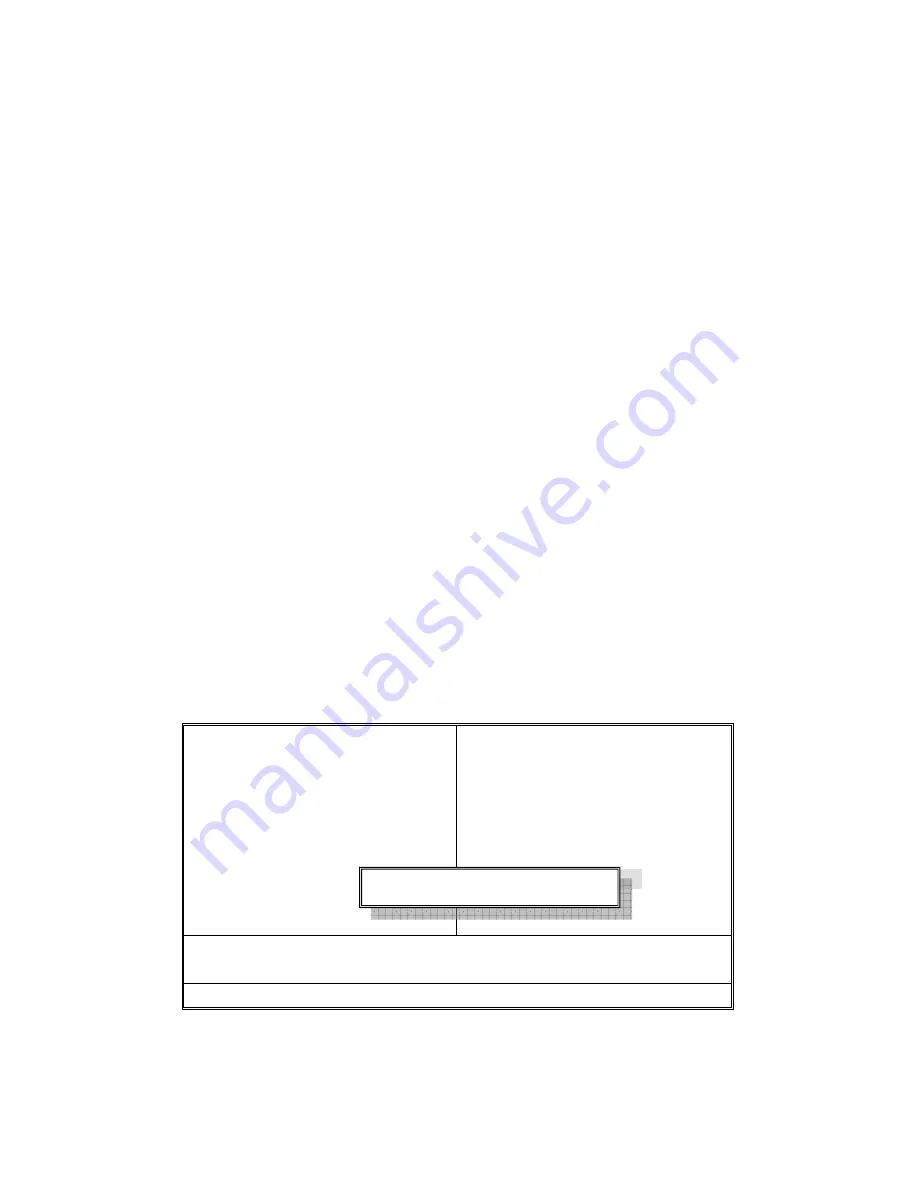
Phoenix – AwardBIOS CMOS Setup Utility
►
Standard CMOS Features
►
Advanced BIOS Features
►
Advanced Chipset Features
►
Integrated Peripherals
►
Power Management Setup
►
PnP/PCI Configurations
►
PC Health Status
►
Frequency/Voltage Control
Load Fail-Safe Defaults
Load Optimized Defaults
Set Supervisor Password
Set User Password
Save & Exit Setup
Exit Without Saving
Esc: Quit
↑
↓
←
→
: Select Item
F10: Save & Exit Setup
Change/Set/Disable Password
Save & Exit Setup
Pressing <Enter> on this item asks for confirmation:
Enter Password:
Chapter 4: BIOS Setup
103
Содержание Tank GT14 B5180
Страница 1: ...Tank GT14 B5180 Service Engineer s Manual...
Страница 2: ......
Страница 31: ...1 5 7 System Block Diagram Chapter 1 Overview 23...
Страница 34: ...26 Chapter 1 Overview...
Страница 82: ...74 Chapter 3 Replacing Pre Installed Components...


