15
http://www.tyan.com
Hot-Plug a PCI card
²
Step 1
: Ensure the Green LED to be OFF for the PCI slot, which you wish to install/exchange/remove
a PCI card. If there is a PCI card already installed on this PCI slot and the corresponding Green LED
on the Hot-Plug control panel is ON, then press the corresponding slot switch to turn this Green LED
OFF.
²
Step 2
: Once the Green LED goes OFF, which indicates this PCI slot is OFF and ready for Hot-Plug.
At this moment, you can install, exchange or remove a PCI card. If you install a new PCI card,
ensure that the new PCI card matches the PCI bus speed.
²
Step 3
: If you install a new PCI card, press the slot switch and wait for the Green LED to turn ON.
Once the Green LED goes ON, this PCI slot will be activated.
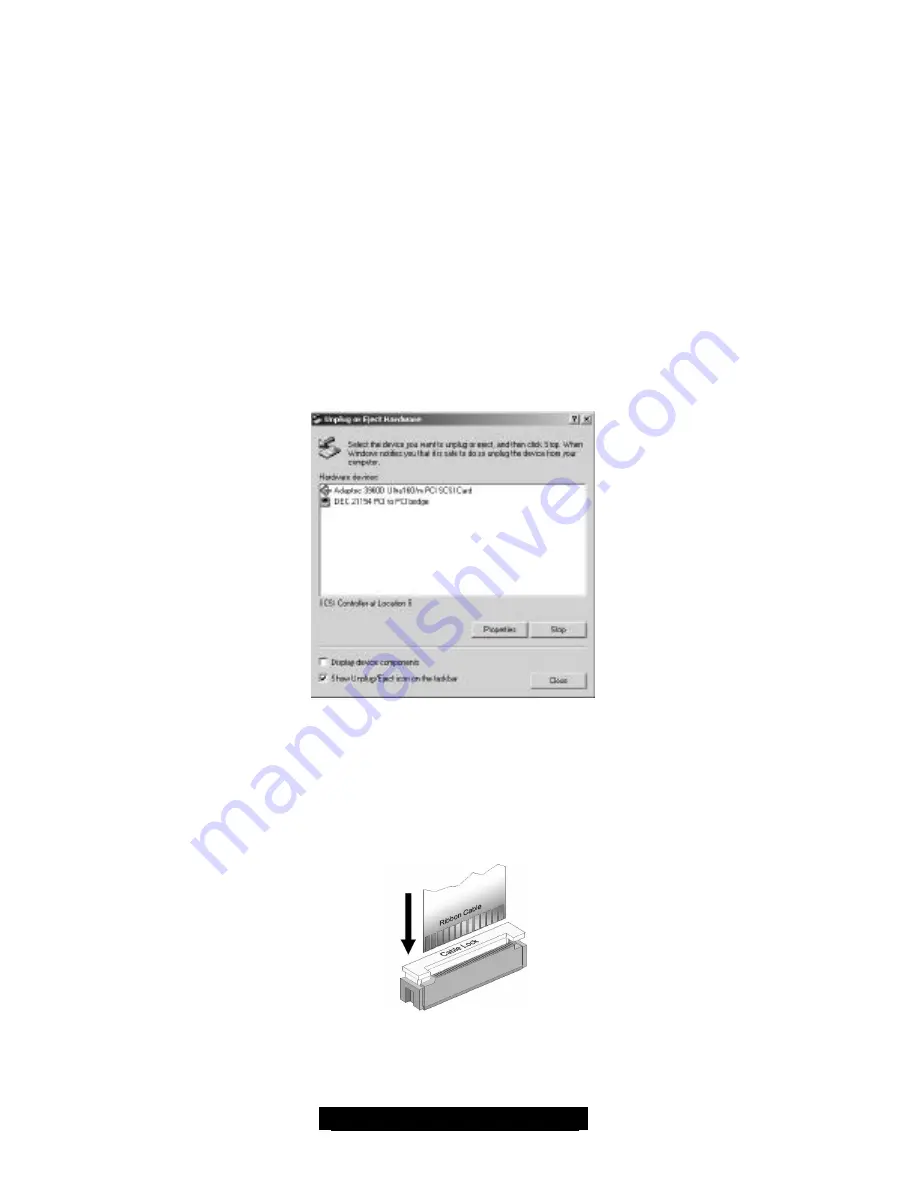
If you are using a hot-plug supported OS, such as Windows 2000 Server, you can utilize the Hot-plug
control features by double clicking on the Unplug or Eject Hardware icons on the task bar. Simply select
the particular PCI device to remove, click the stop button on the pop-up window and lick OK button. The
corresponding Green LED for that PCI slot will be OFF and can safely remove the card on this slot.
Hot-Plug Cables
A supplied flat ribbon cable will connect the PCI Hot-Plug module (from the rear) to the
motherboard (JP3000). Each switch on the module corresponds to each of the PCI-X slots on the
board.
To install a flat ribbon cable, lift the Cable Lock and then insert the ribbon cable with the connection side
facing away from the Cable Lock. After the cable is firmly inserted, press the Cable Lock back down and
your cable is connected. All flat ribbon cables on the board are installed in the same manner.


