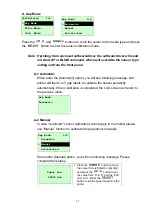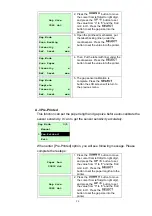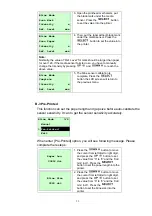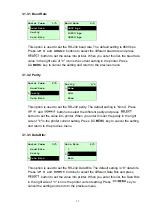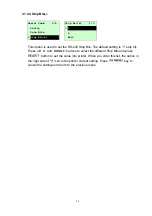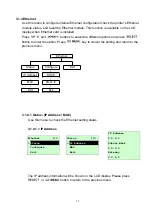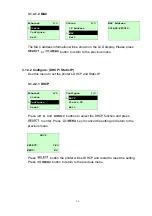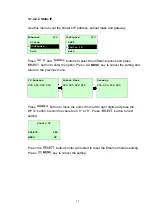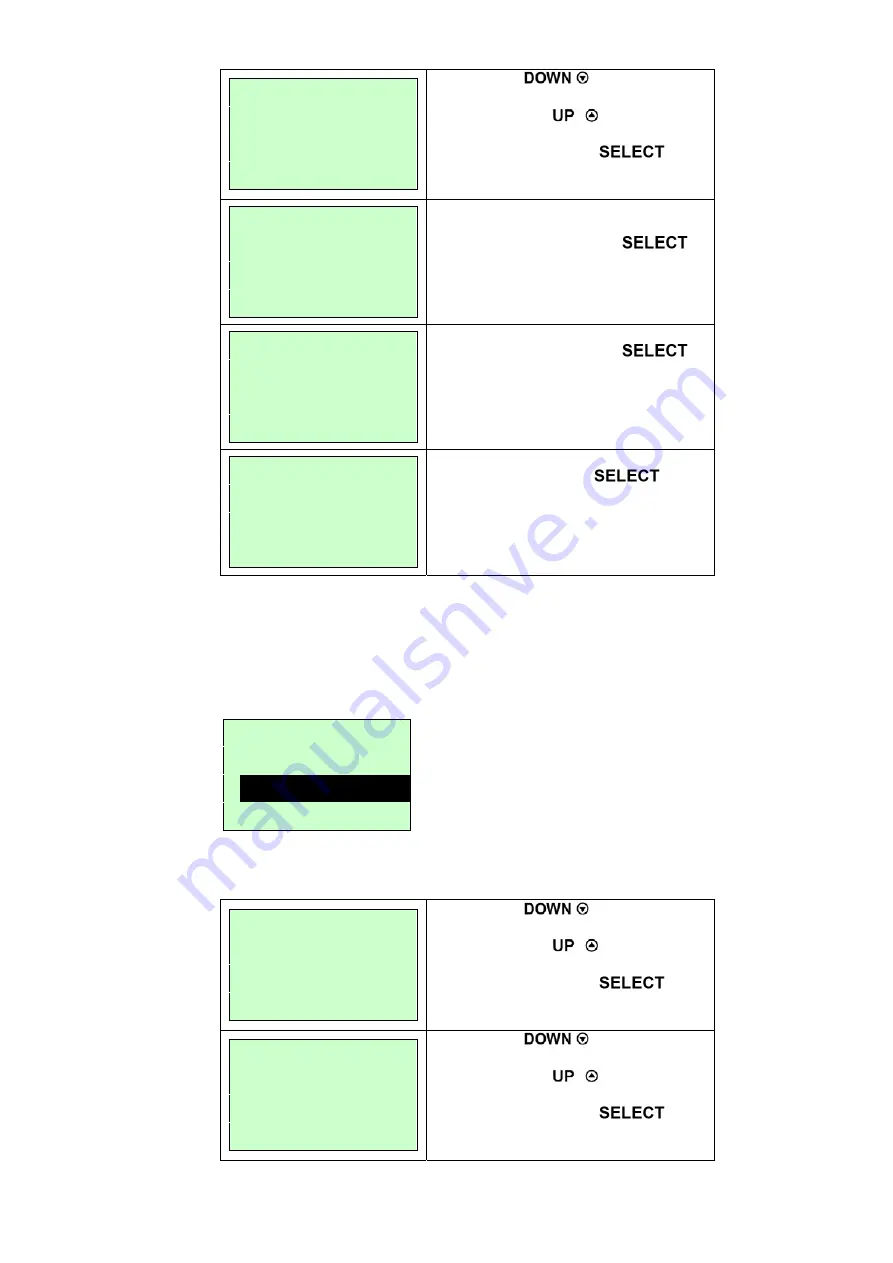
Gap Size
0024 dot
2. Press the
button to move
the cursor from left digit to right digit,
and press the
button to set
the value from “0” to “9” and the “dot/
mm/ inch”. Press the
button to set the gap size into the
printer.
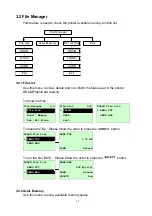
Gap Mode
Scan Backing
Intensity x
Ref. Level xxx
3. Open the printhead mechanism, put
the label backing (liner) under the
media sensor. Press the
button to set the value into the printer.
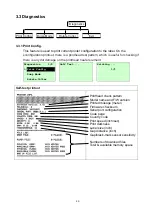
Gap Mode
Scan Paper
Intensity x
Ref. Level xxx
4. Then, Put the label with liner under the
media sensor. Press the
button to set the value into the printer.
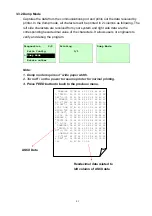
Gap Mode
Complete
Intensity x
Ref. Level xxx
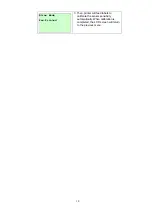
5. The gap sensor calibration is
complete. Press the
button the LCD screen will return to
the previous menu.
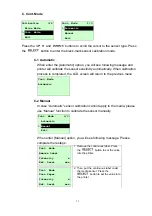
A-3 Pre-Printed
This function can set the paper length and gap size before auto-calibrate the
sensor sensitivity. It can to get the sensor sensitivity accurately.
26
When enter [Pre-Printed] option, you will see following message. Please
complete there steps
:
Paper Len.
00812 dot
1. Press the
button to move
the cursor from left digit to right digit,
and press the
button to set
the value from “0” to “9” and the “dot/
mm/ inch”. Press the
button to set the paper length into the
printer.
Gap Size
0024 dot
2. Press the
button to move
the cursor from left digit to right digit,
and press the
button to set
the value from “0” to “9” and the “dot/
mm/ inch”. Press the
button to set the gap size into the
printer.
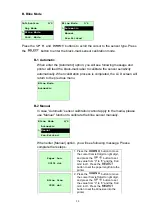
Gap Mode 3/4
Manual
>
Pre-Printed
Exit


