Trust Wireless Keyboard & Mouse
5
GB
4.2 Wireless
Mouse
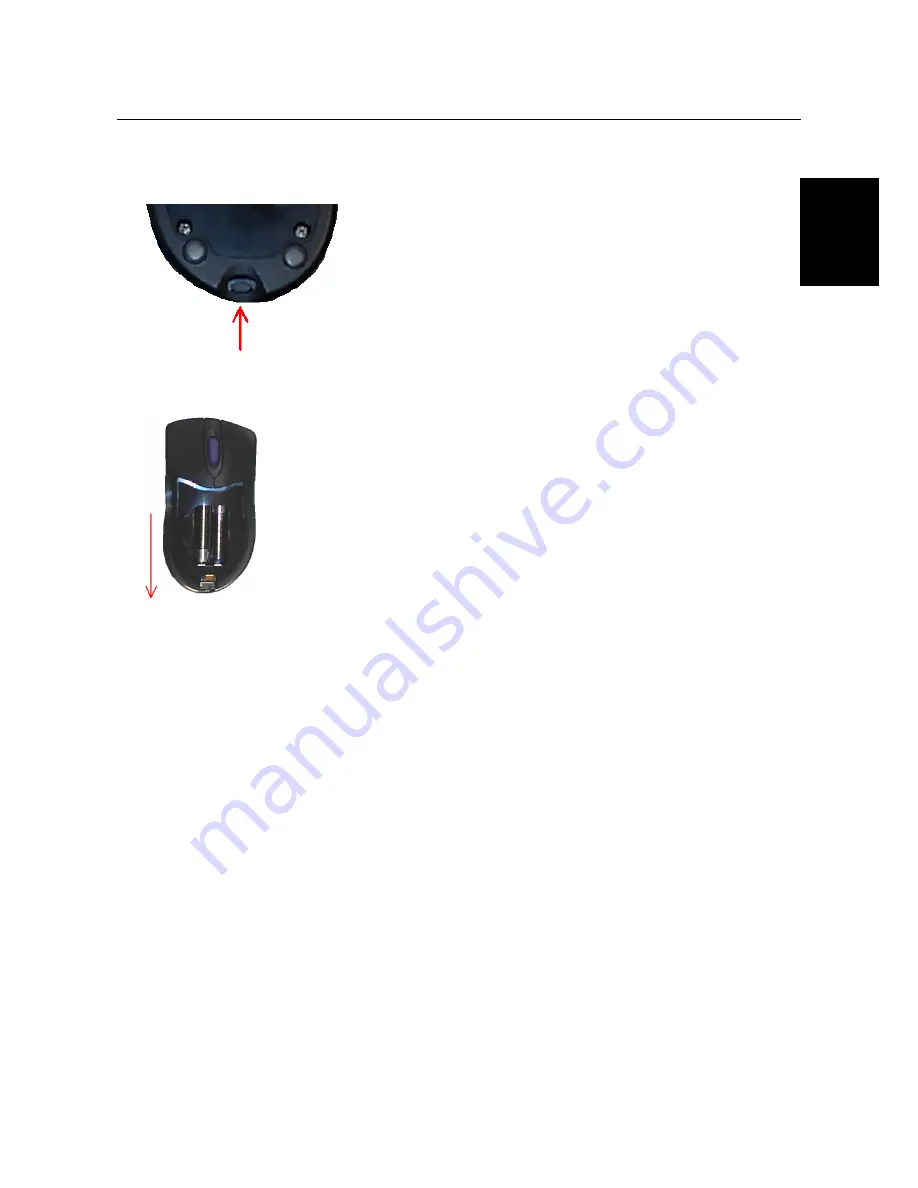
1. Push the button on the bottom of the mouse indicated in figure 3.
The battery flap will come loose.
Figure 3: Bottom of the mouse
2. Remove the battery flap from the top of the mouse by sliding it off of the mouse. The battery
compartment will now be visible (see figure 4).
Figure 4: Battery compartment
3. Insert the two AAA batteries into the mouse as indicated by the diagram.
4. Slide the battery flap back onto the mouse until a click is heard. The batteries have now been correctly
installed.
5. Selecting the channel
Before you can use the Wireless Keyboard & Mouse, you must make sure the channel that the keyboard and
mouse use is the same as the Wireless Receiver's channel.
5.1 Wireless
Keyboard
1. Find the switch used to change the channel on the bottom of the keyboard. This is located in the top left-
hand corner.
2. Switch this to the left or right (respectively channel 1 or 2). Channel 1 is recommended.
5.2 Wireless
Mouse
1. Find the switch used to change the channel on the bottom of the mouse.
2. Switch this to the top or bottom position (respectively channel 1 or 2). Channel 1 is recommended.
5.3 Wireless
Receiver
1. Find the switch used to change the channel on the bottom of the RF Receiver.
2. Set this to the same position you have just set the keyboard and mouse to (position 1 or 2).
Note:
The channel must be changed if you experience disturbance from, for example, another wireless
device during use. Follow the points given above to do this.


