Trust Wireless Keyboard & Mouse
10
Button Function
A
Scroll wheel + third mouse button
B
Right mouse button
C
Left mouse button
D
Fourth mouse button
E
Fifth mouse button
Table 2: Description of the mouse buttons
8. Using the software
All the keyboard's multimedia buttons and the mouse are ready for use after you have installed the driver. It is
now also possible to change the menu.
8.1
Setting up the Wireless Keyboard
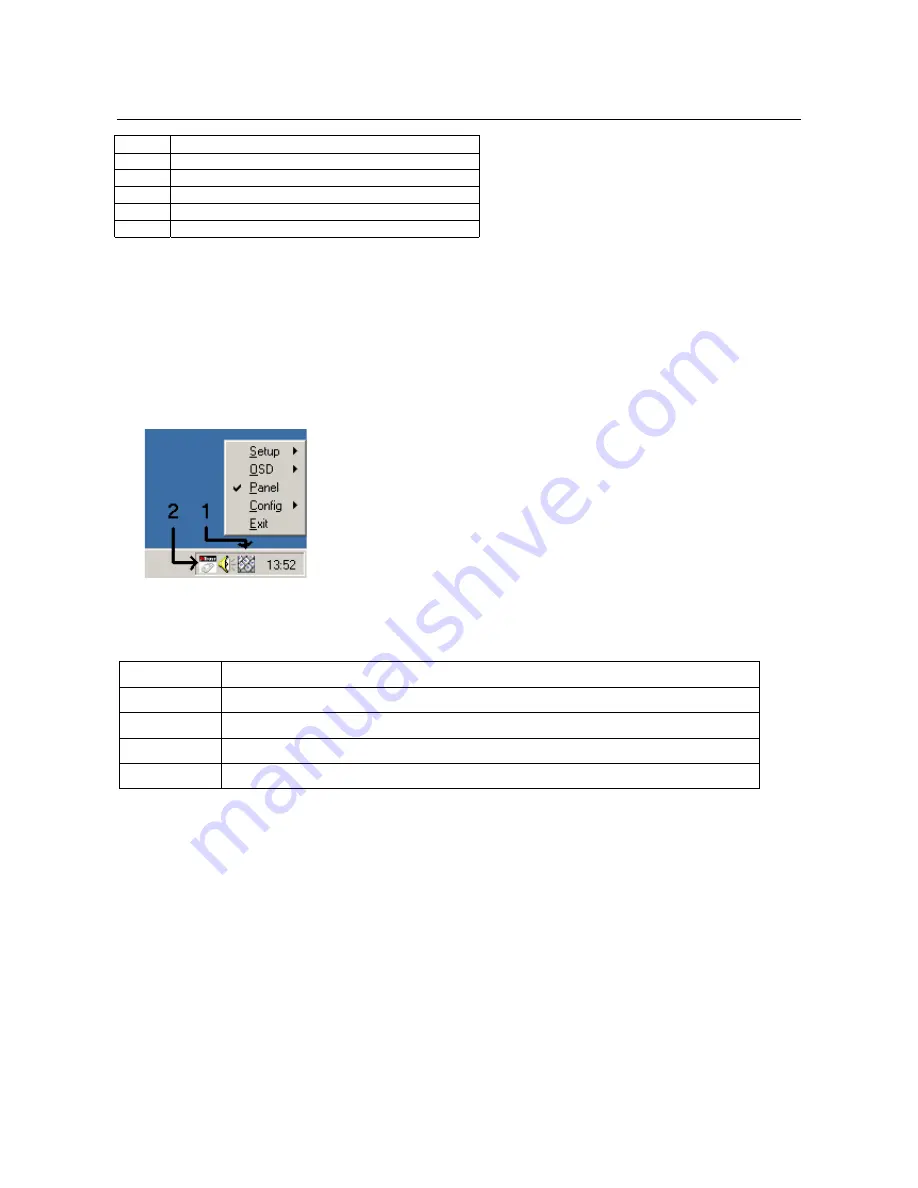
Right-click on the icon in the taskbar indicated by the number 1 in figure 12. The window displaying the menu
options shown in figure 12 will appear.
Figure 12: Taskbar icon
The following options are now available:
Menu option
Function description
Setup
Program the 'E-mail' and 'WWW' buttons
OSD
Change the OSD settings, such as letter font, OSD position or turn off the OSD
Config
Change the CD Player settings
Exit
Close the OSD
Table 3: Explanation of figure 12
8.2
Setting up the Wireless Mouse
The basic mouse functions have been optimally set for the user. If you wish to change the mouse settings,
refer to the relevant chapter.
Double-click on the icon in the taskbar indicated by the number 2 in figure 12 to open the 'Mouse Properties'
window. Figure 13 will appear on your monitor.
Close the program if you wish to play a game using the mouse but do not wish to use the special mouse
properties. To do this, right-click on the icon and select 'Close Trust Ami Mouse Wireless 200'.
8.2.1 'Buttons'
tab
Click the 'Buttons' tab (figure 13) to assign a function to the mouse buttons.


